Now for sale on Etsy! Looking for the old Two Pushbutton Lamp click here!
https://www.etsy.com/listing/1134612821/rgb-dice-lamp?
Also available at Noble Knight games! https://www.nobleknight.com/P/2147946571/55mm-Animated-RGB-Dice-Lamps
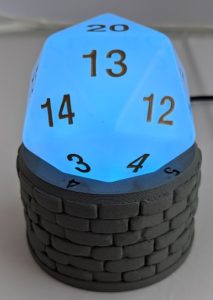
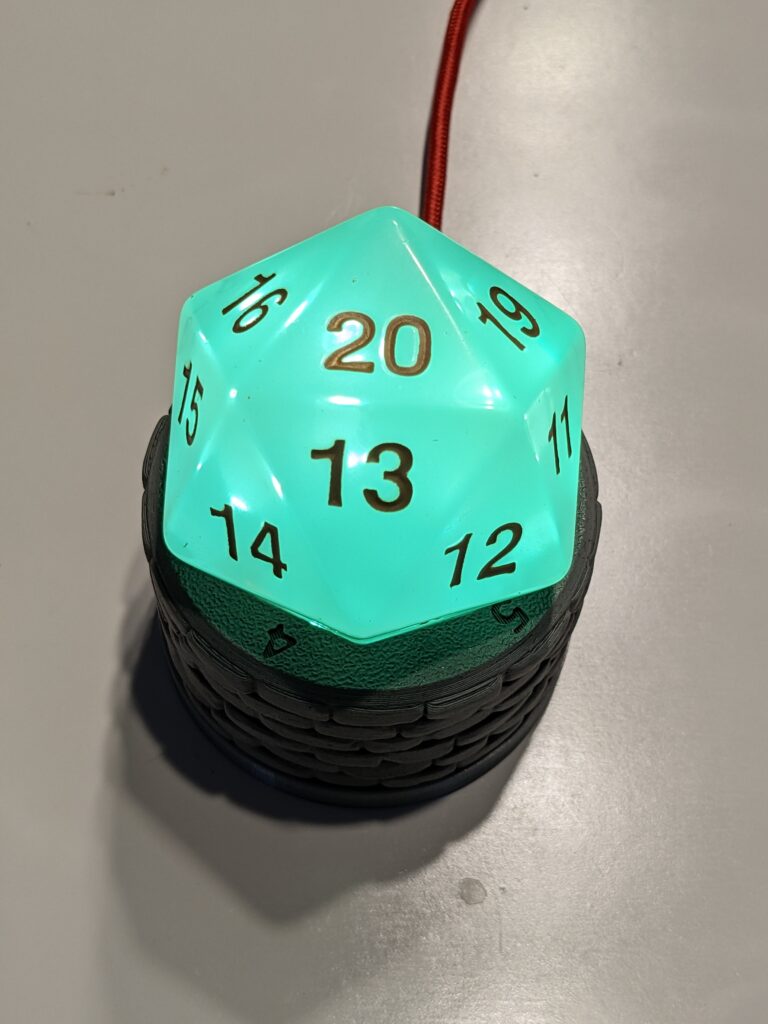
Thank you for your interest in the RGB dice lamp! The dice lamp contains a 3D printed base with custom electronics to drive 5 LEDs to animate your dice lamp.
It is simple to use with only a rotary knob with push button to change settings. The code is written in circuit python on a text file that shows up when you plug into your computer, its a breeze to update as I give more functions and if you want to come up with your own!
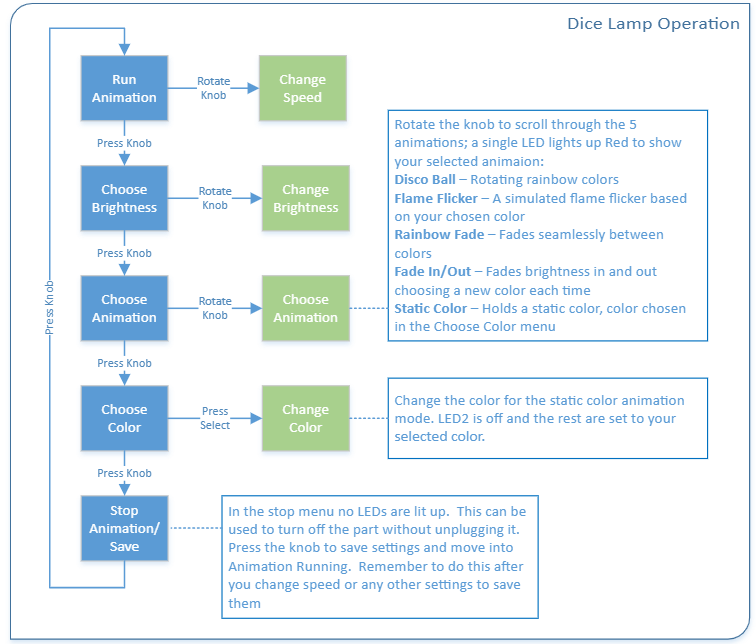
To change settings on your dice lamp use the instructions or see the chart below:
The dice lamp is operated using the rotary knob (RK) and center push button (PB):
- Animation Running, Choose Speed
- While the animation is running, turn the RK to change the animation speed.
- Rotate clockwise to slow down and counterclockwise to speed up.
- Press PB to confirm speed and move into the Brightness Selection.
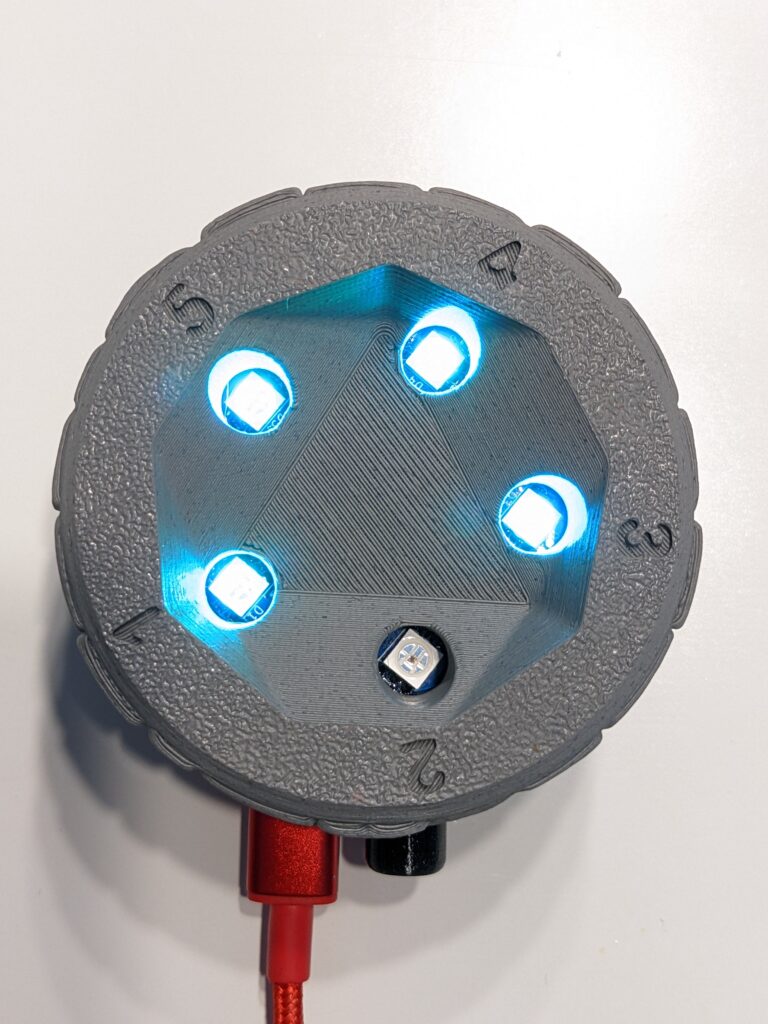
- Brightness Selection
- Use RK to change the brightness; the 5 LEDs show different colors to display the selected brightness.
- Rotate clockwise to increase brightness and counterclockwise to lower brightness.
- Press PB to confirm brightness and move into choose an Animation Mode.
- Choose Animation Mode
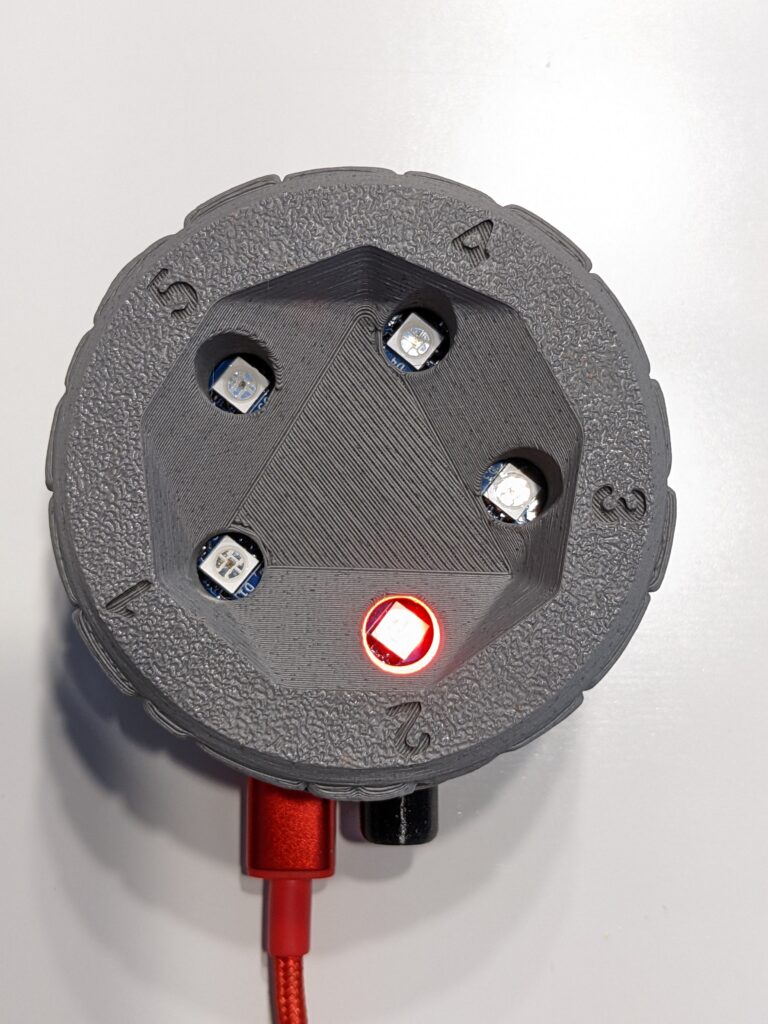
- Use RK to scroll through 5 animation options; a single LED lights up Red to show your selected animation:
- Disco ball- rotating rainbow colors
- Flame flicker- a simulated flame flicker based on your chosen color
- Rainbow fade- fades seamlessly between colors
- Fade in/out- fades brightness in and out, choosing a new color each time
- Static color- holds a static color, color chosen in the Choose Color Menu
- When you have selected your animation mode, press PB to confirm animation and move into Choose Color.
- Use RK to scroll through 5 animation options; a single LED lights up Red to show your selected animation:
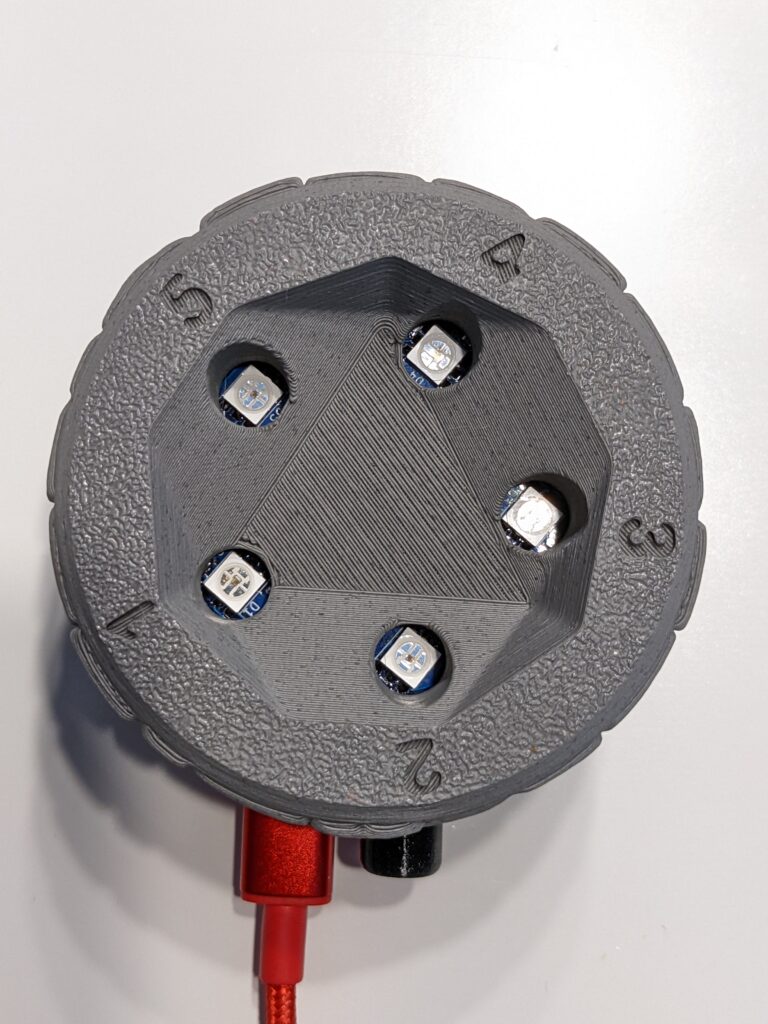
- Choose Color
- If you selected STATIC COLOR or FLAME FLICKER as your animation mode, use the RK to choose your color; All the LEDs but LED2 show your selected color.
- Press PB to confirm color and move into the Stop Animation/Save menu.
- Stop Animation/Save
- In the stop menu no LEDs are lit up. This can be used to turn off the lamp without unplugging it.
- Press PB to save settings and move into Animation Running. Remember to do this after you change speed or any other settings to save them.

In case it wasn’t clear in the instructions, when entering the stop mode your settings will save in event of uplugging or other power loss. Because speed is a setting that changes outside of the normal menus it doesn’t automatically save, remember scroll through the menus to enter and leave the stop menu to save your speed setting.
Enjoy!
Still Here? Want to do more?
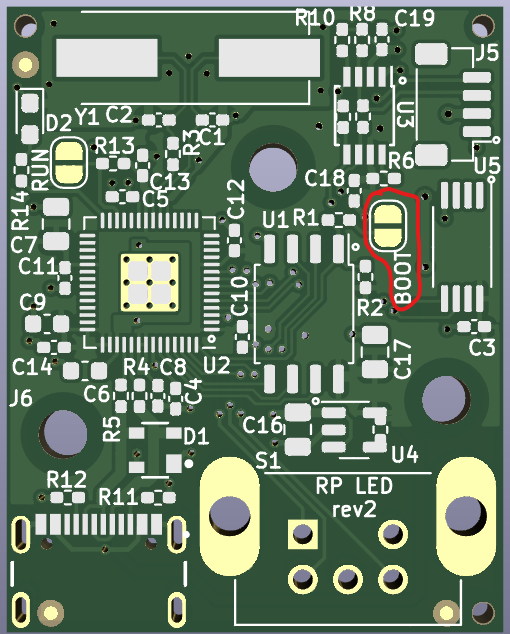
The dice lamp is based on the Raspberry Pi foundation’s custom microcontroller, the RP2040. The schematic and circuit board were based on the “minimal RP2040” design provided and then updated for this project’s peripherals. The schematic is below, note the EEPROM chips on the I2C bus needs pullup resistors if using Circuit Python. Some hardware has been modified to provide those otherwise Micropython supports software pullups on I2C and you can also use the flash to save settings. Some early lamps might have the EEPROM modified with pullup resistors while later ones save memory to the flash in a JSON file.
The code is linked below in the zip file. It contains a UF2 file, and then a folder with the files that will be put on the device once it boots into circuit python. The UF2 file is only used if the Circuit Python install is corrupt and shouldn’t be needed. With the lamp unplugged hold the knob push button and plug in the USB, this should put the board into a mode where the computer can read and write the drive, without the PB pressed it will boot into a mode where the drive is write protected but the RP2040 core can access the memory. It is recommended you save the files currently on the lamp before updating with the ones below. Take the contents of the CircuitPythonDrive folder which typically include a boot.py, code.py, tuplecolors.py and a lib folder and put them onto your drive overwriting the files already present.
If you have an older dice lamp use the 10/16/22 version, if you have the newer dicelamp use the 05/20/23 version. The difference is I removed a block of code that wasn’t used (debug) and also switched the SPI SCLK and SDO lines so I can use the native SPI pins which makes the LEDs a little faster.
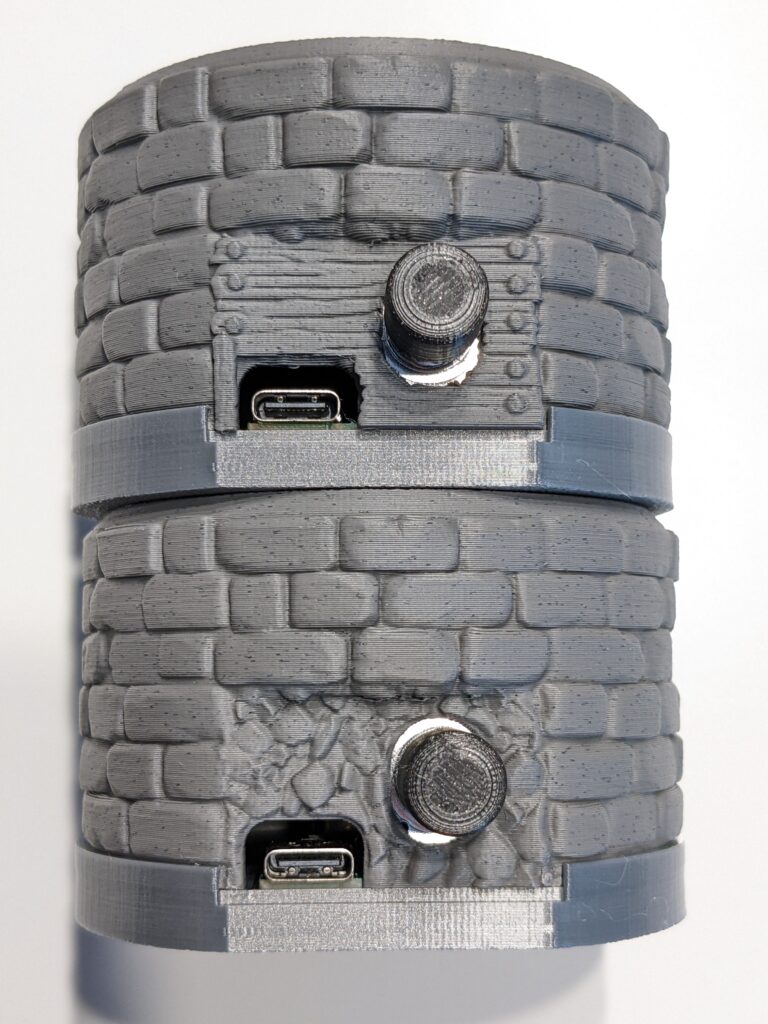
If something happens and corrupts the Circuit Python drive or if you want to switch to a newer Circuit Python or Micropython you can force the board back into UF2 mode to do so. Carefully open the lamp by tilting the bottom cover until it opens, but don’t pull too far apart because of a short cable to the top board, disconnect the top board and then you have the bottom cover with the board below. Short the two boot pads with a metal device such as a small flathead screwdriver as you plug in the USB and it should boot back into UF2 mode where you can drop a new UF2 file and then the board will reboot.