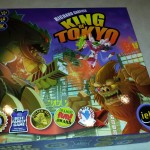
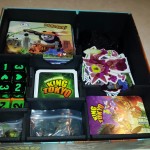
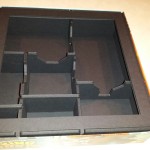
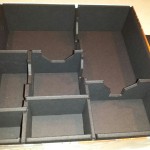
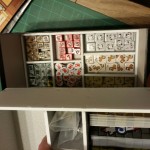
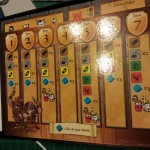
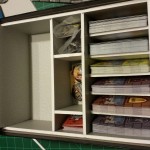
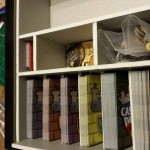
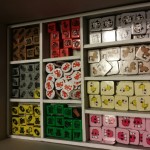
Finished my second game insert, King of Tokyo, with the help of a friend’s laser cutter.
First I mocked up blocks for the different pieces, then I moved things around until I liked the fit, and finally put in walls to finish the floor plan.
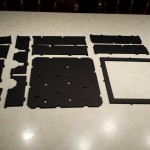
After the floor plan was done, I made notches in the base and walls for connections. Then I pulled out out the 4 outer walls, built up them up, then laser cut them with the base and test fit them.
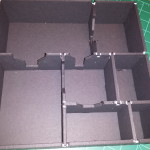
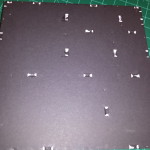
After I had the base and outer walls finished, I started on the internal ones. It took a few revisions for some of the walls before I got them right. Finally I designed a cover so the board fits in the middle. I’m not super happy with how the top cover turned out, but it’s still a step in the right direction.
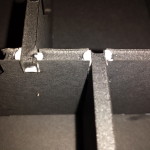
One interesting thing, the laser makes the foam pull back from the edges. This isn’t great for long flat contacts, but for joints, it works really well because you can put the tip of your glue into the gap and fill it.
I’ve attached the SVG file in case anyone wants to modify or make one them self.
