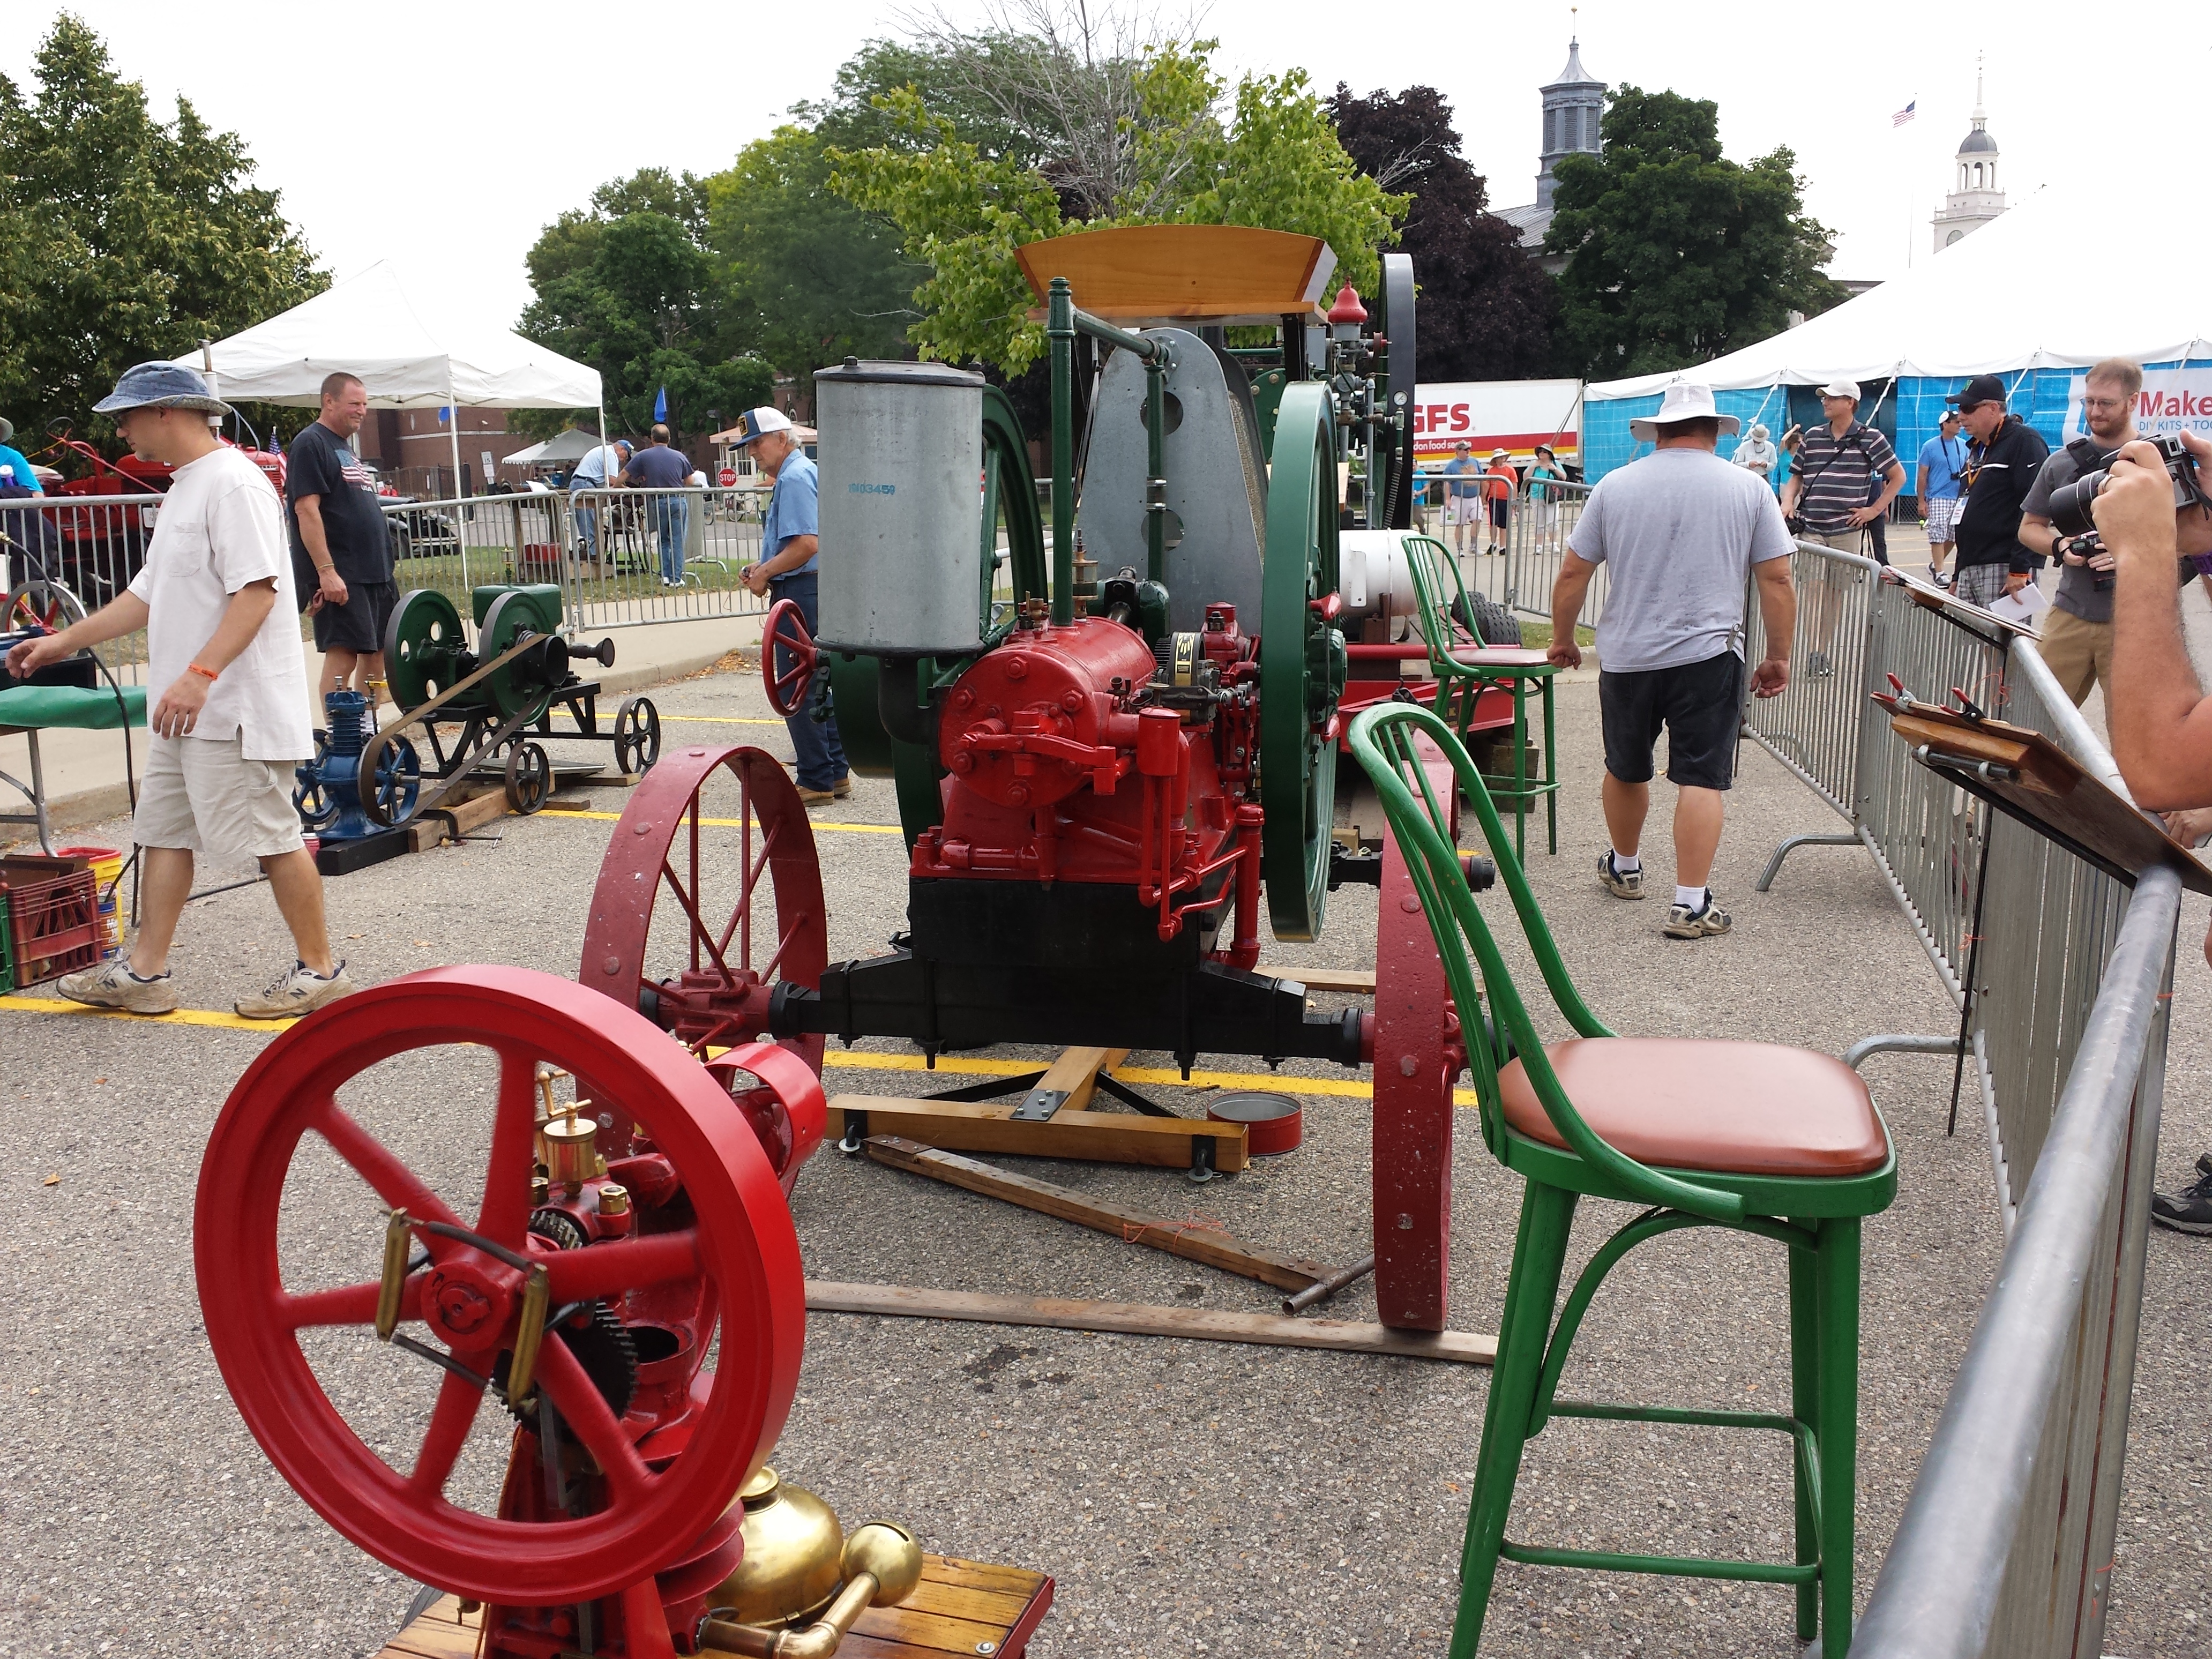
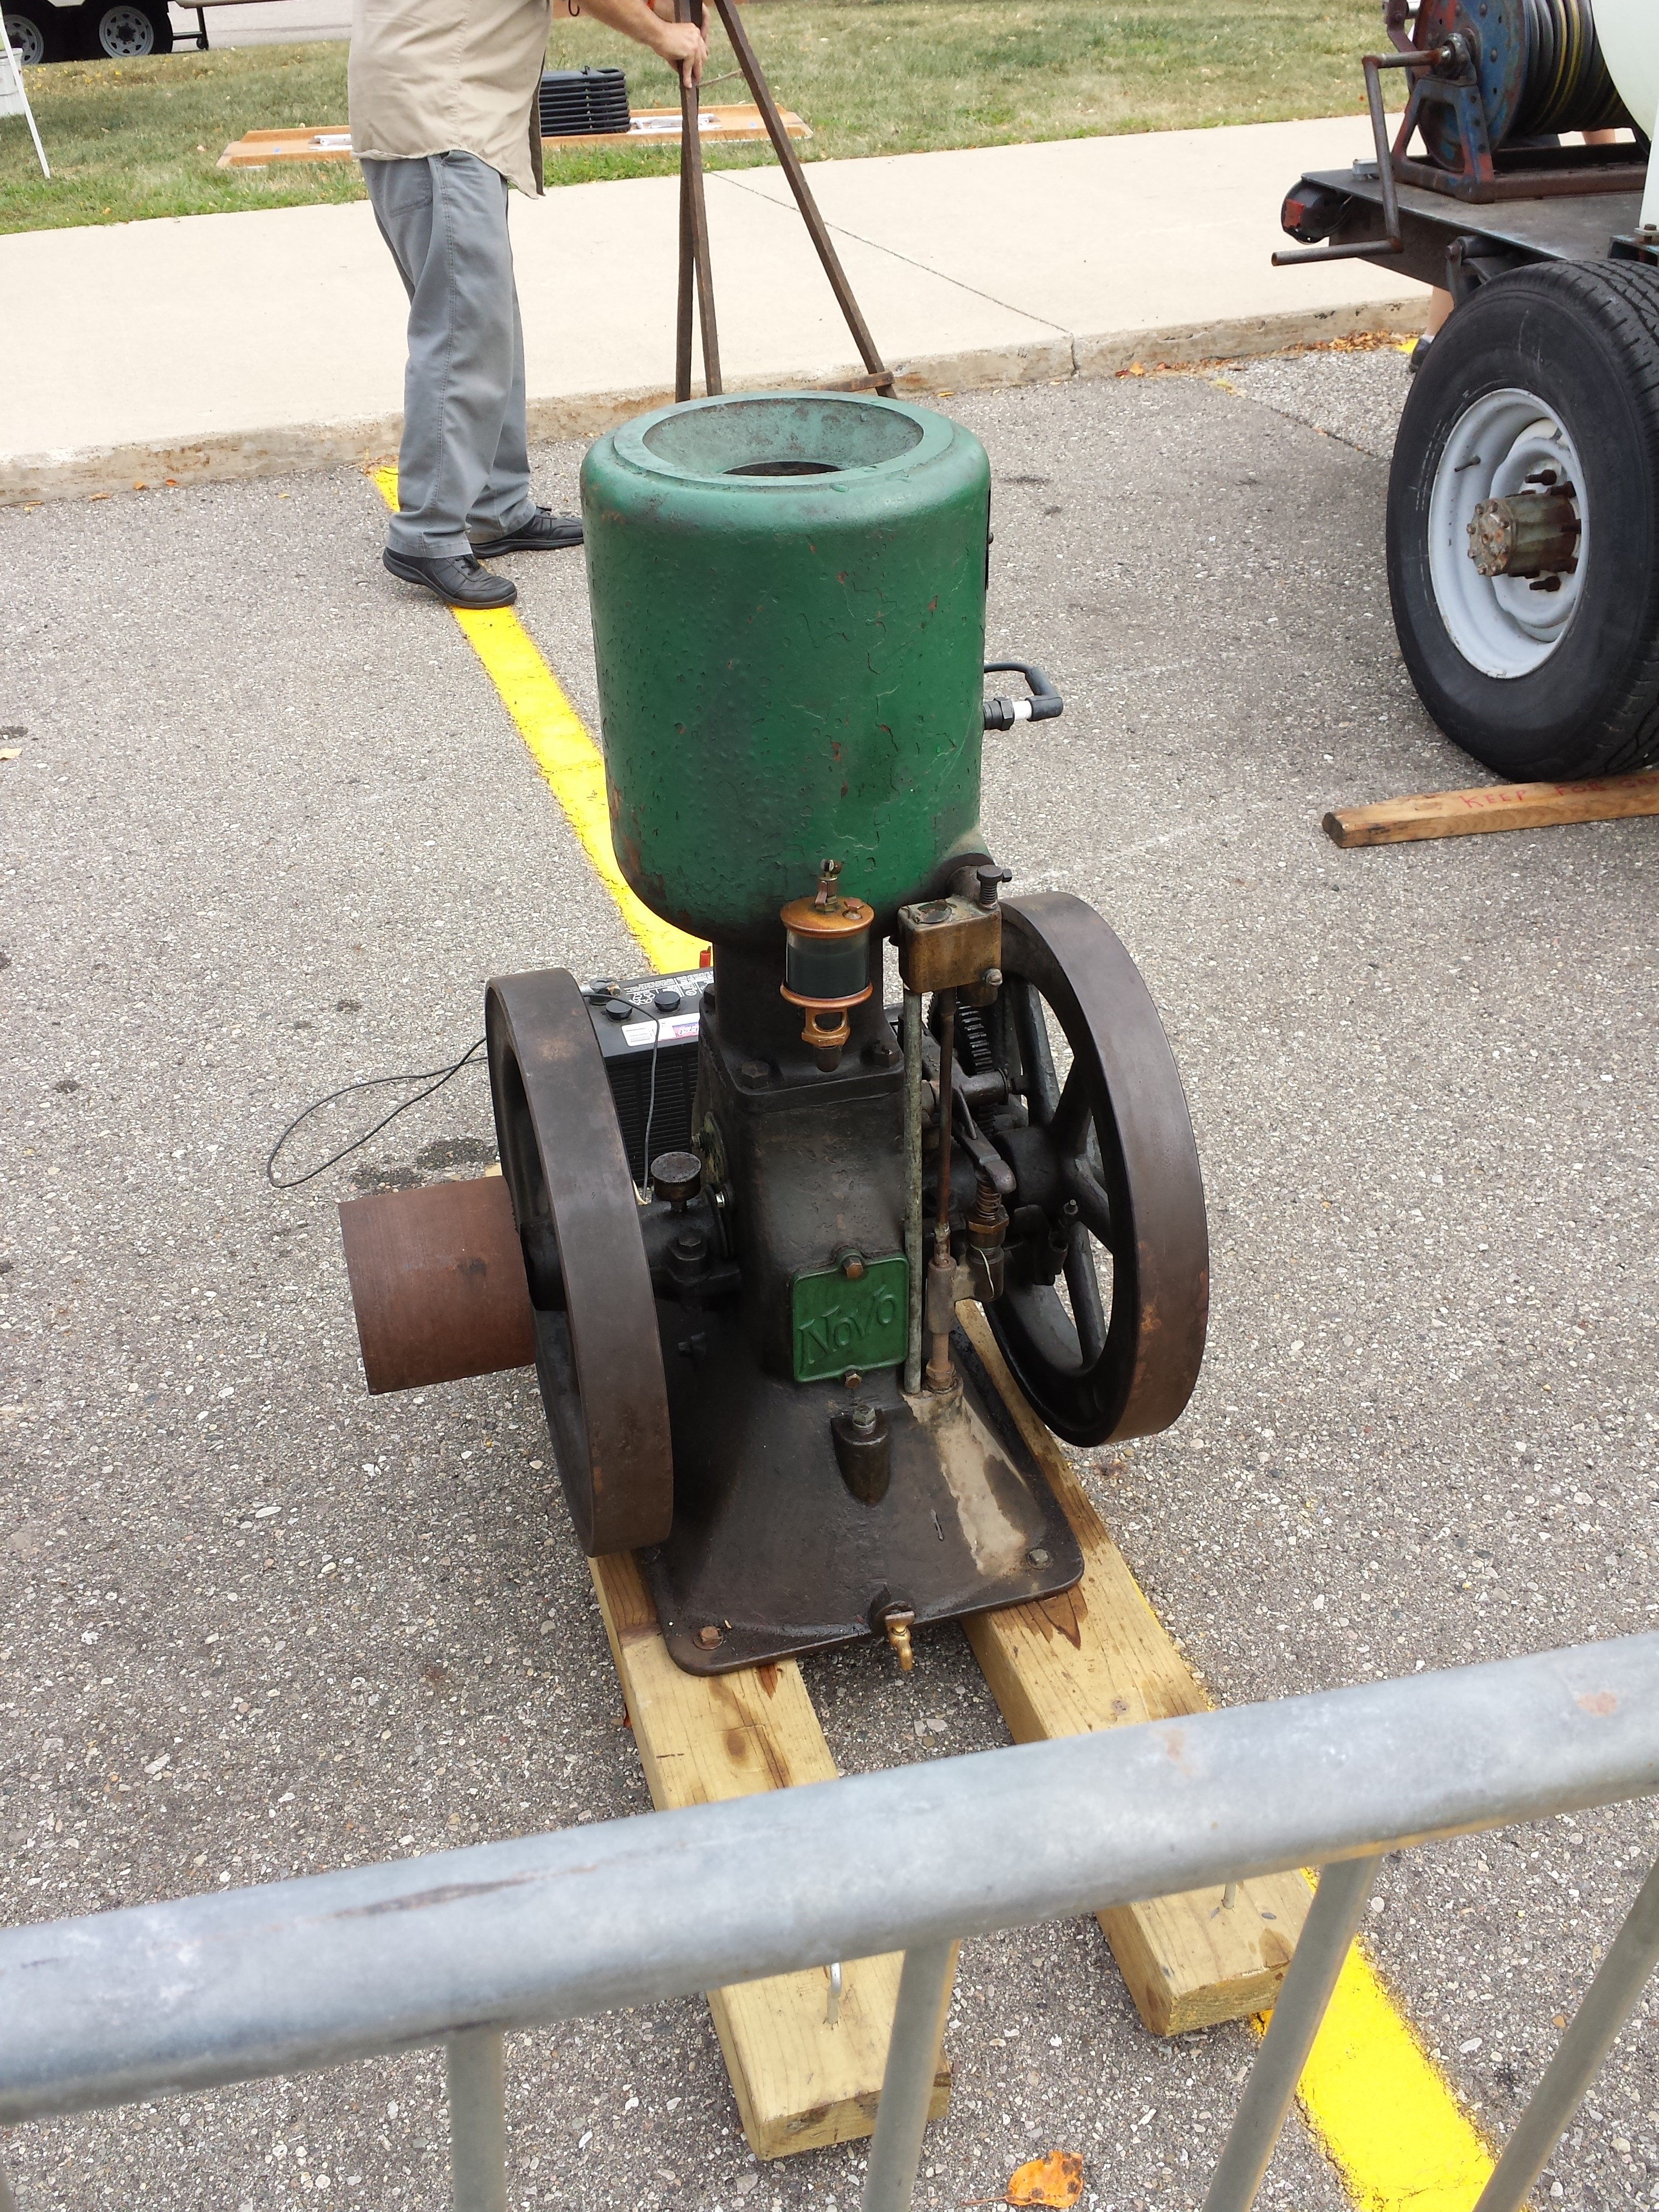
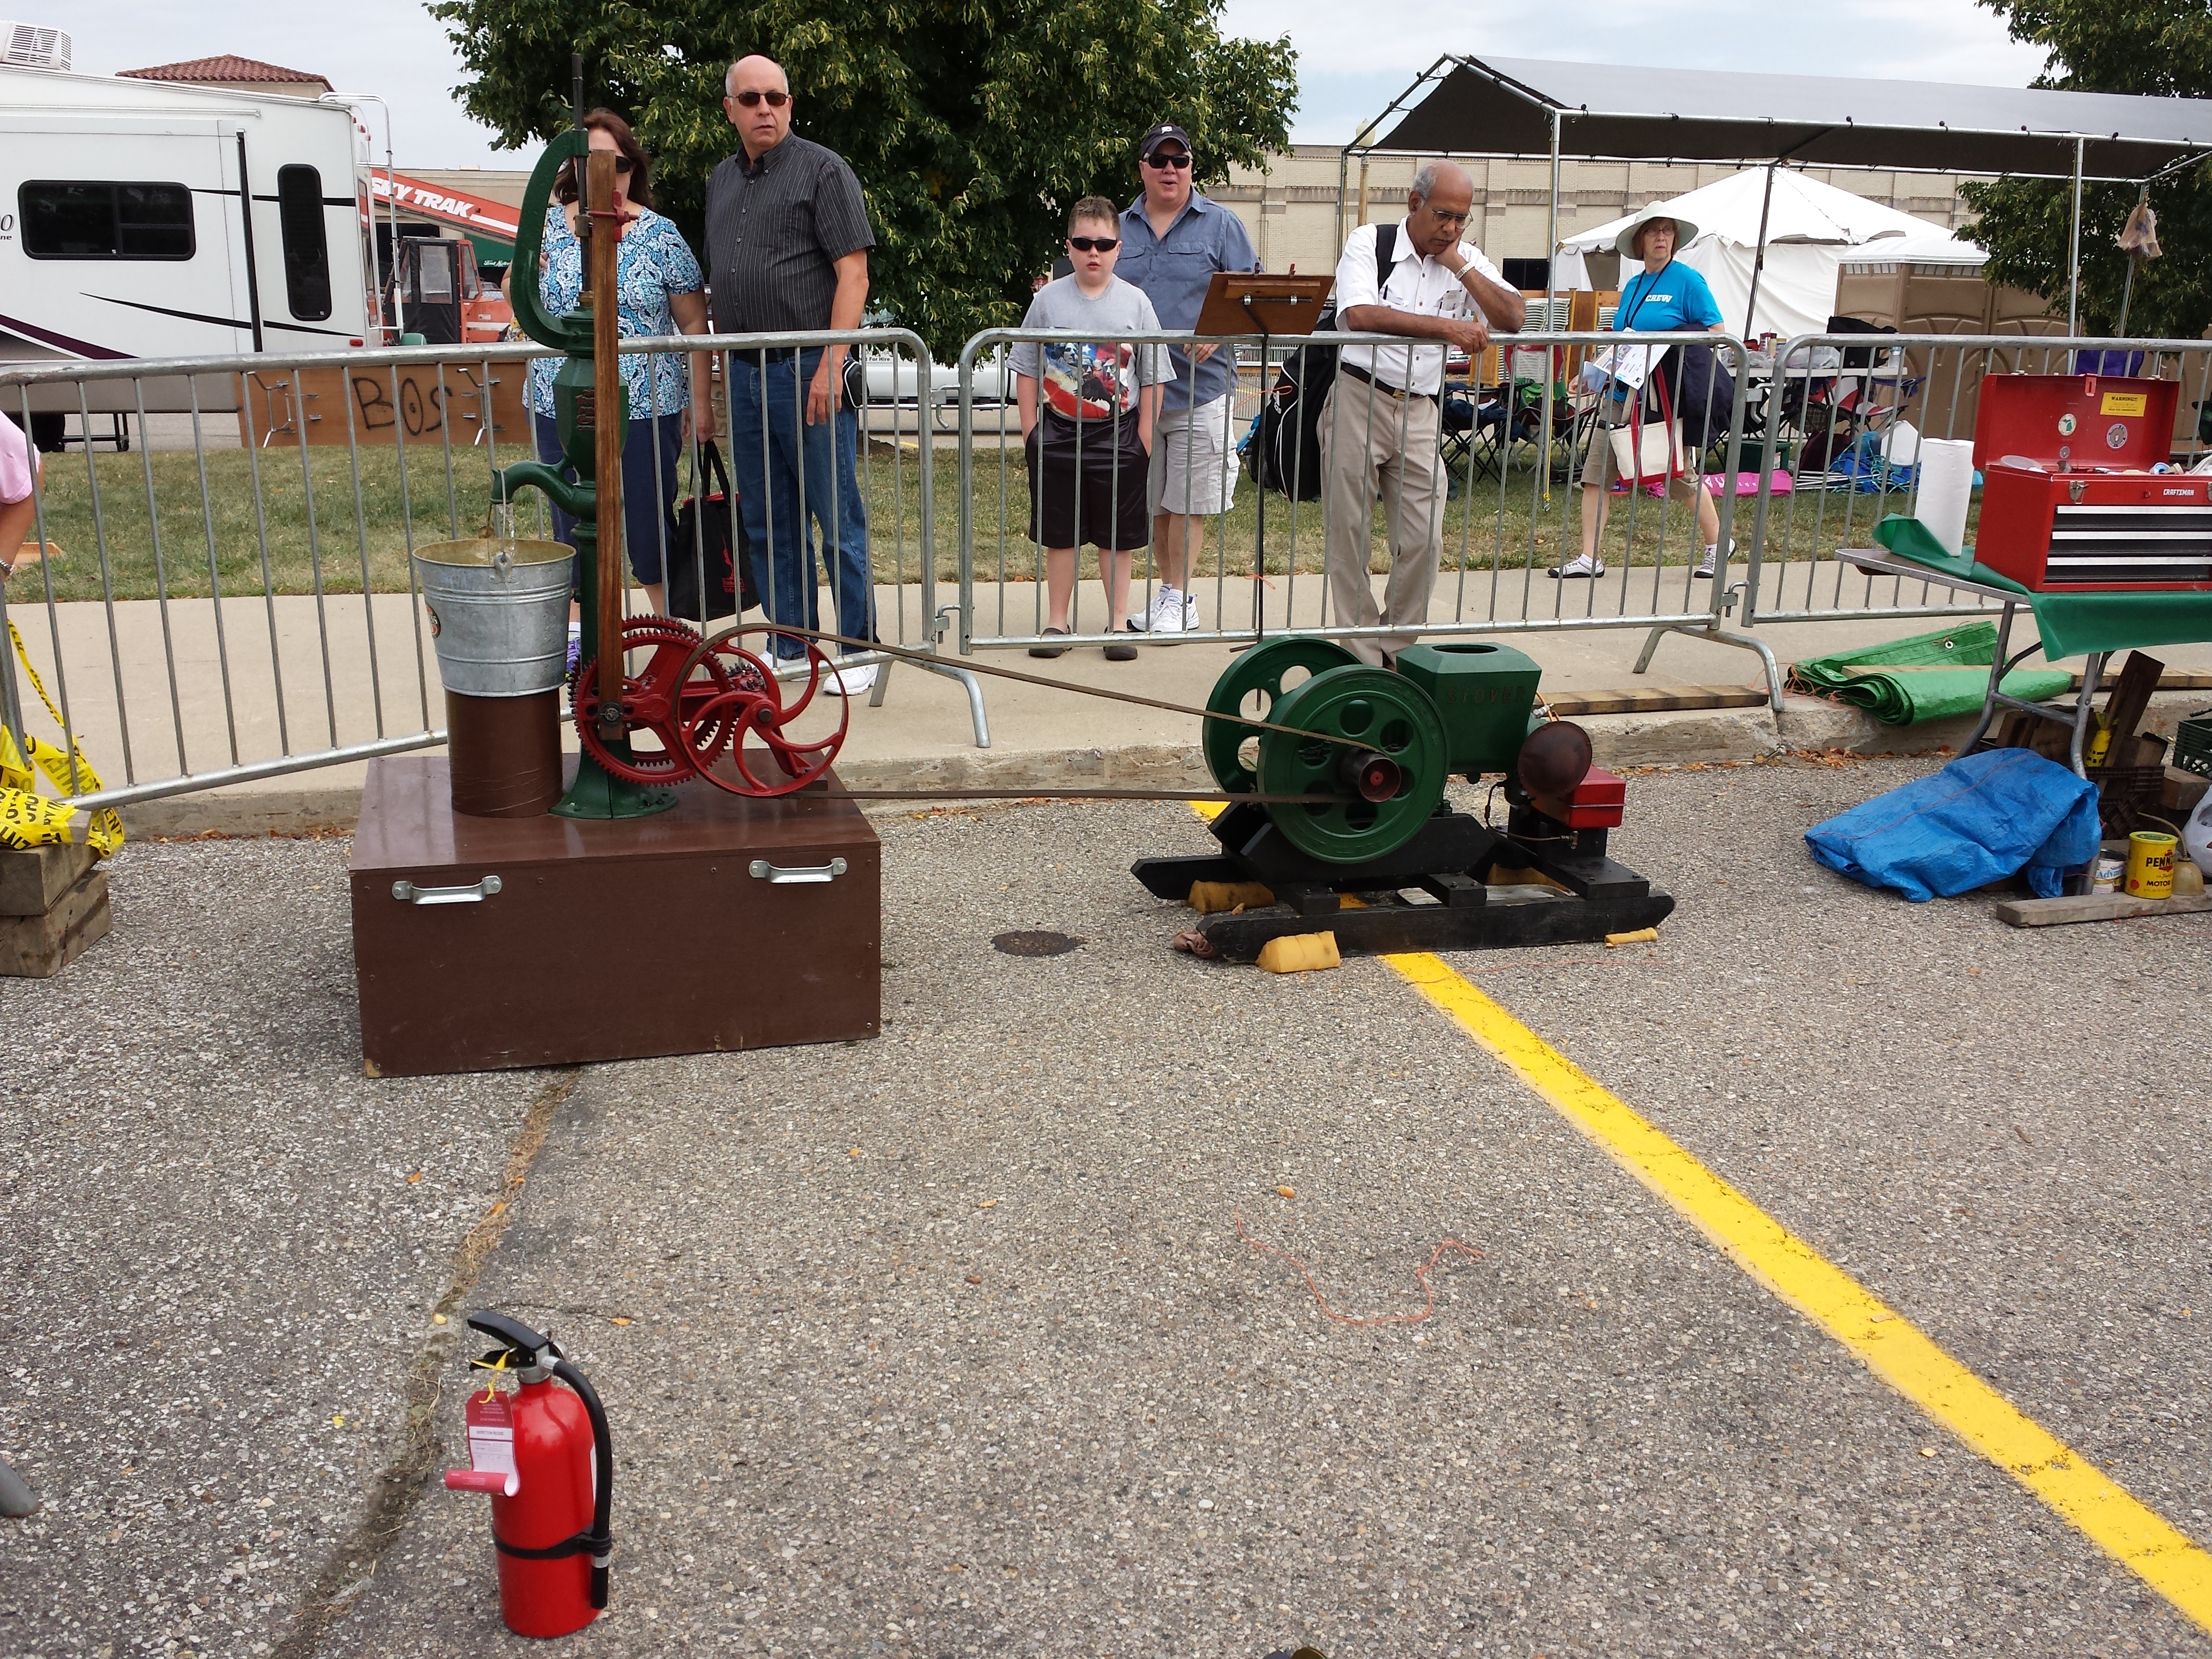
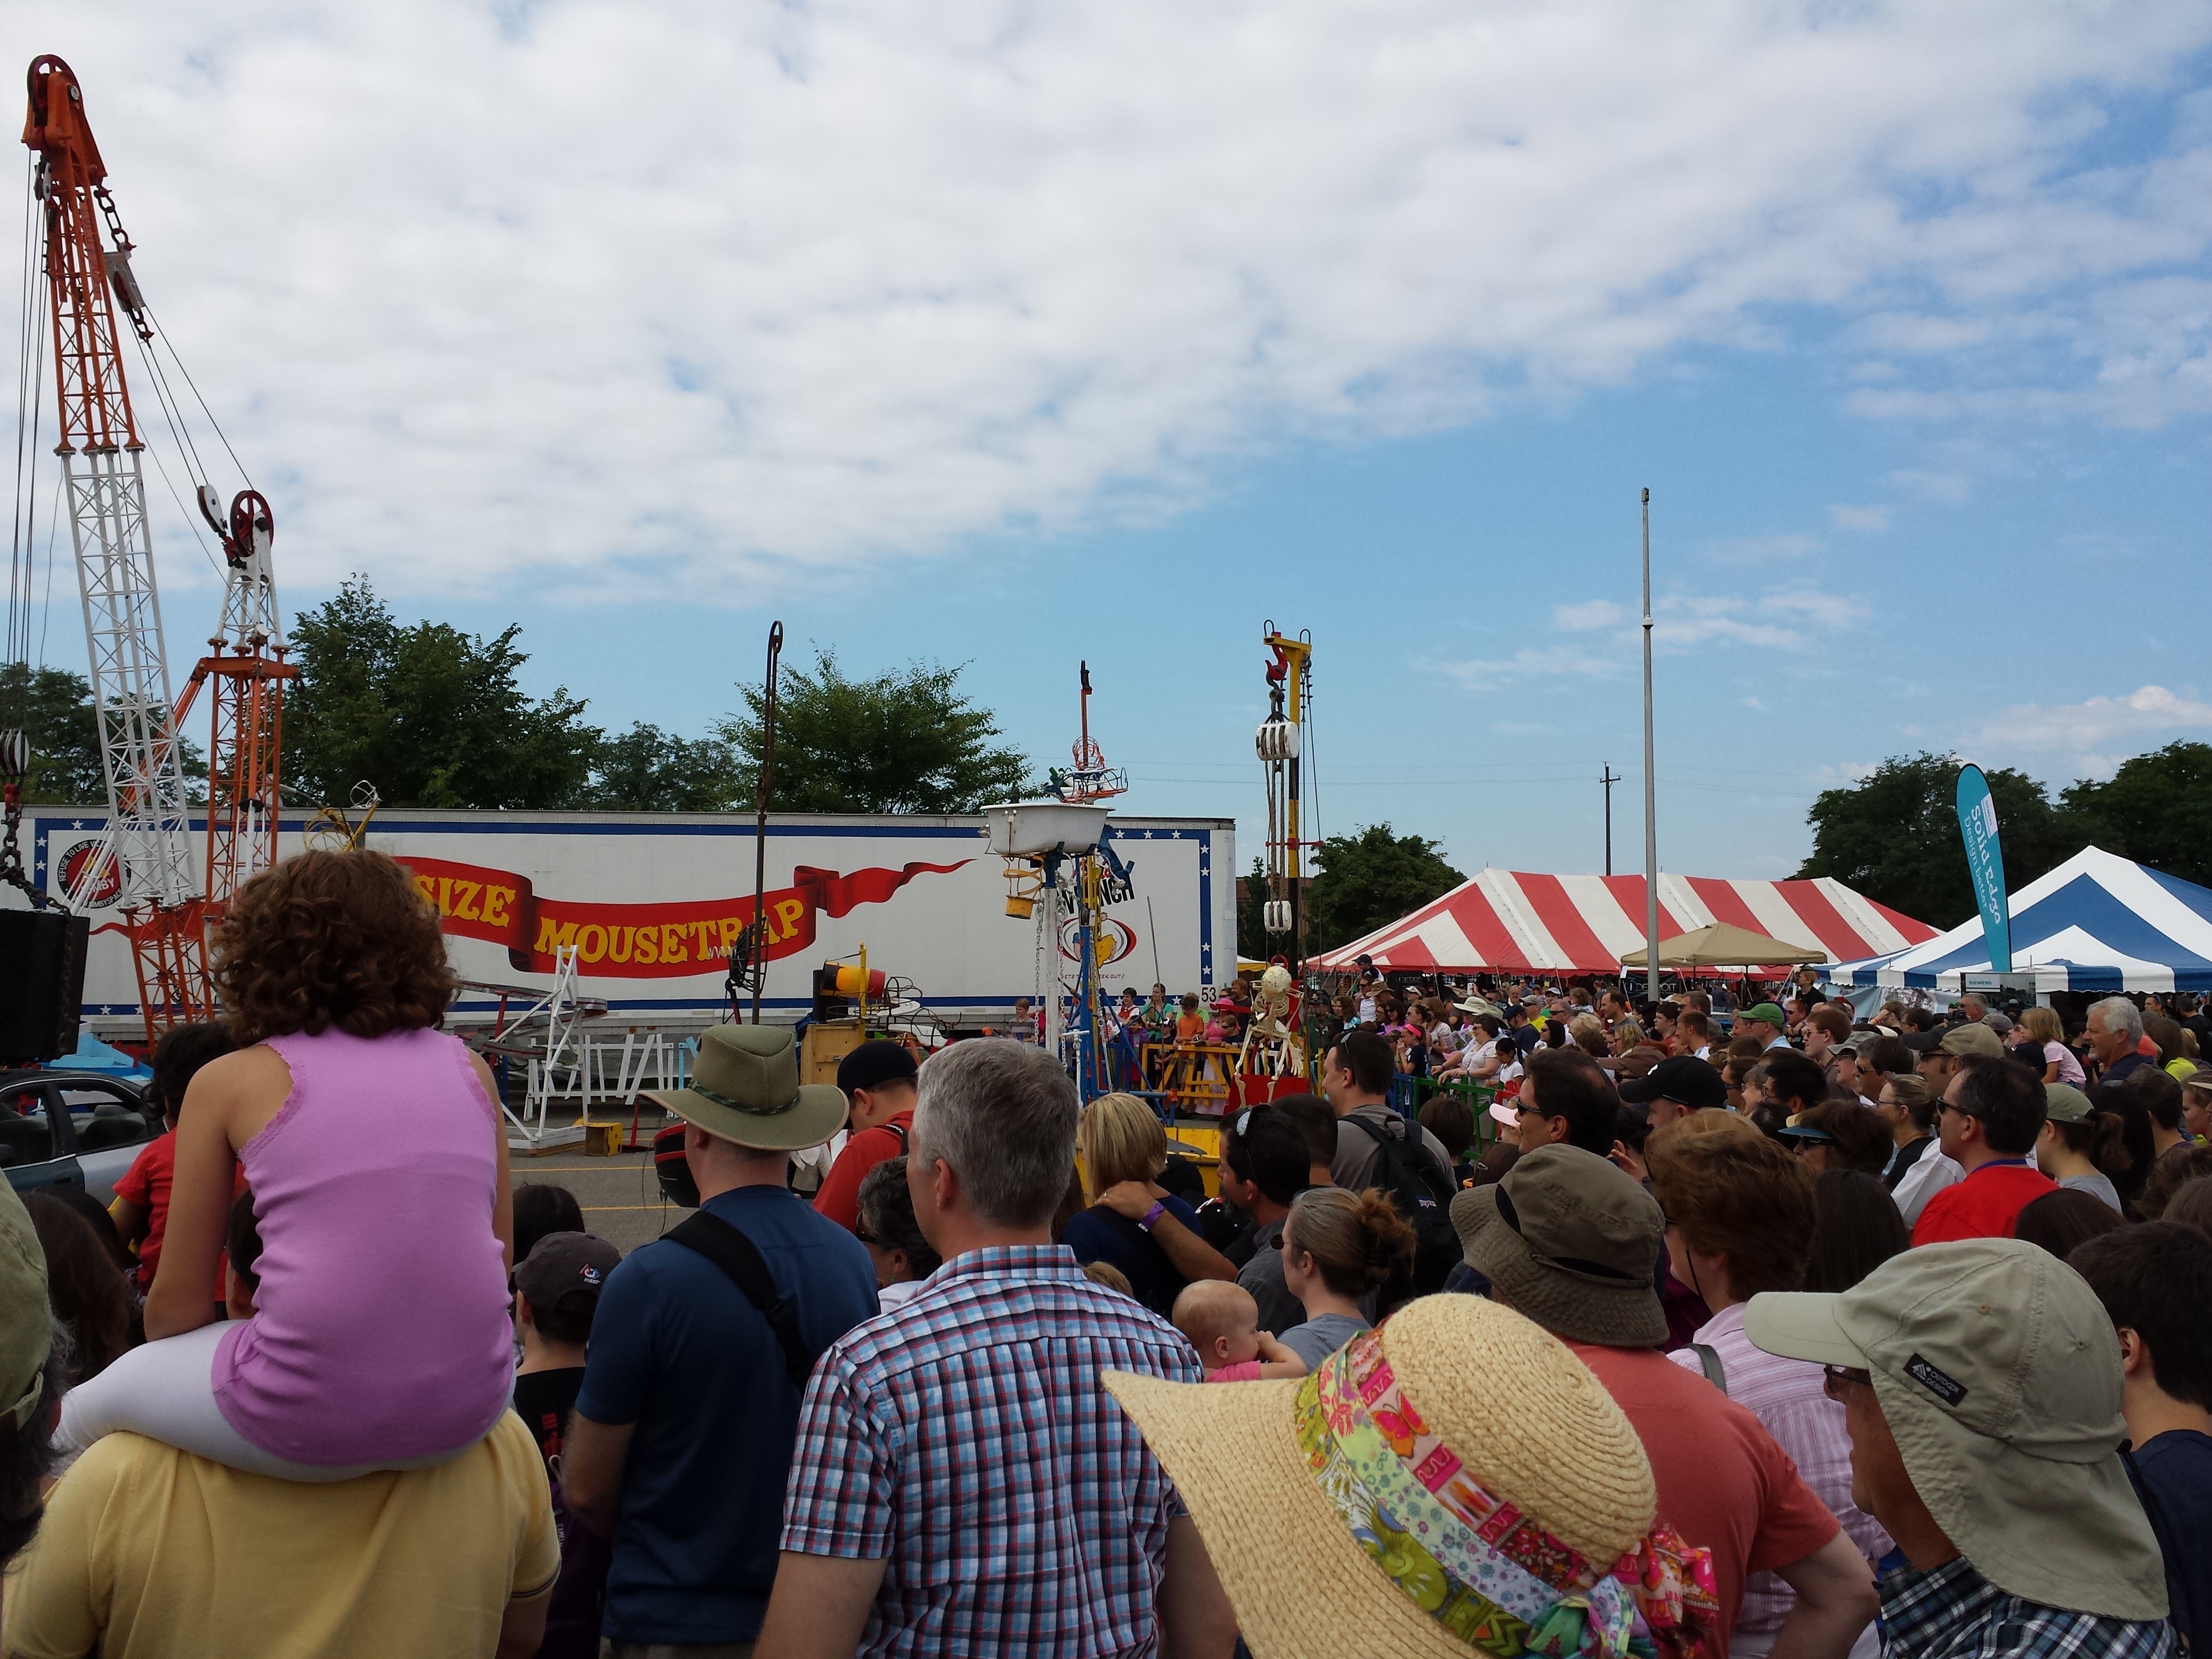
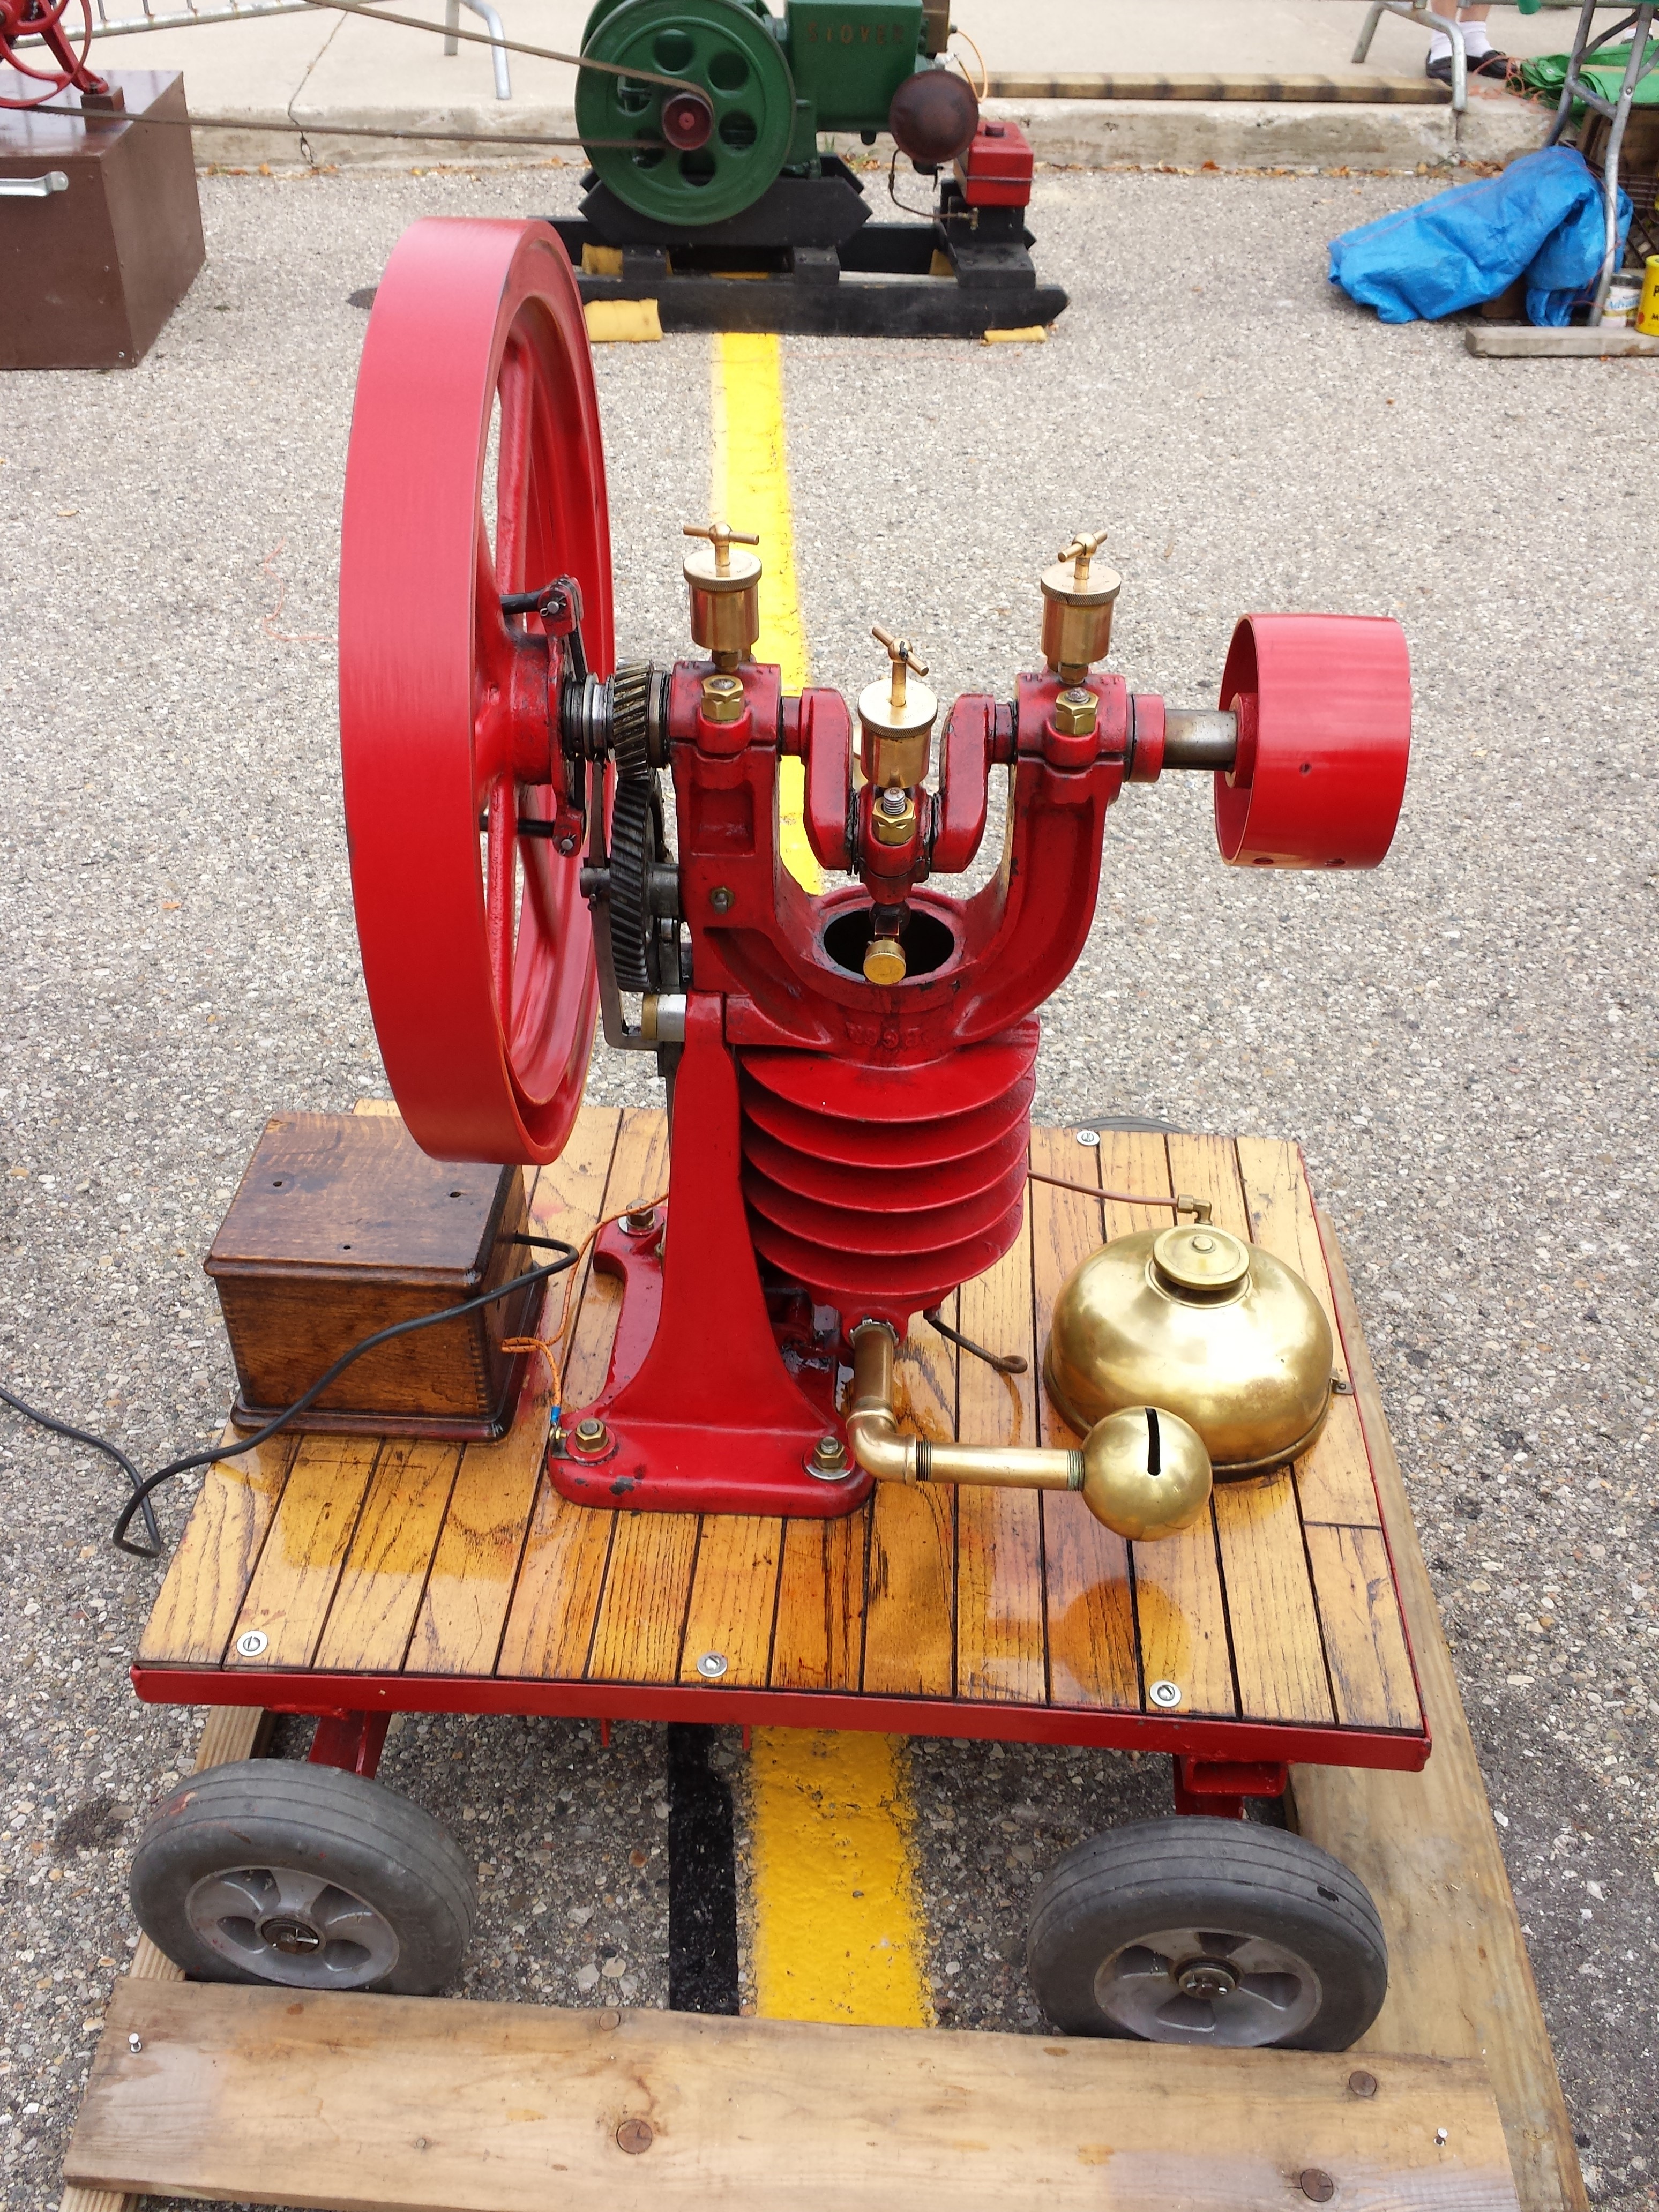
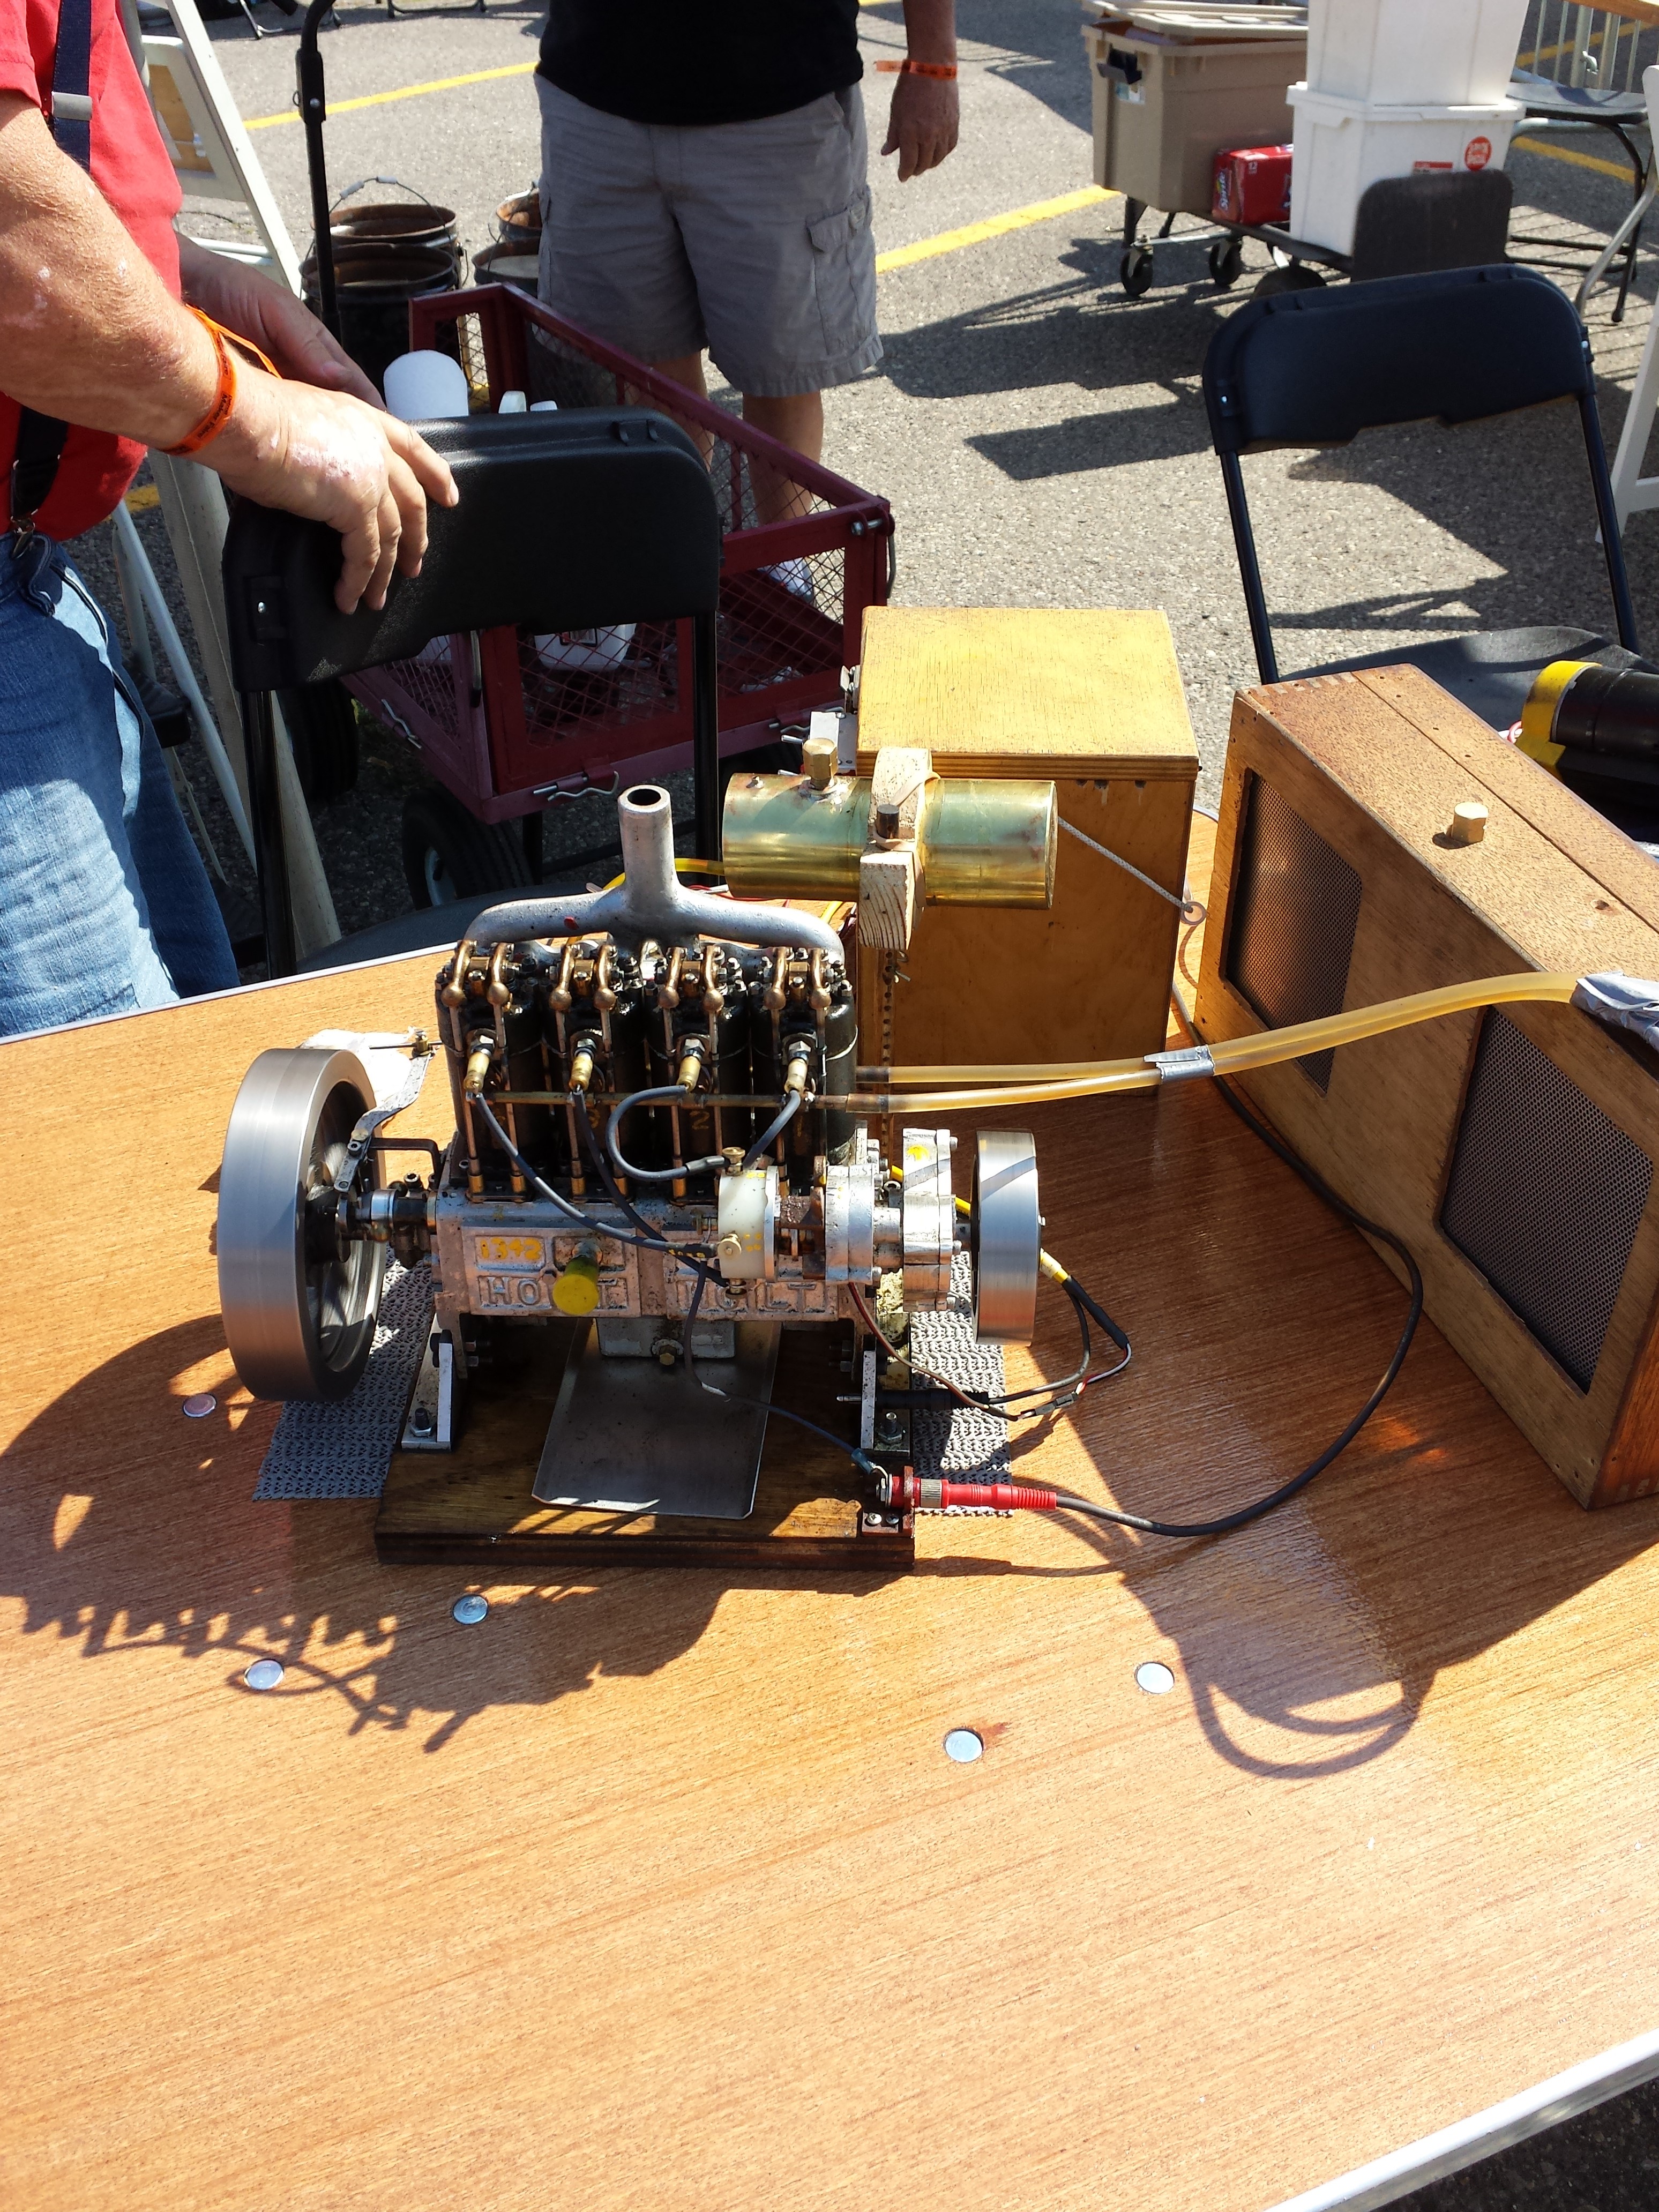
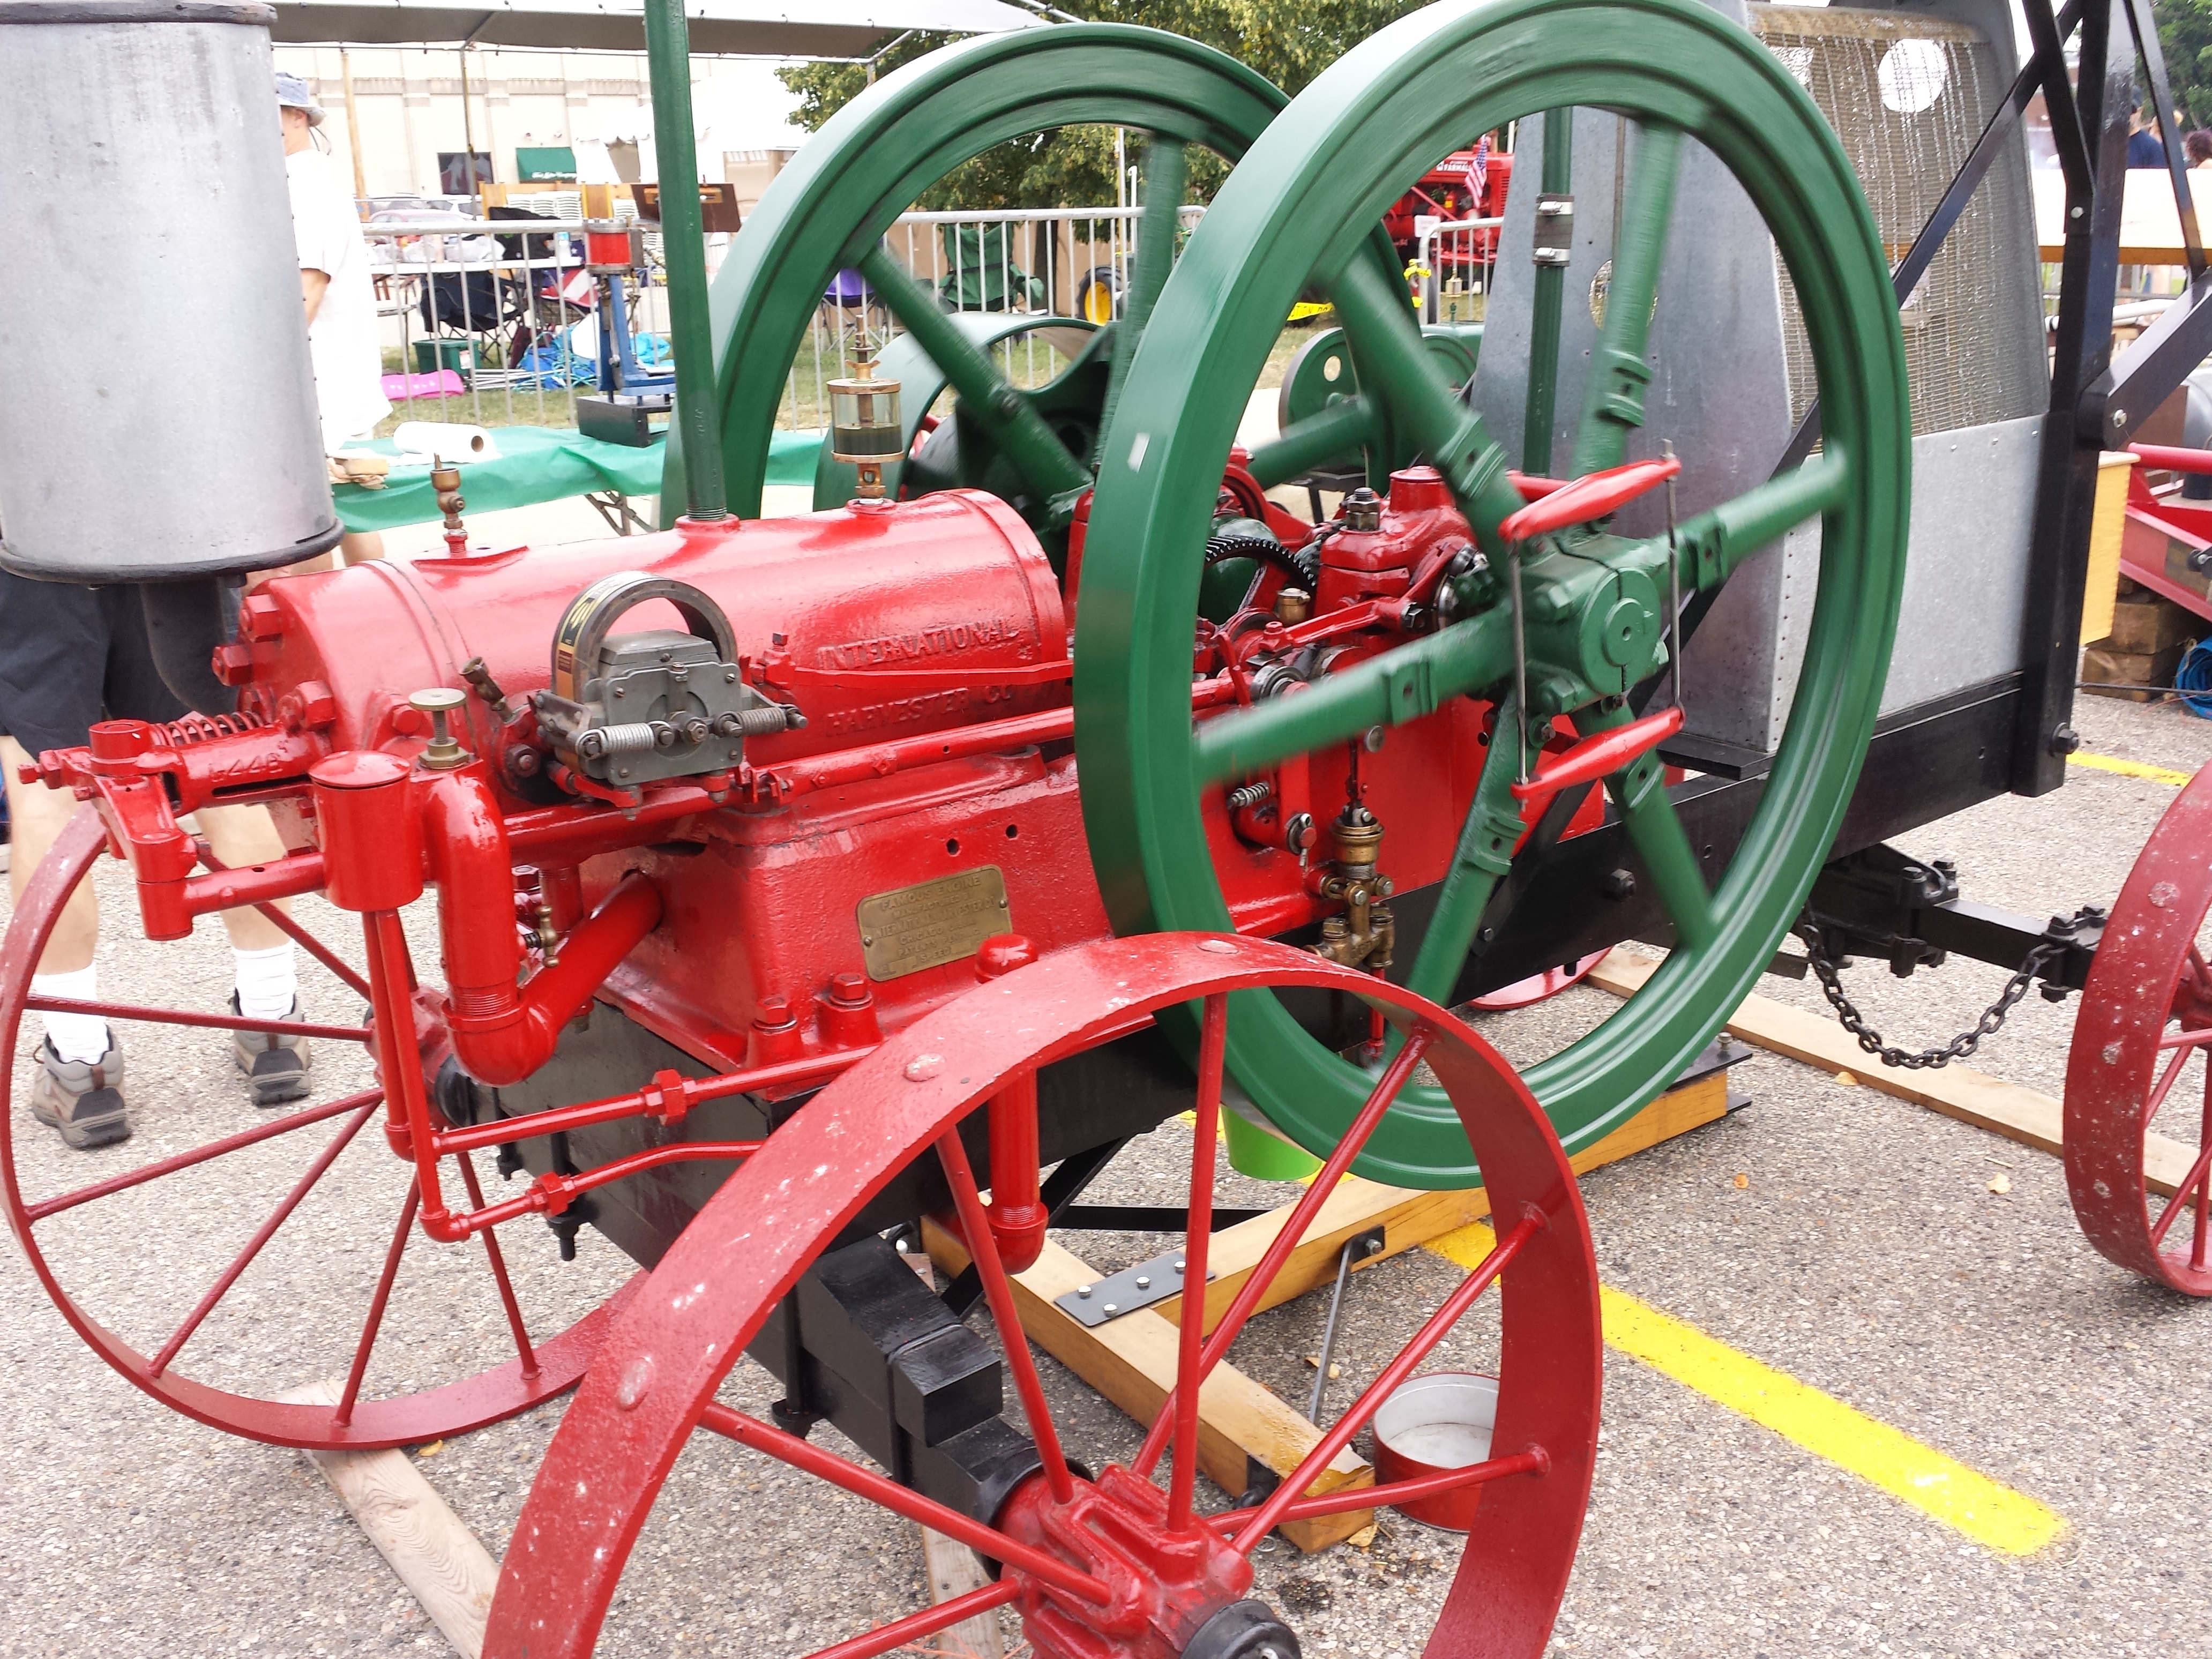
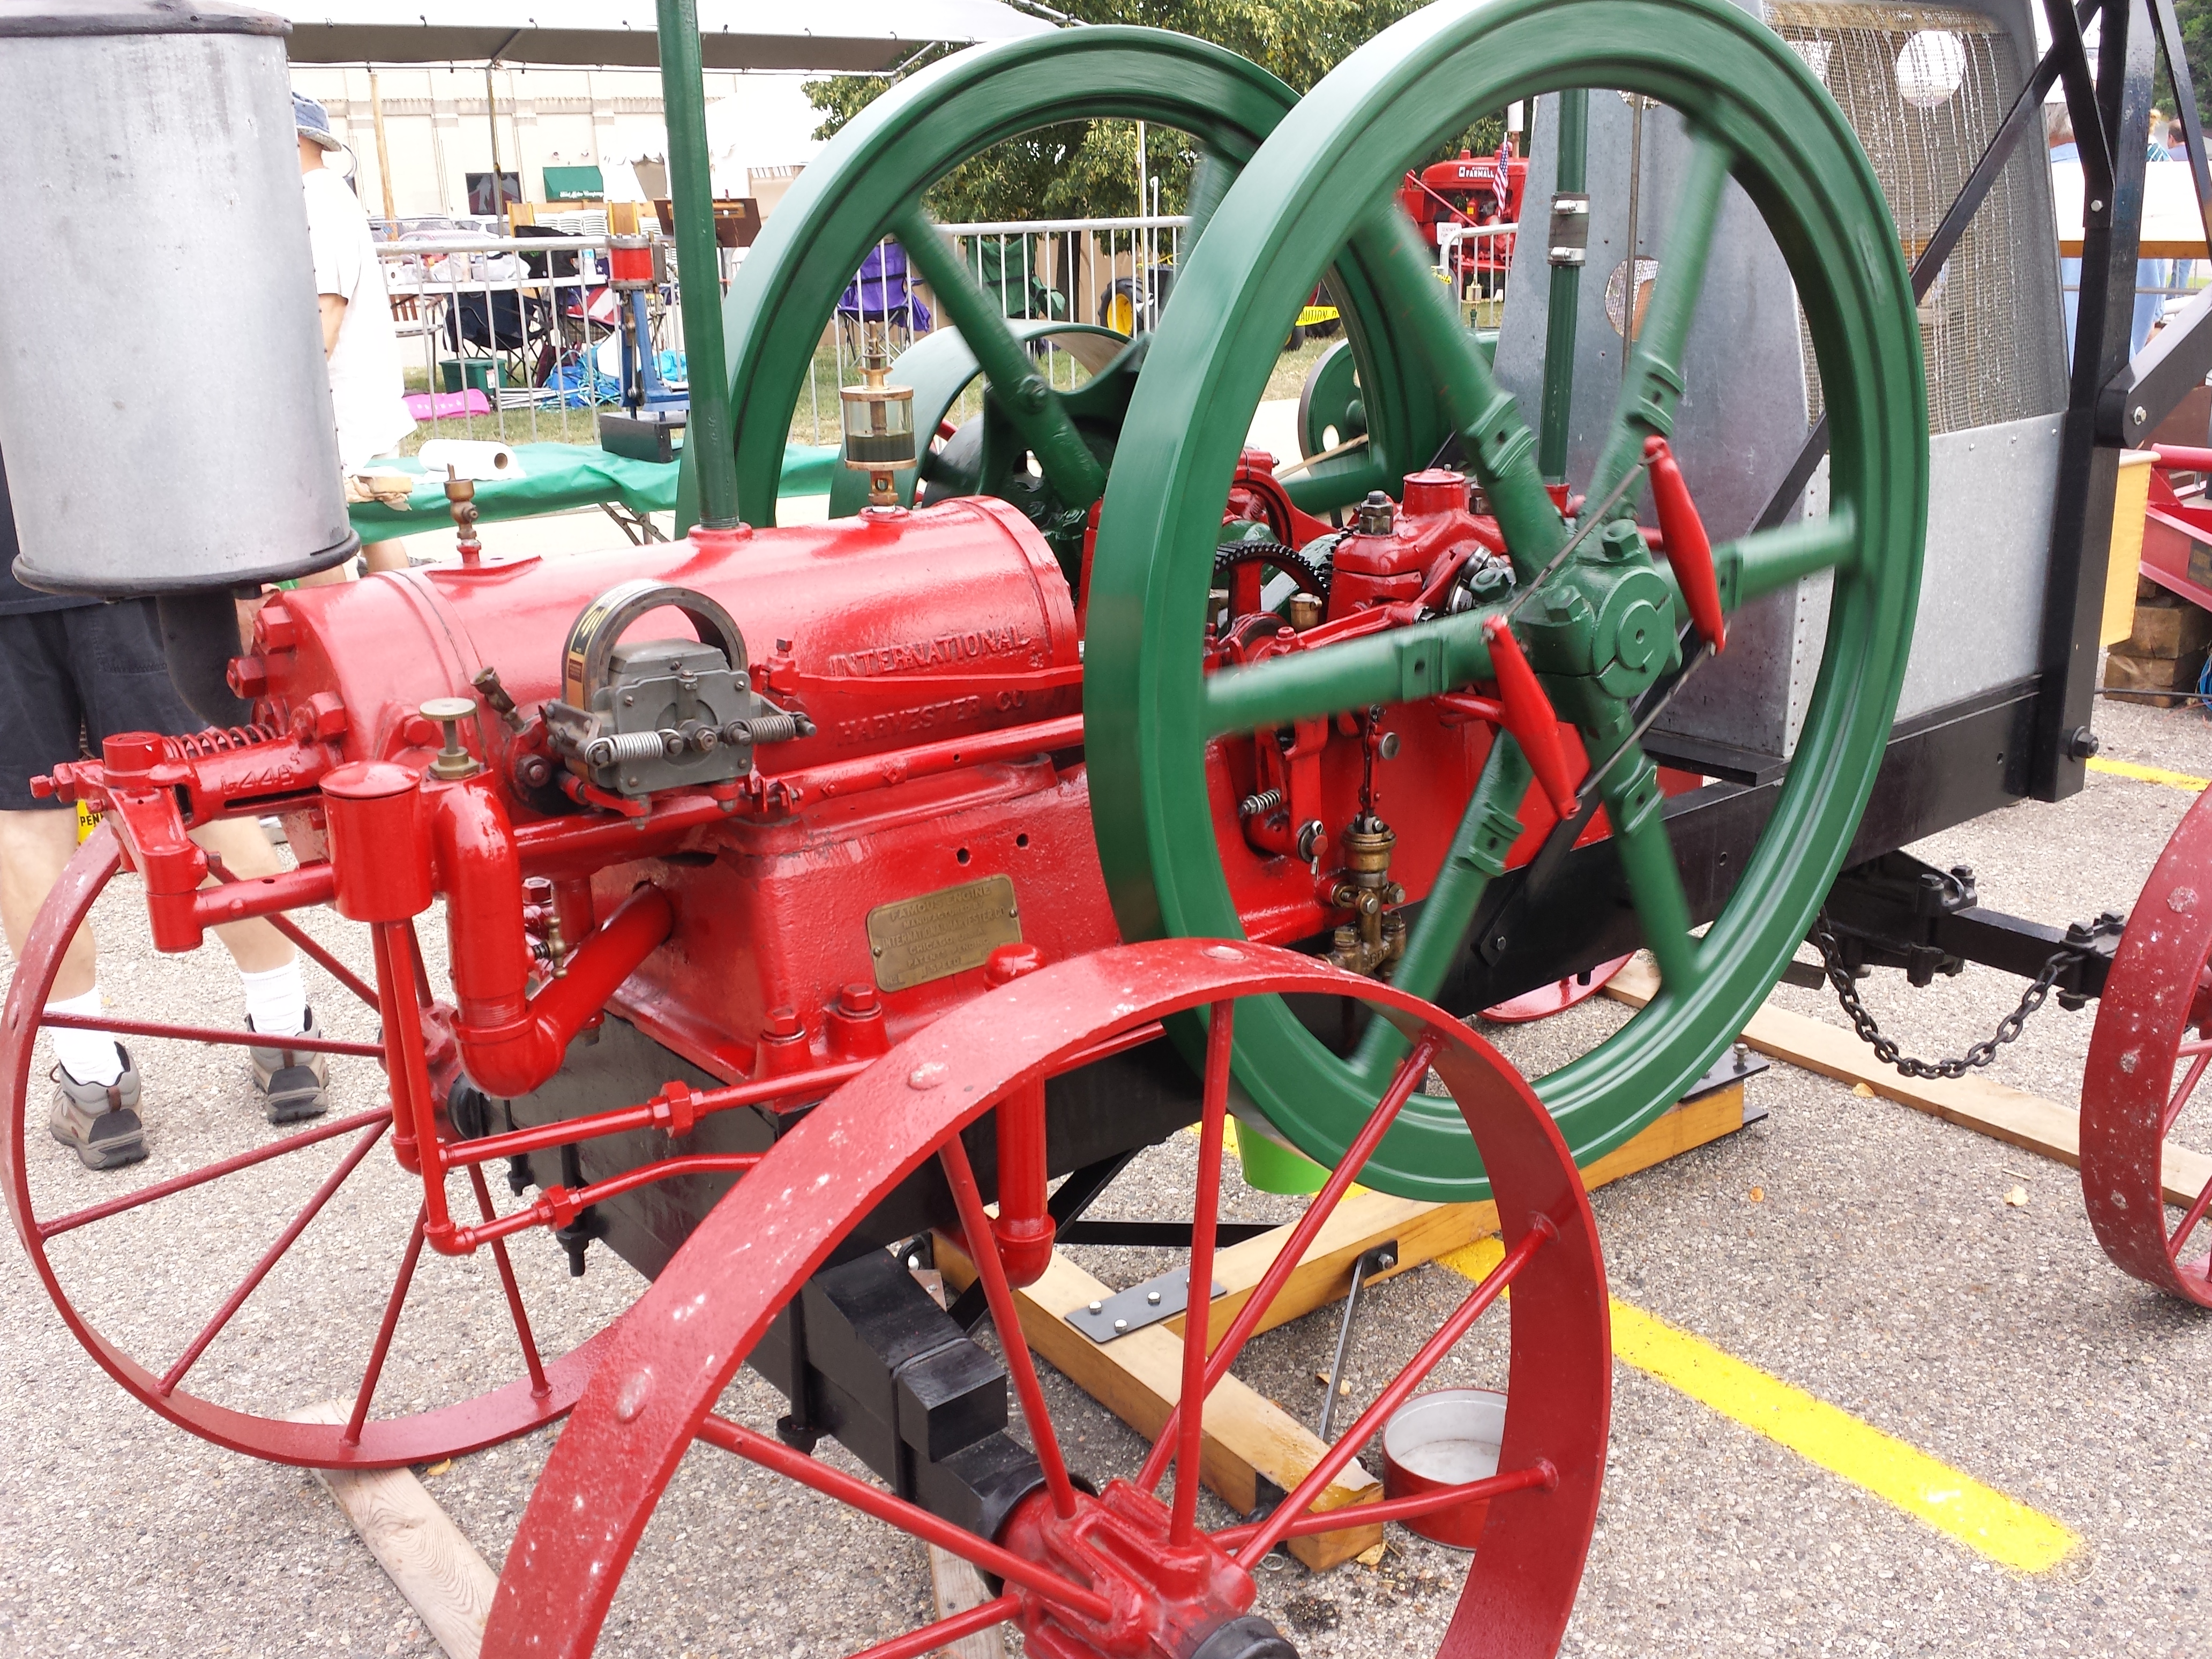
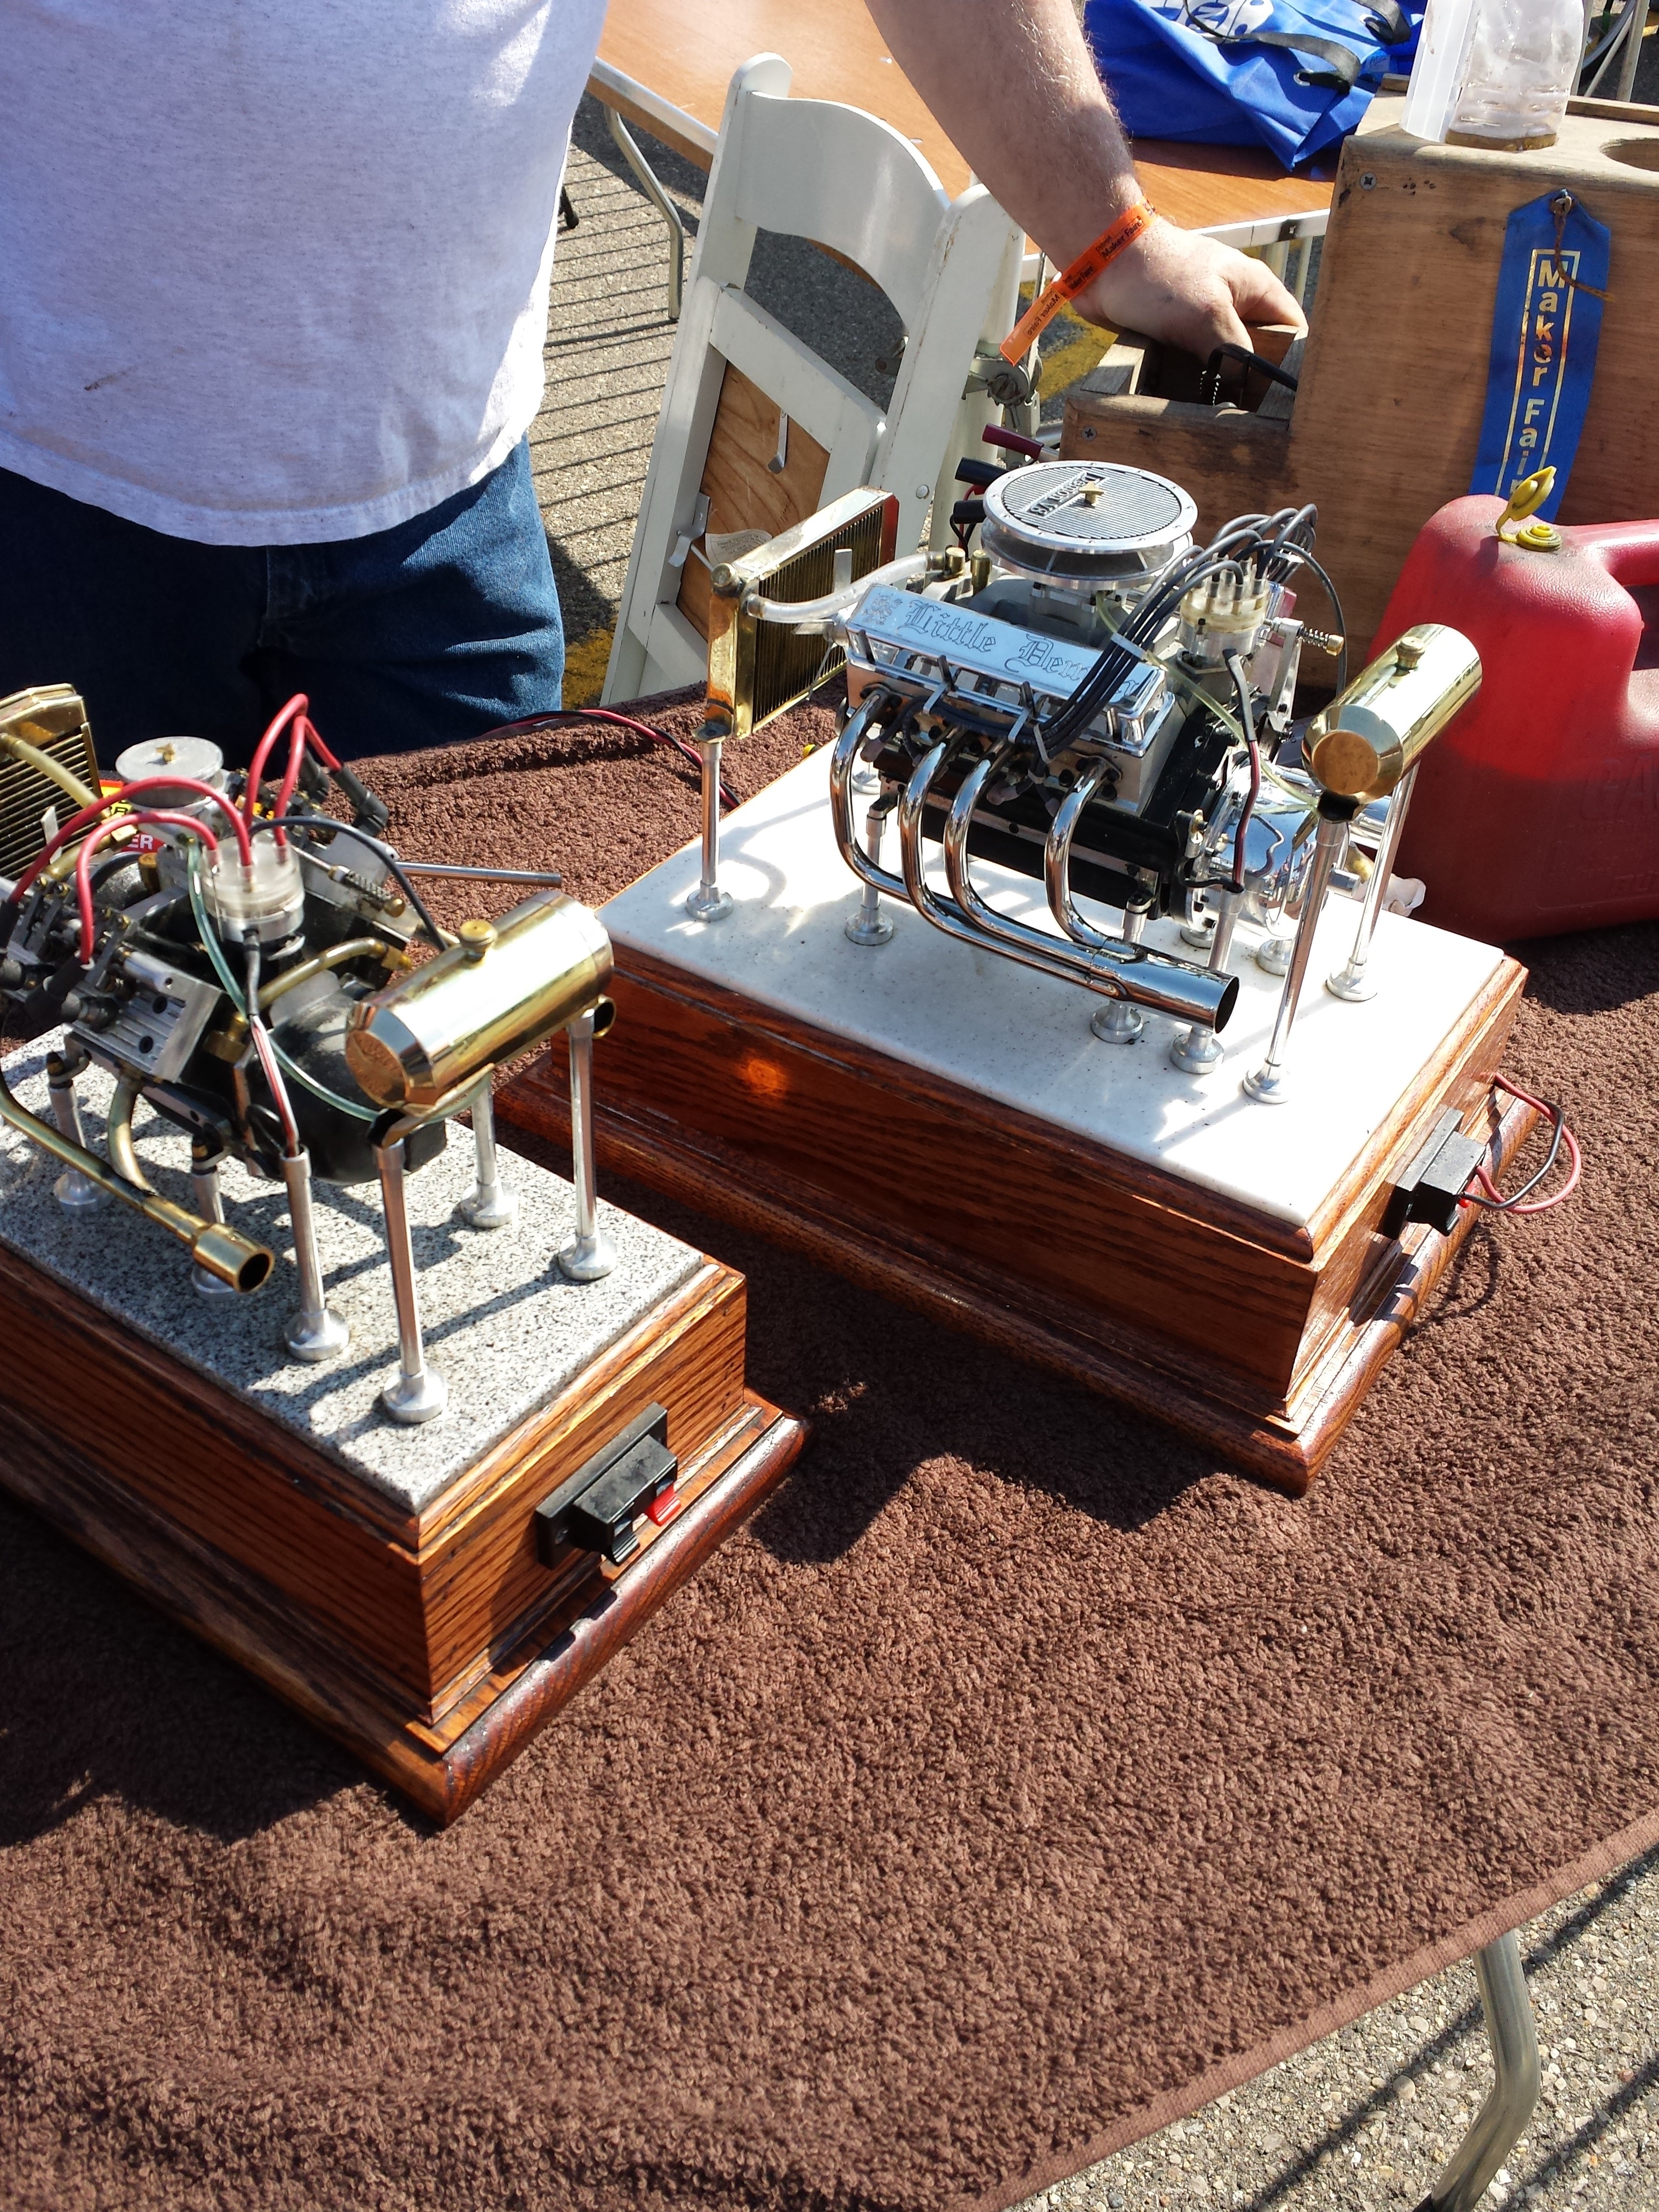
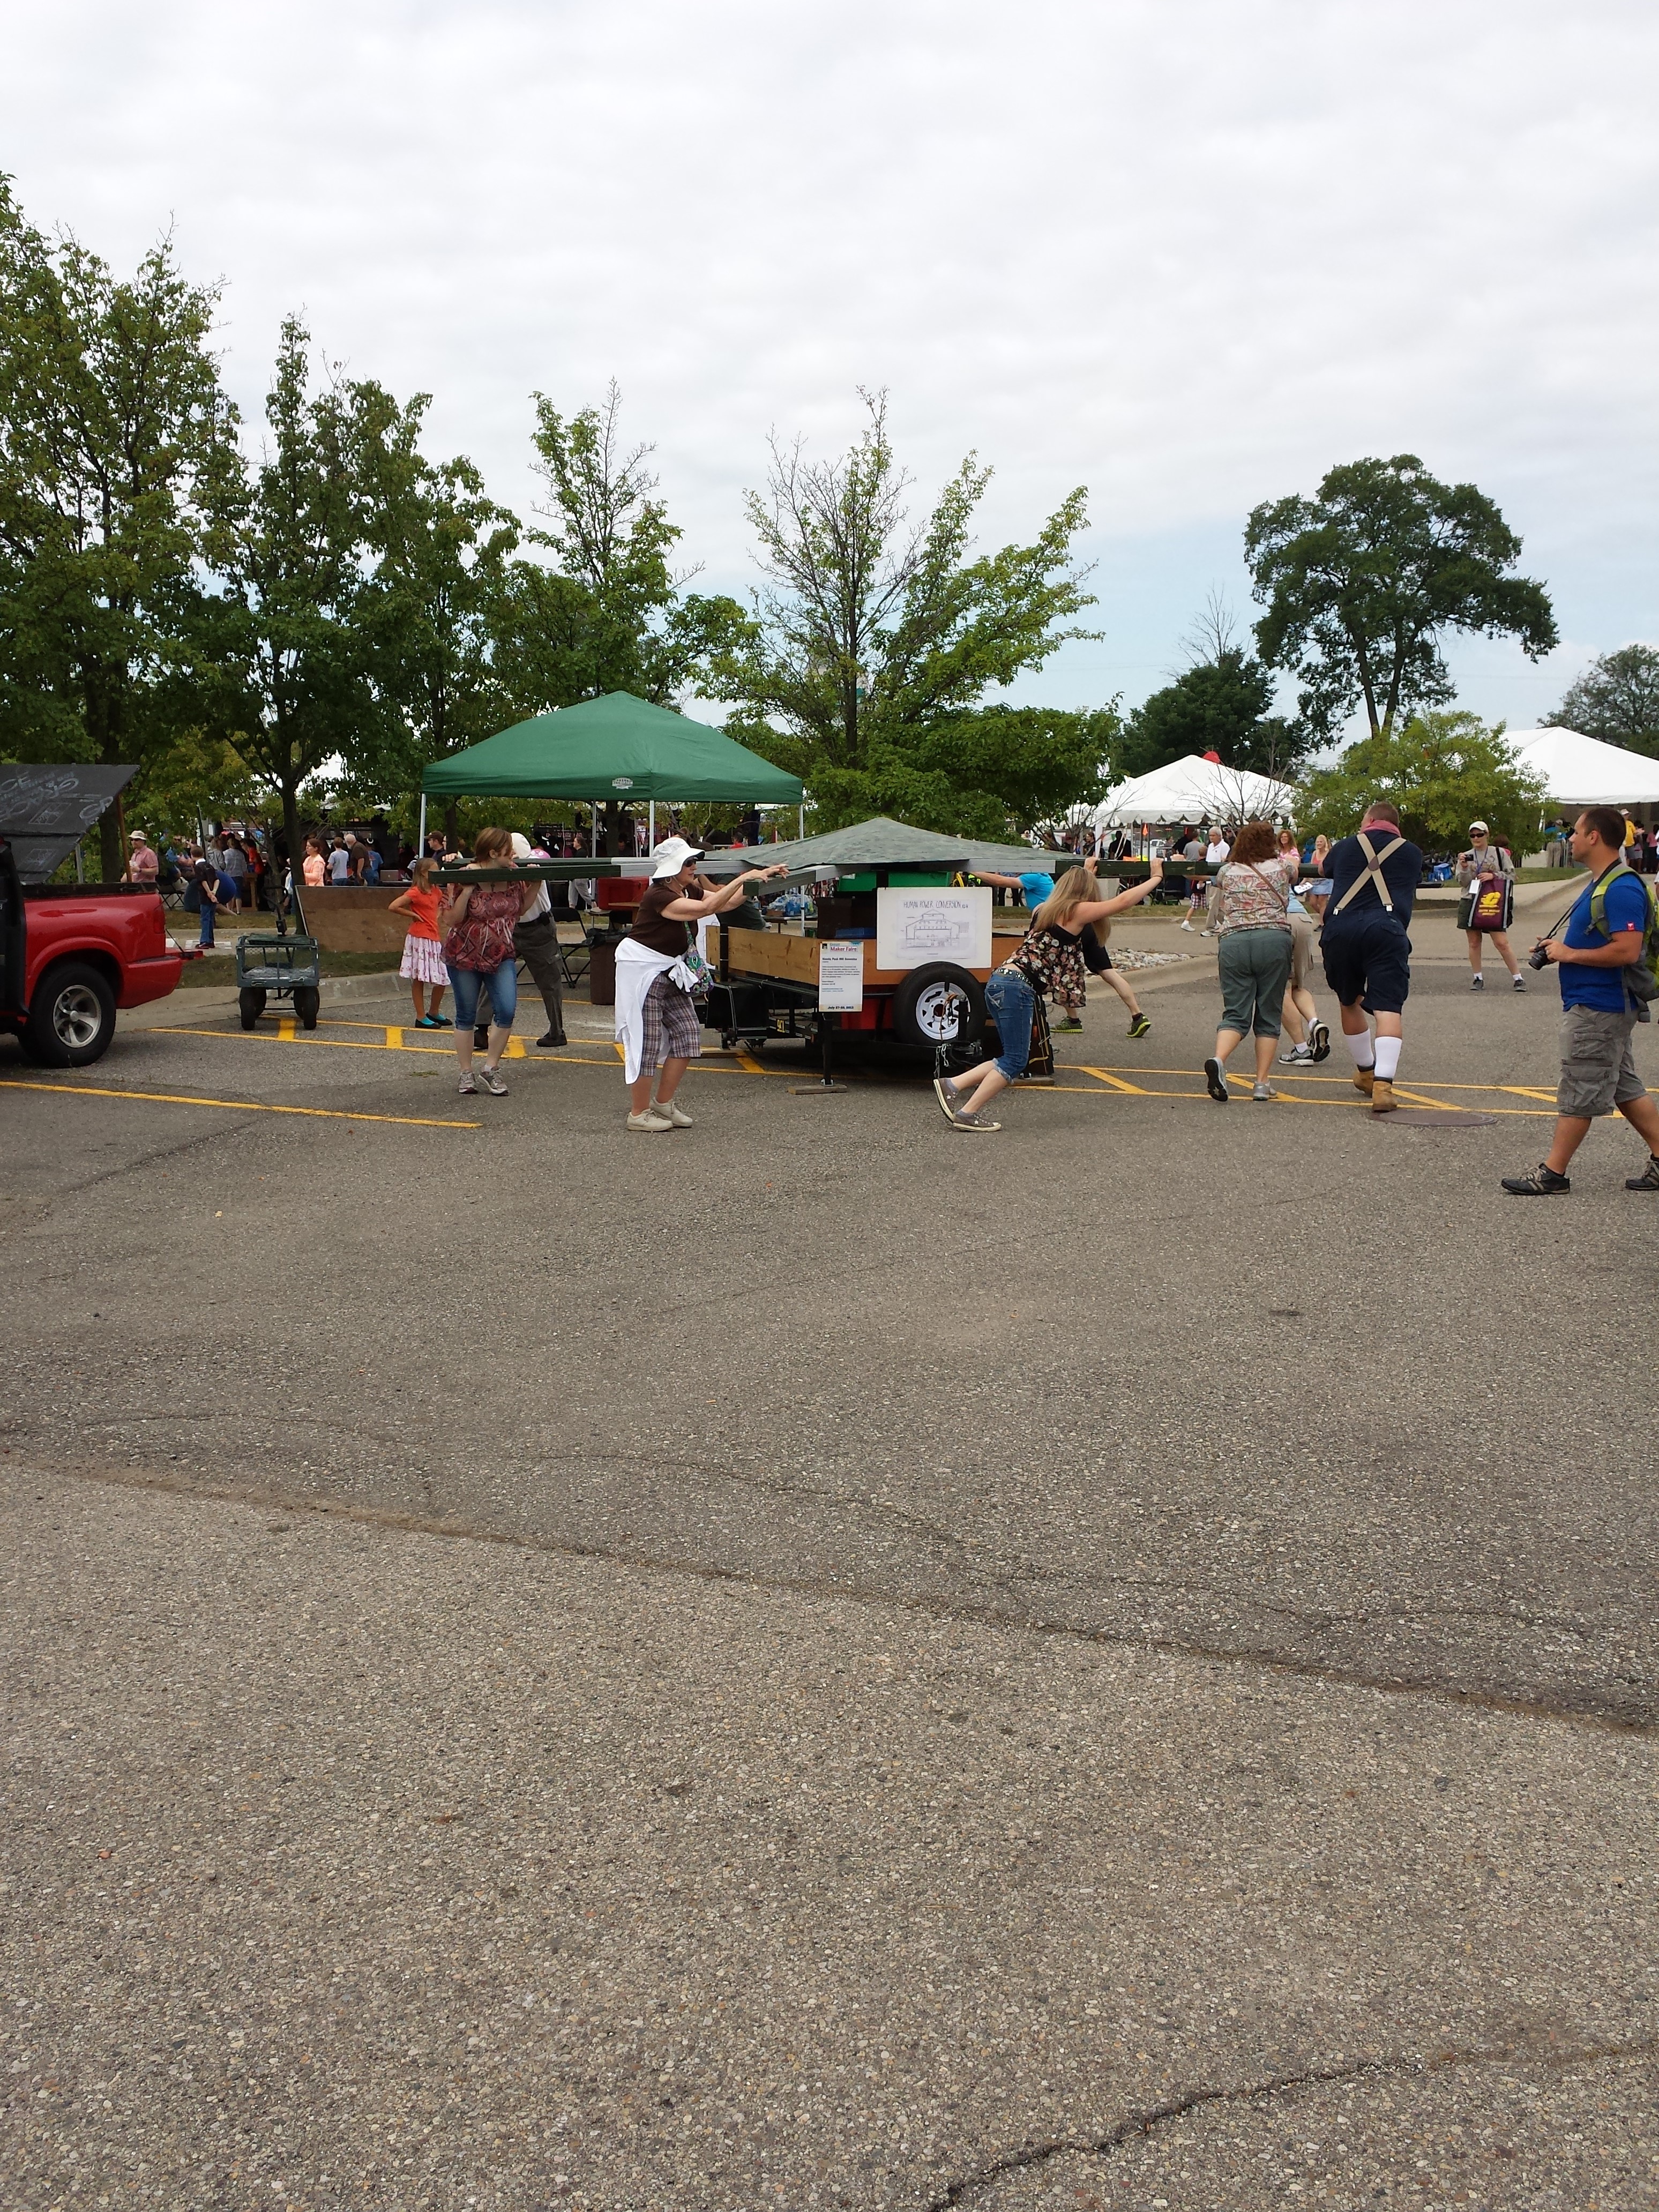
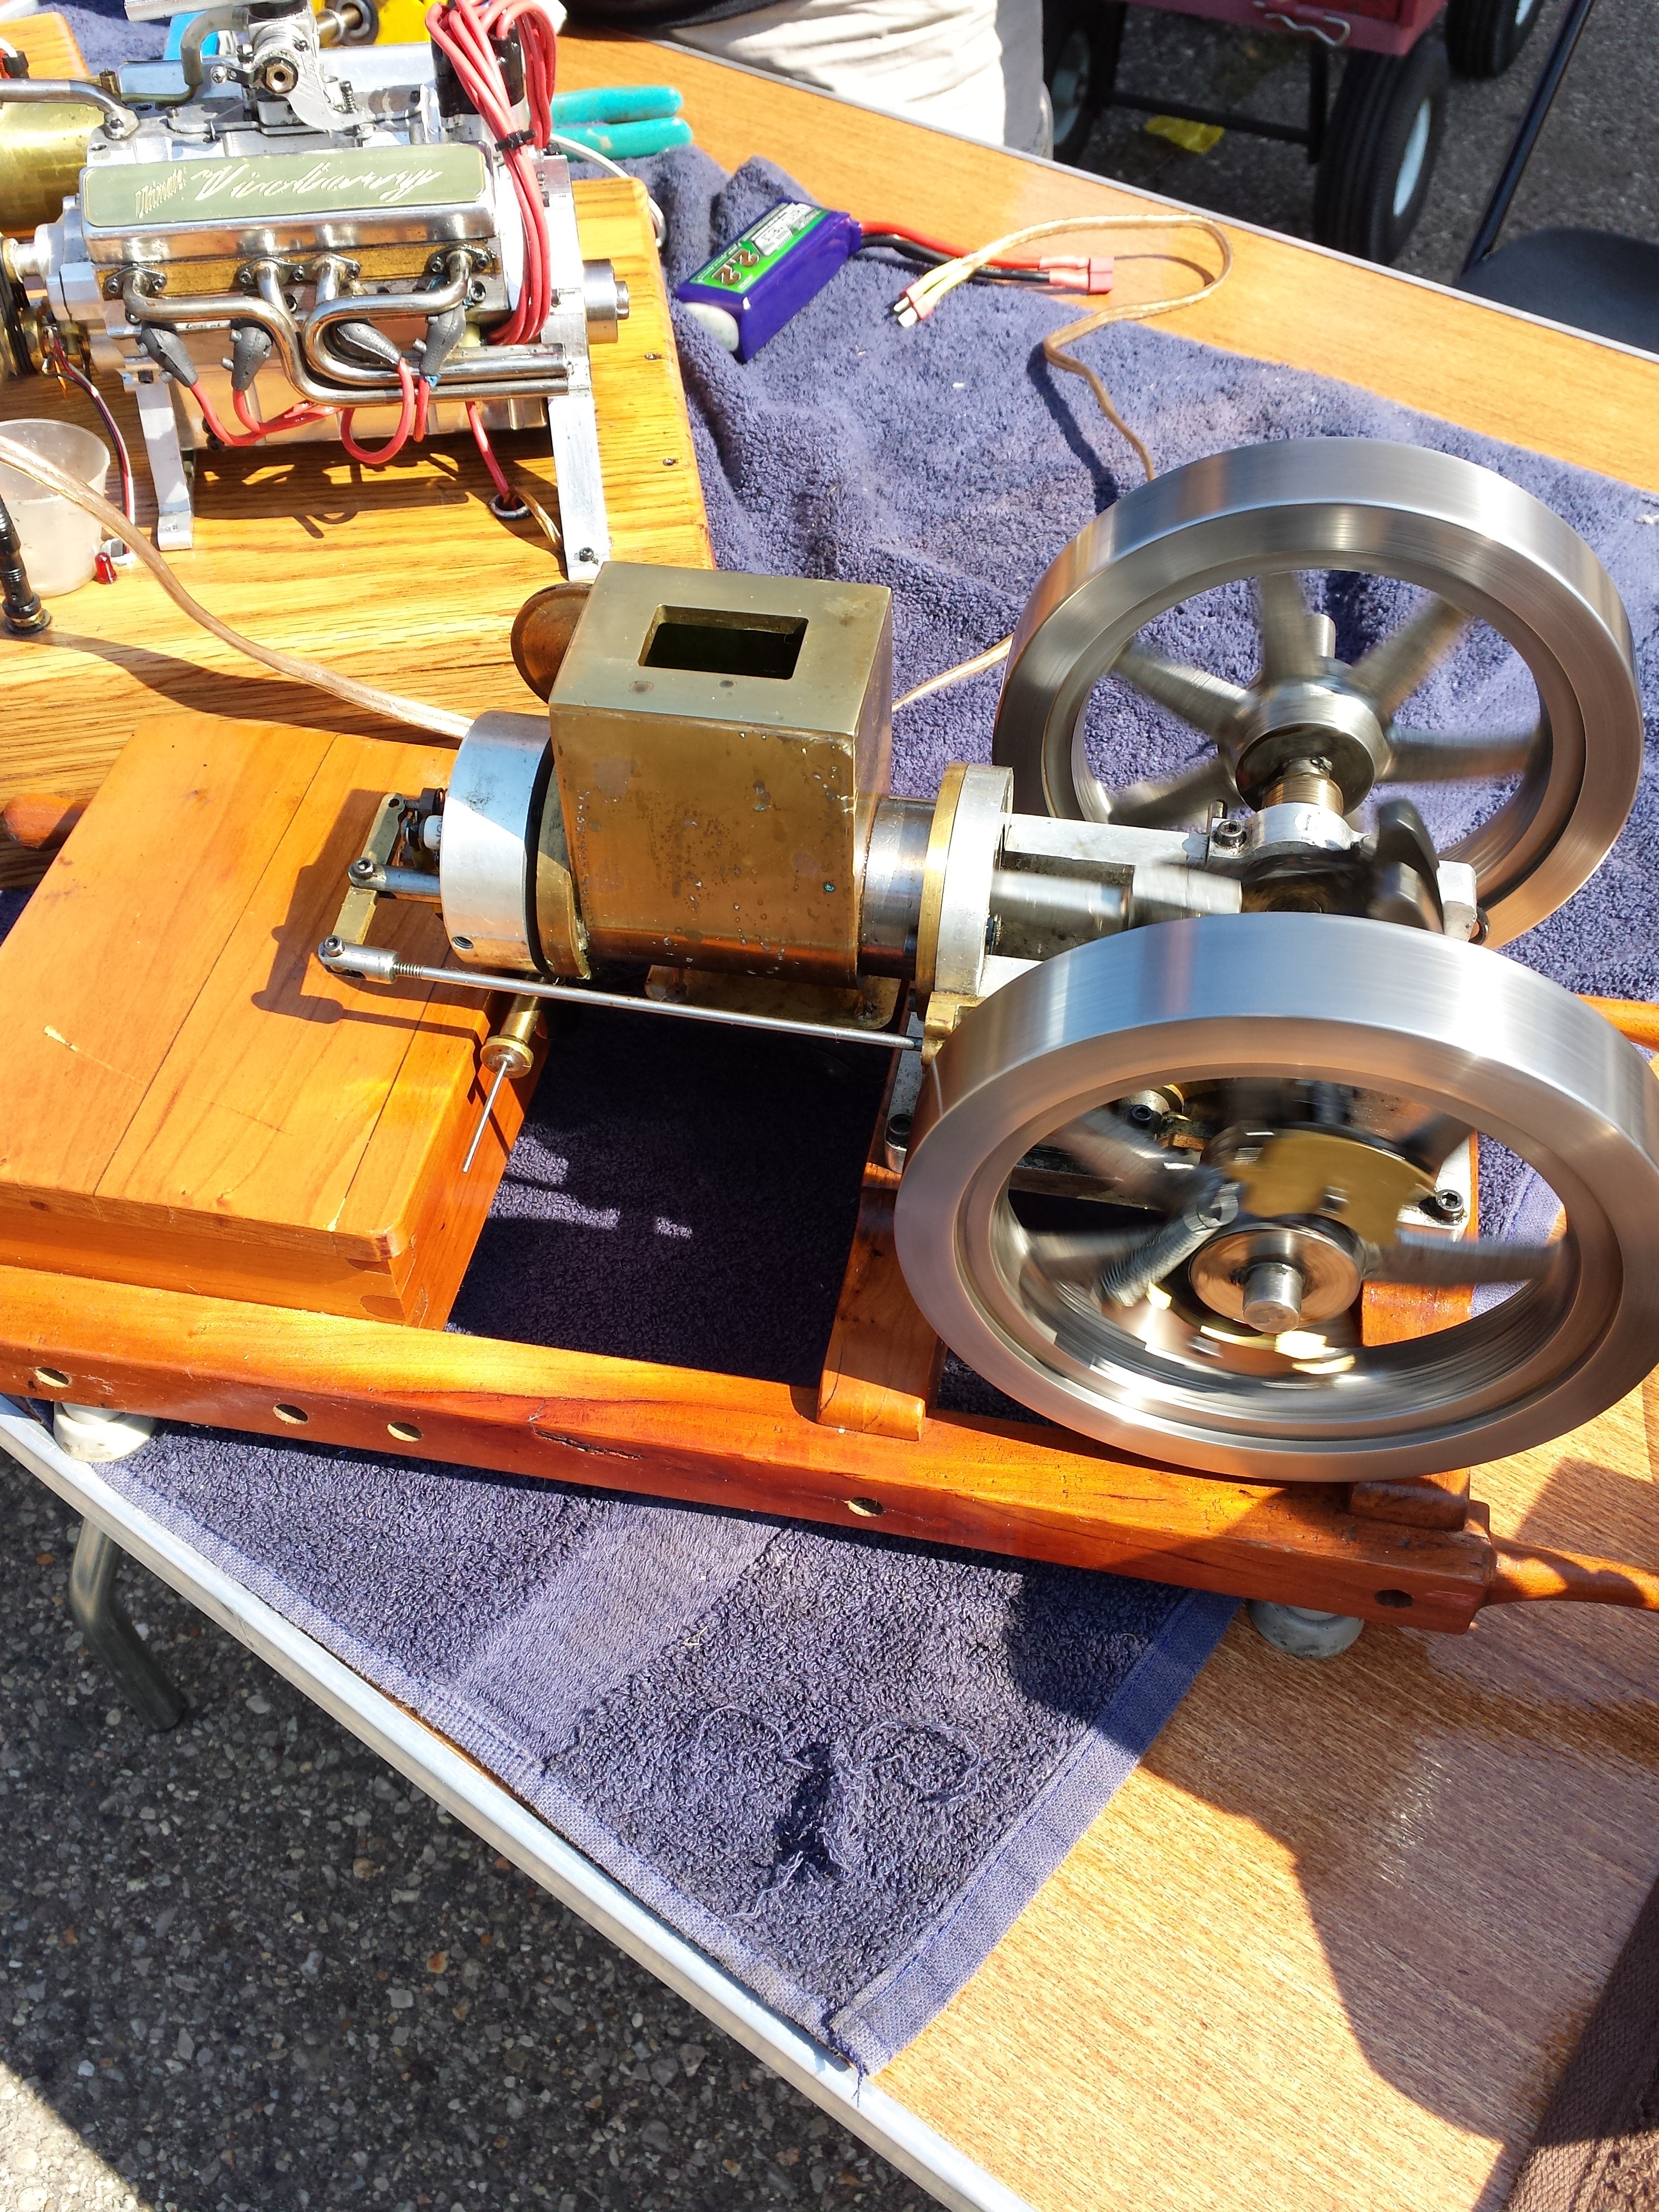
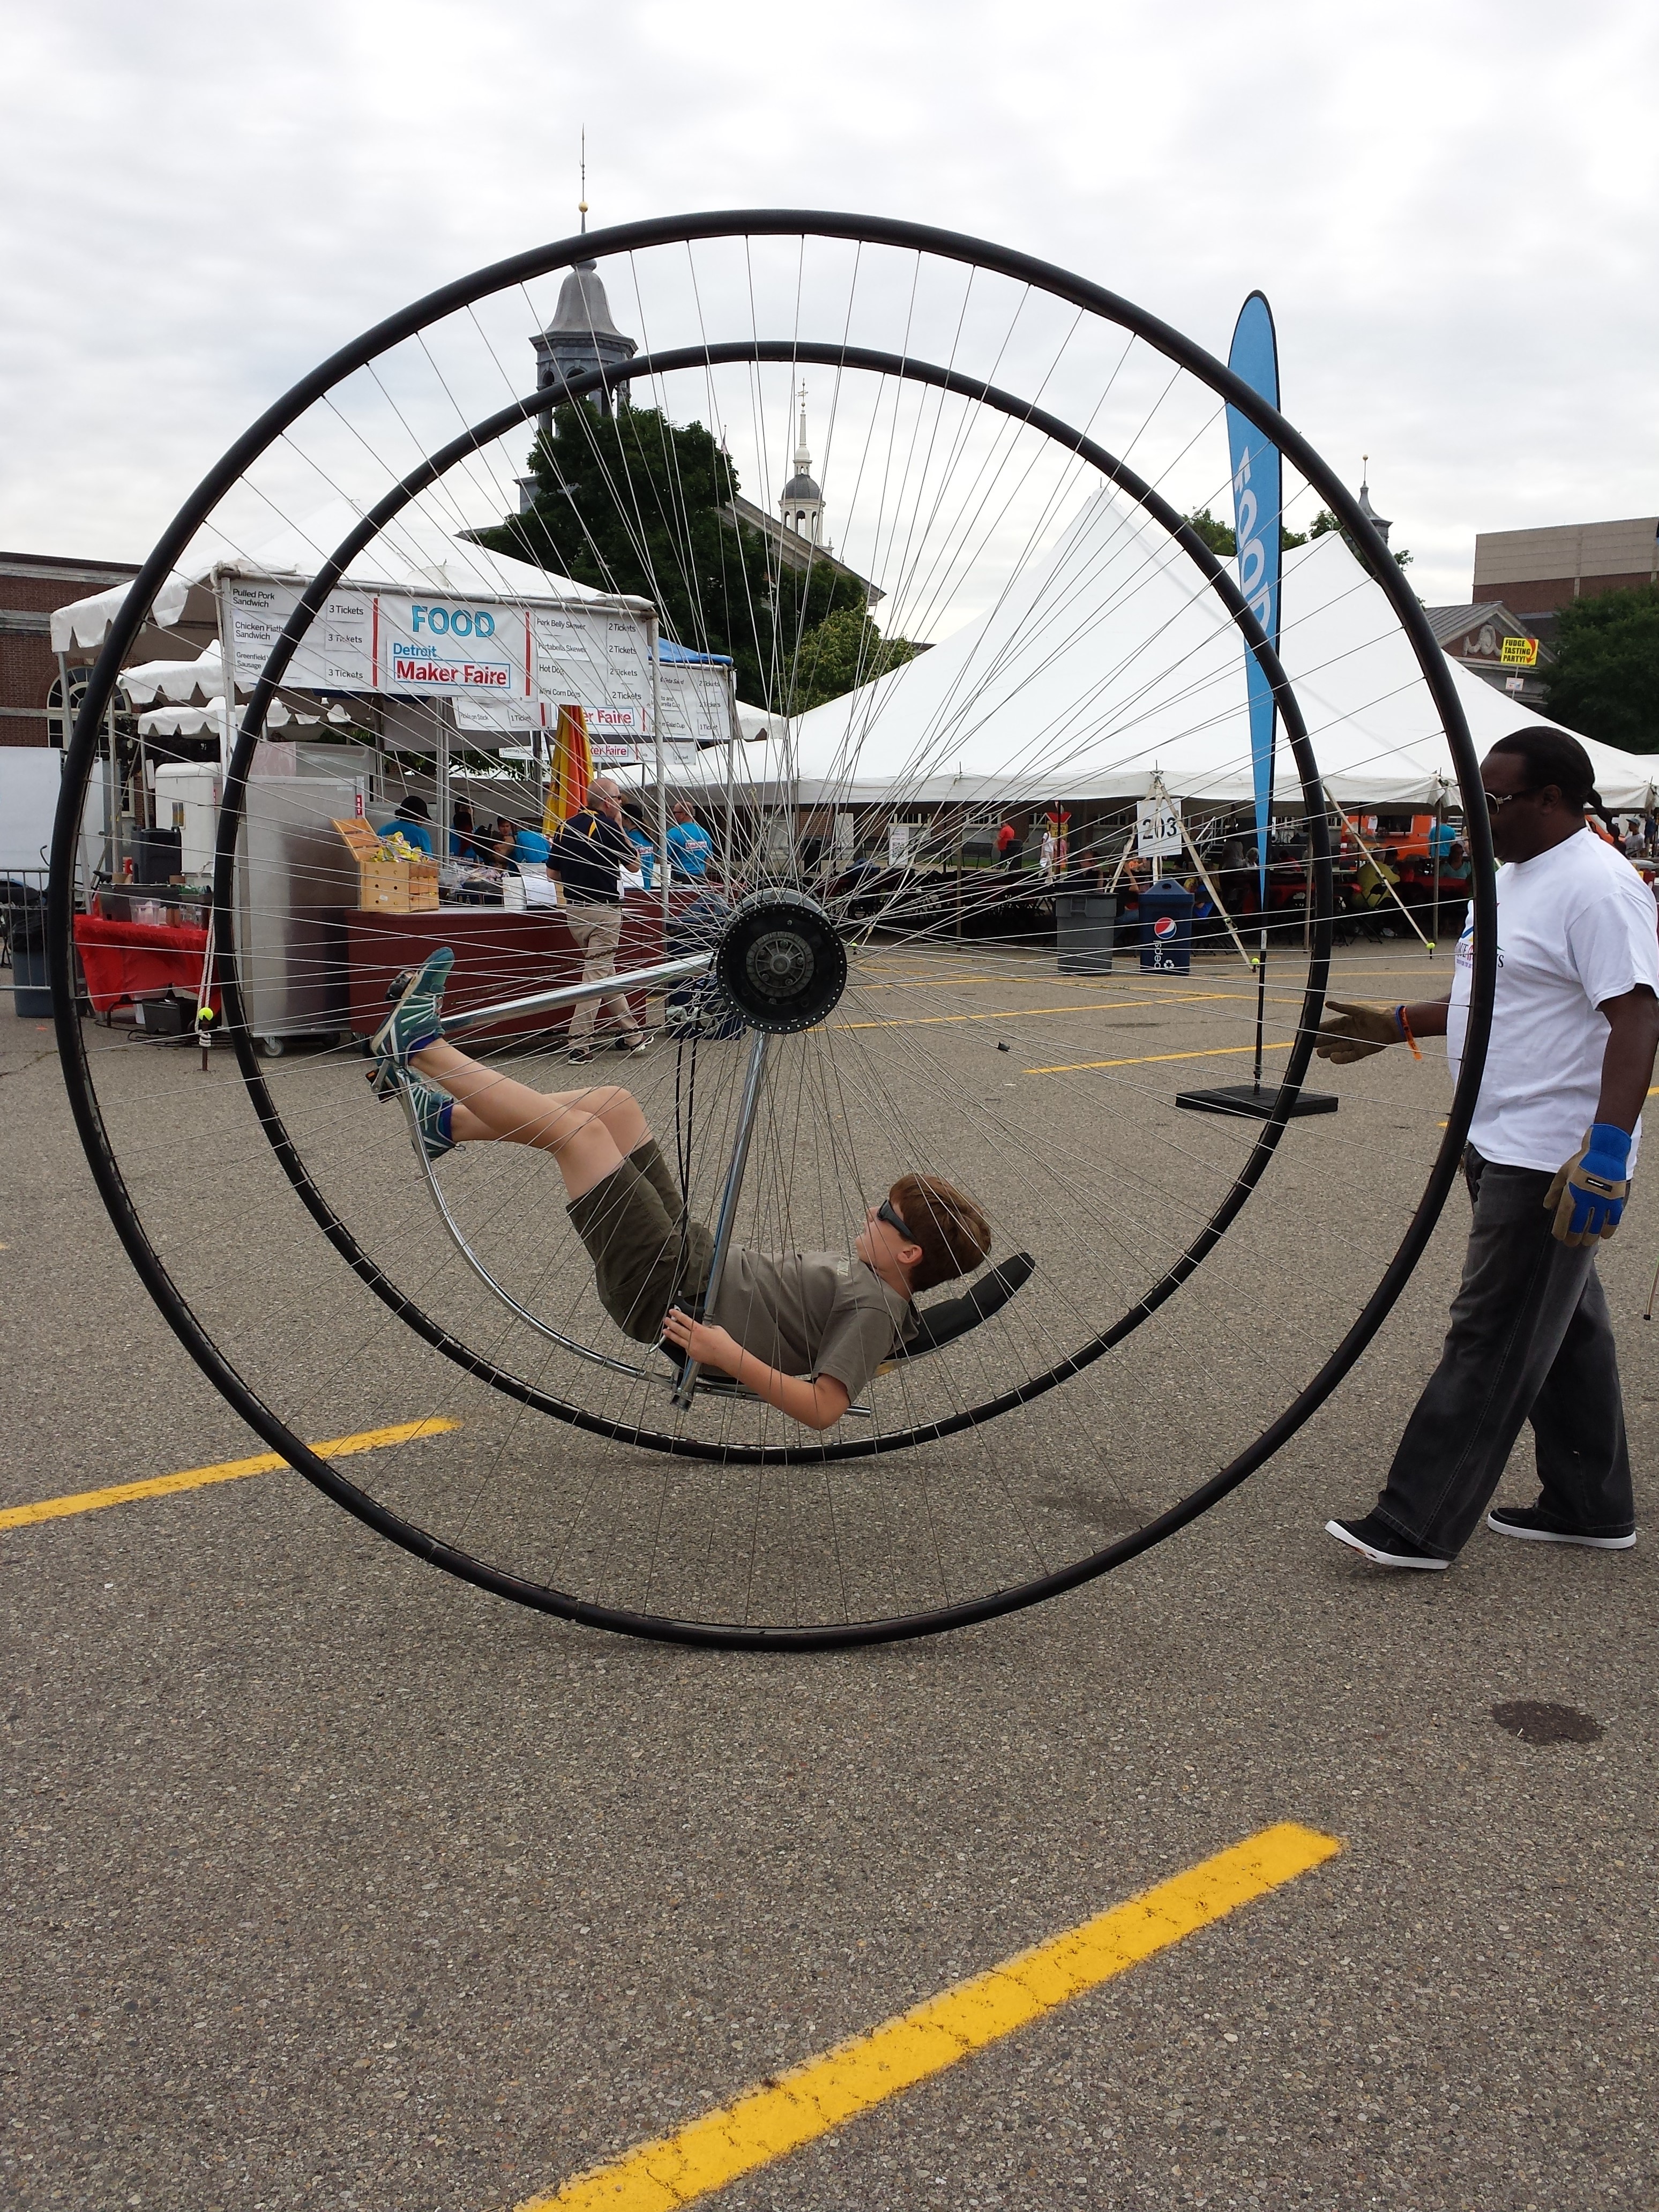
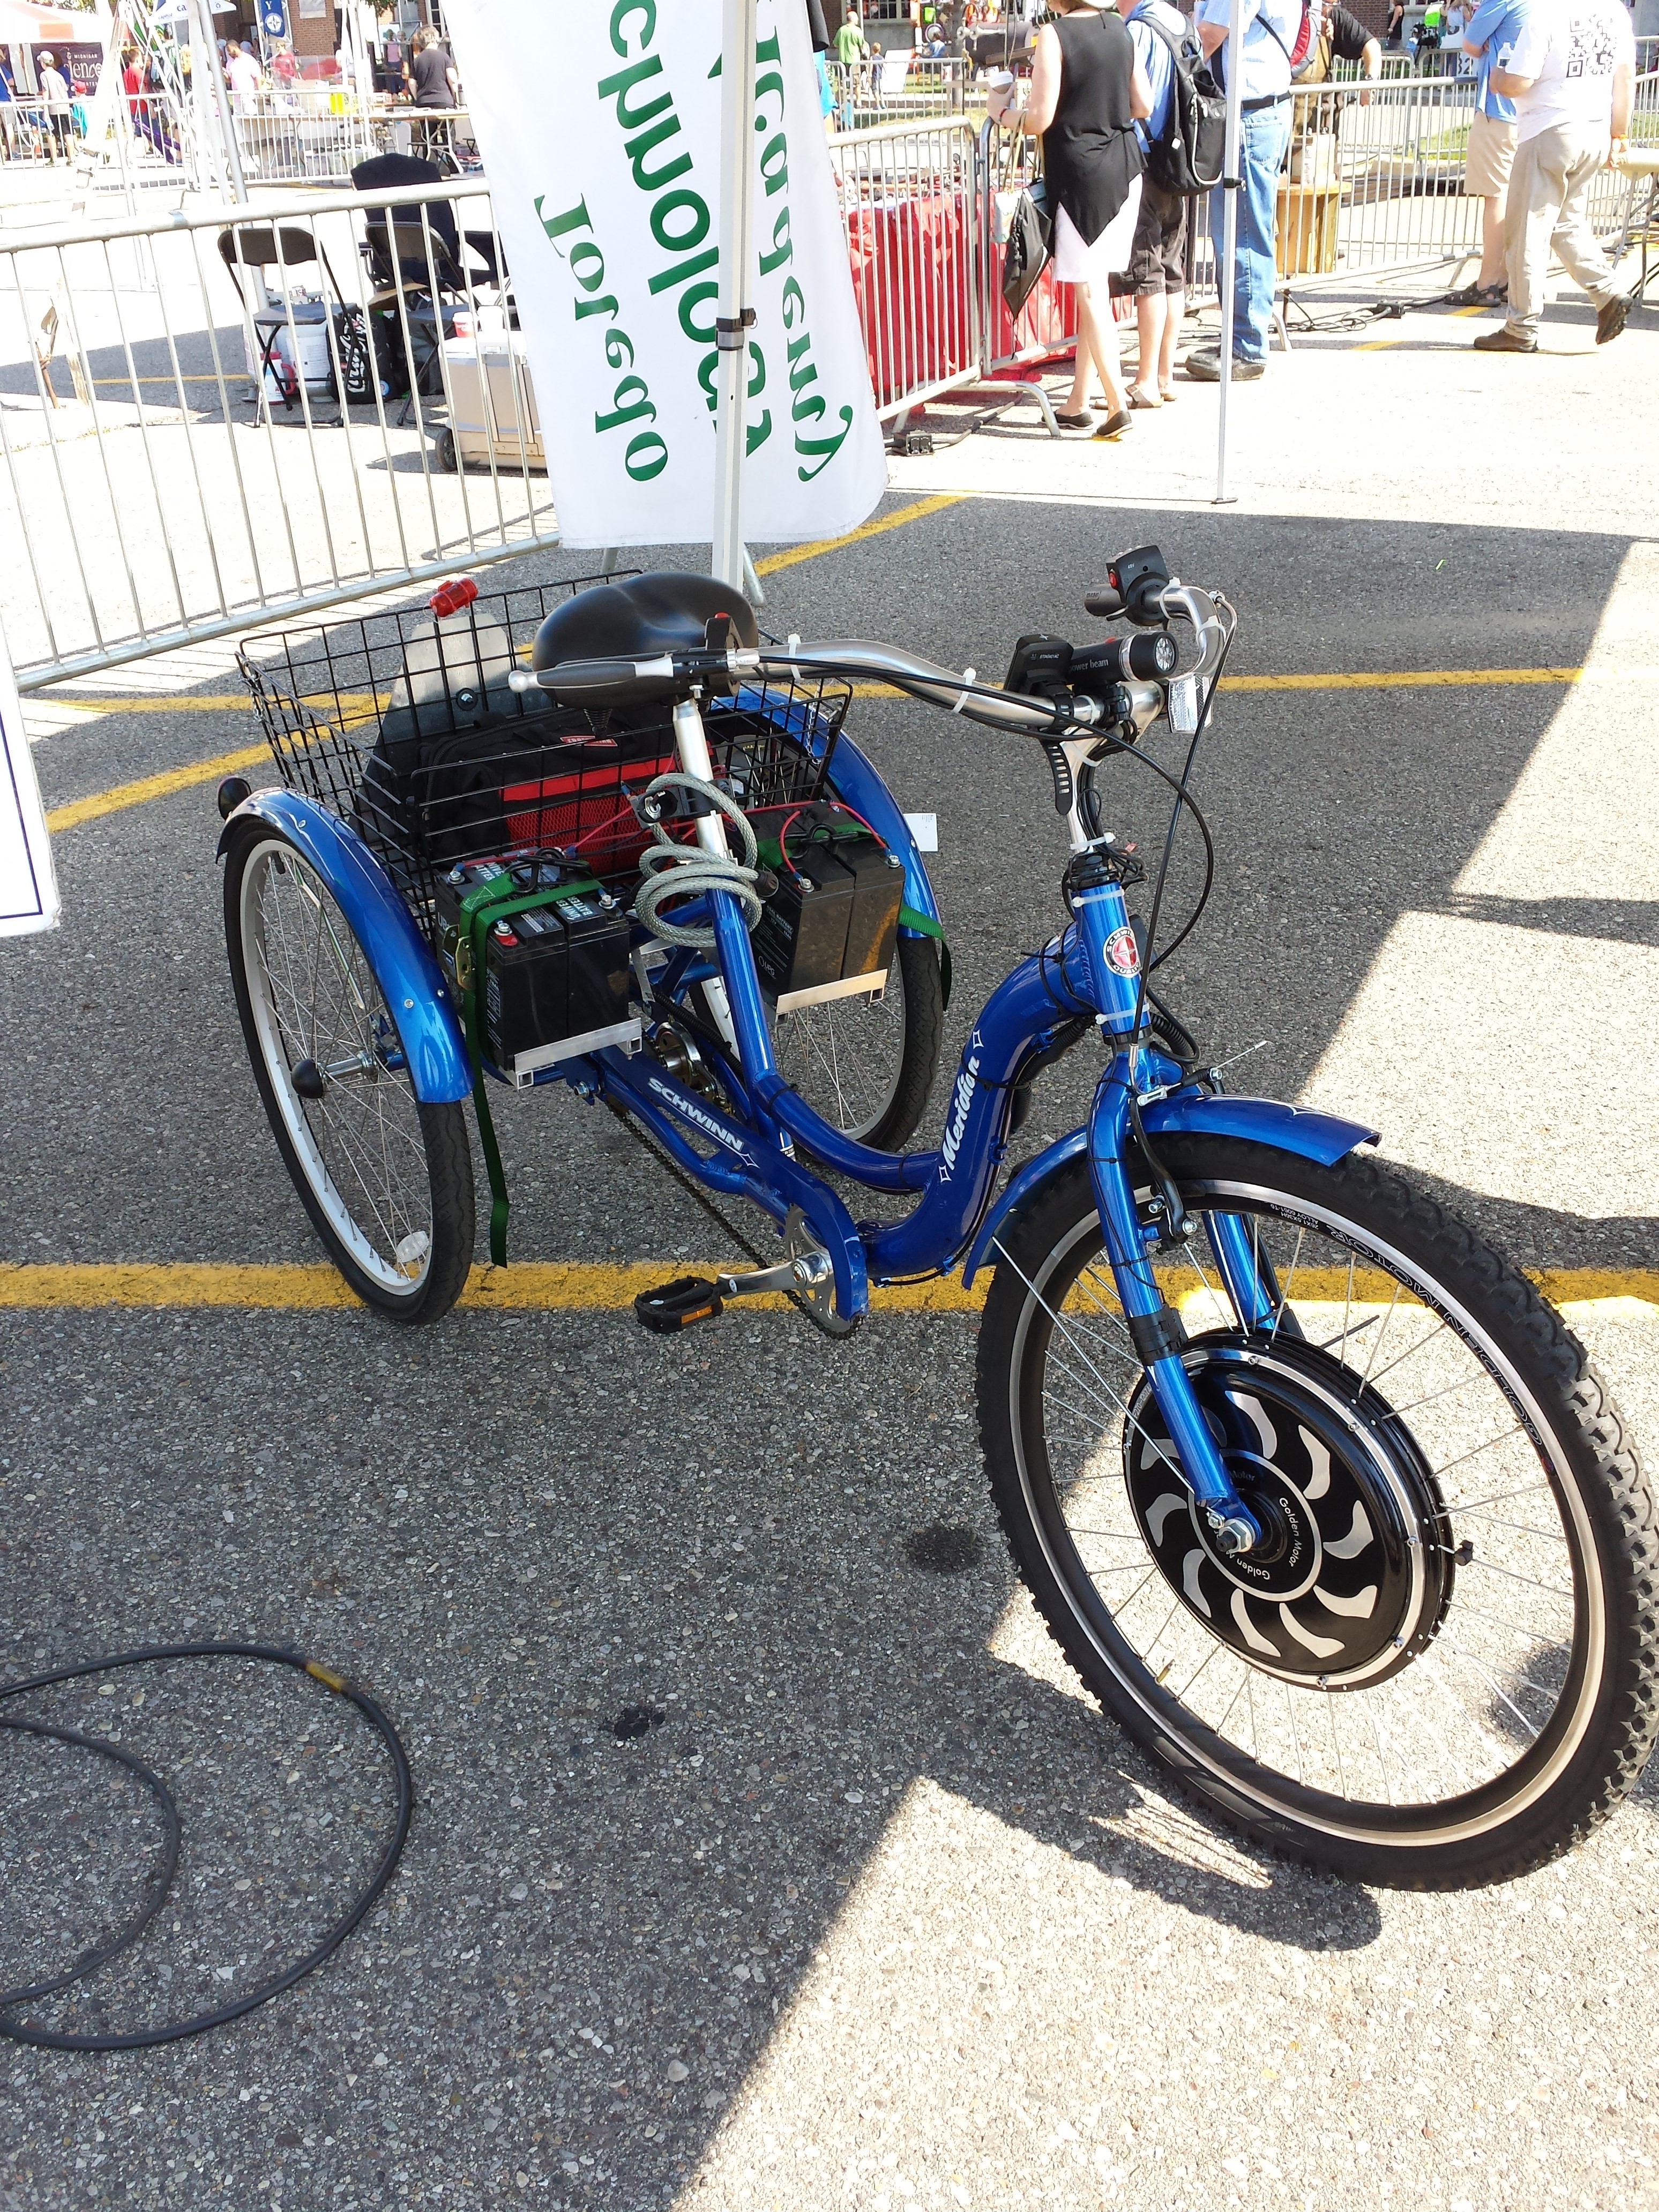
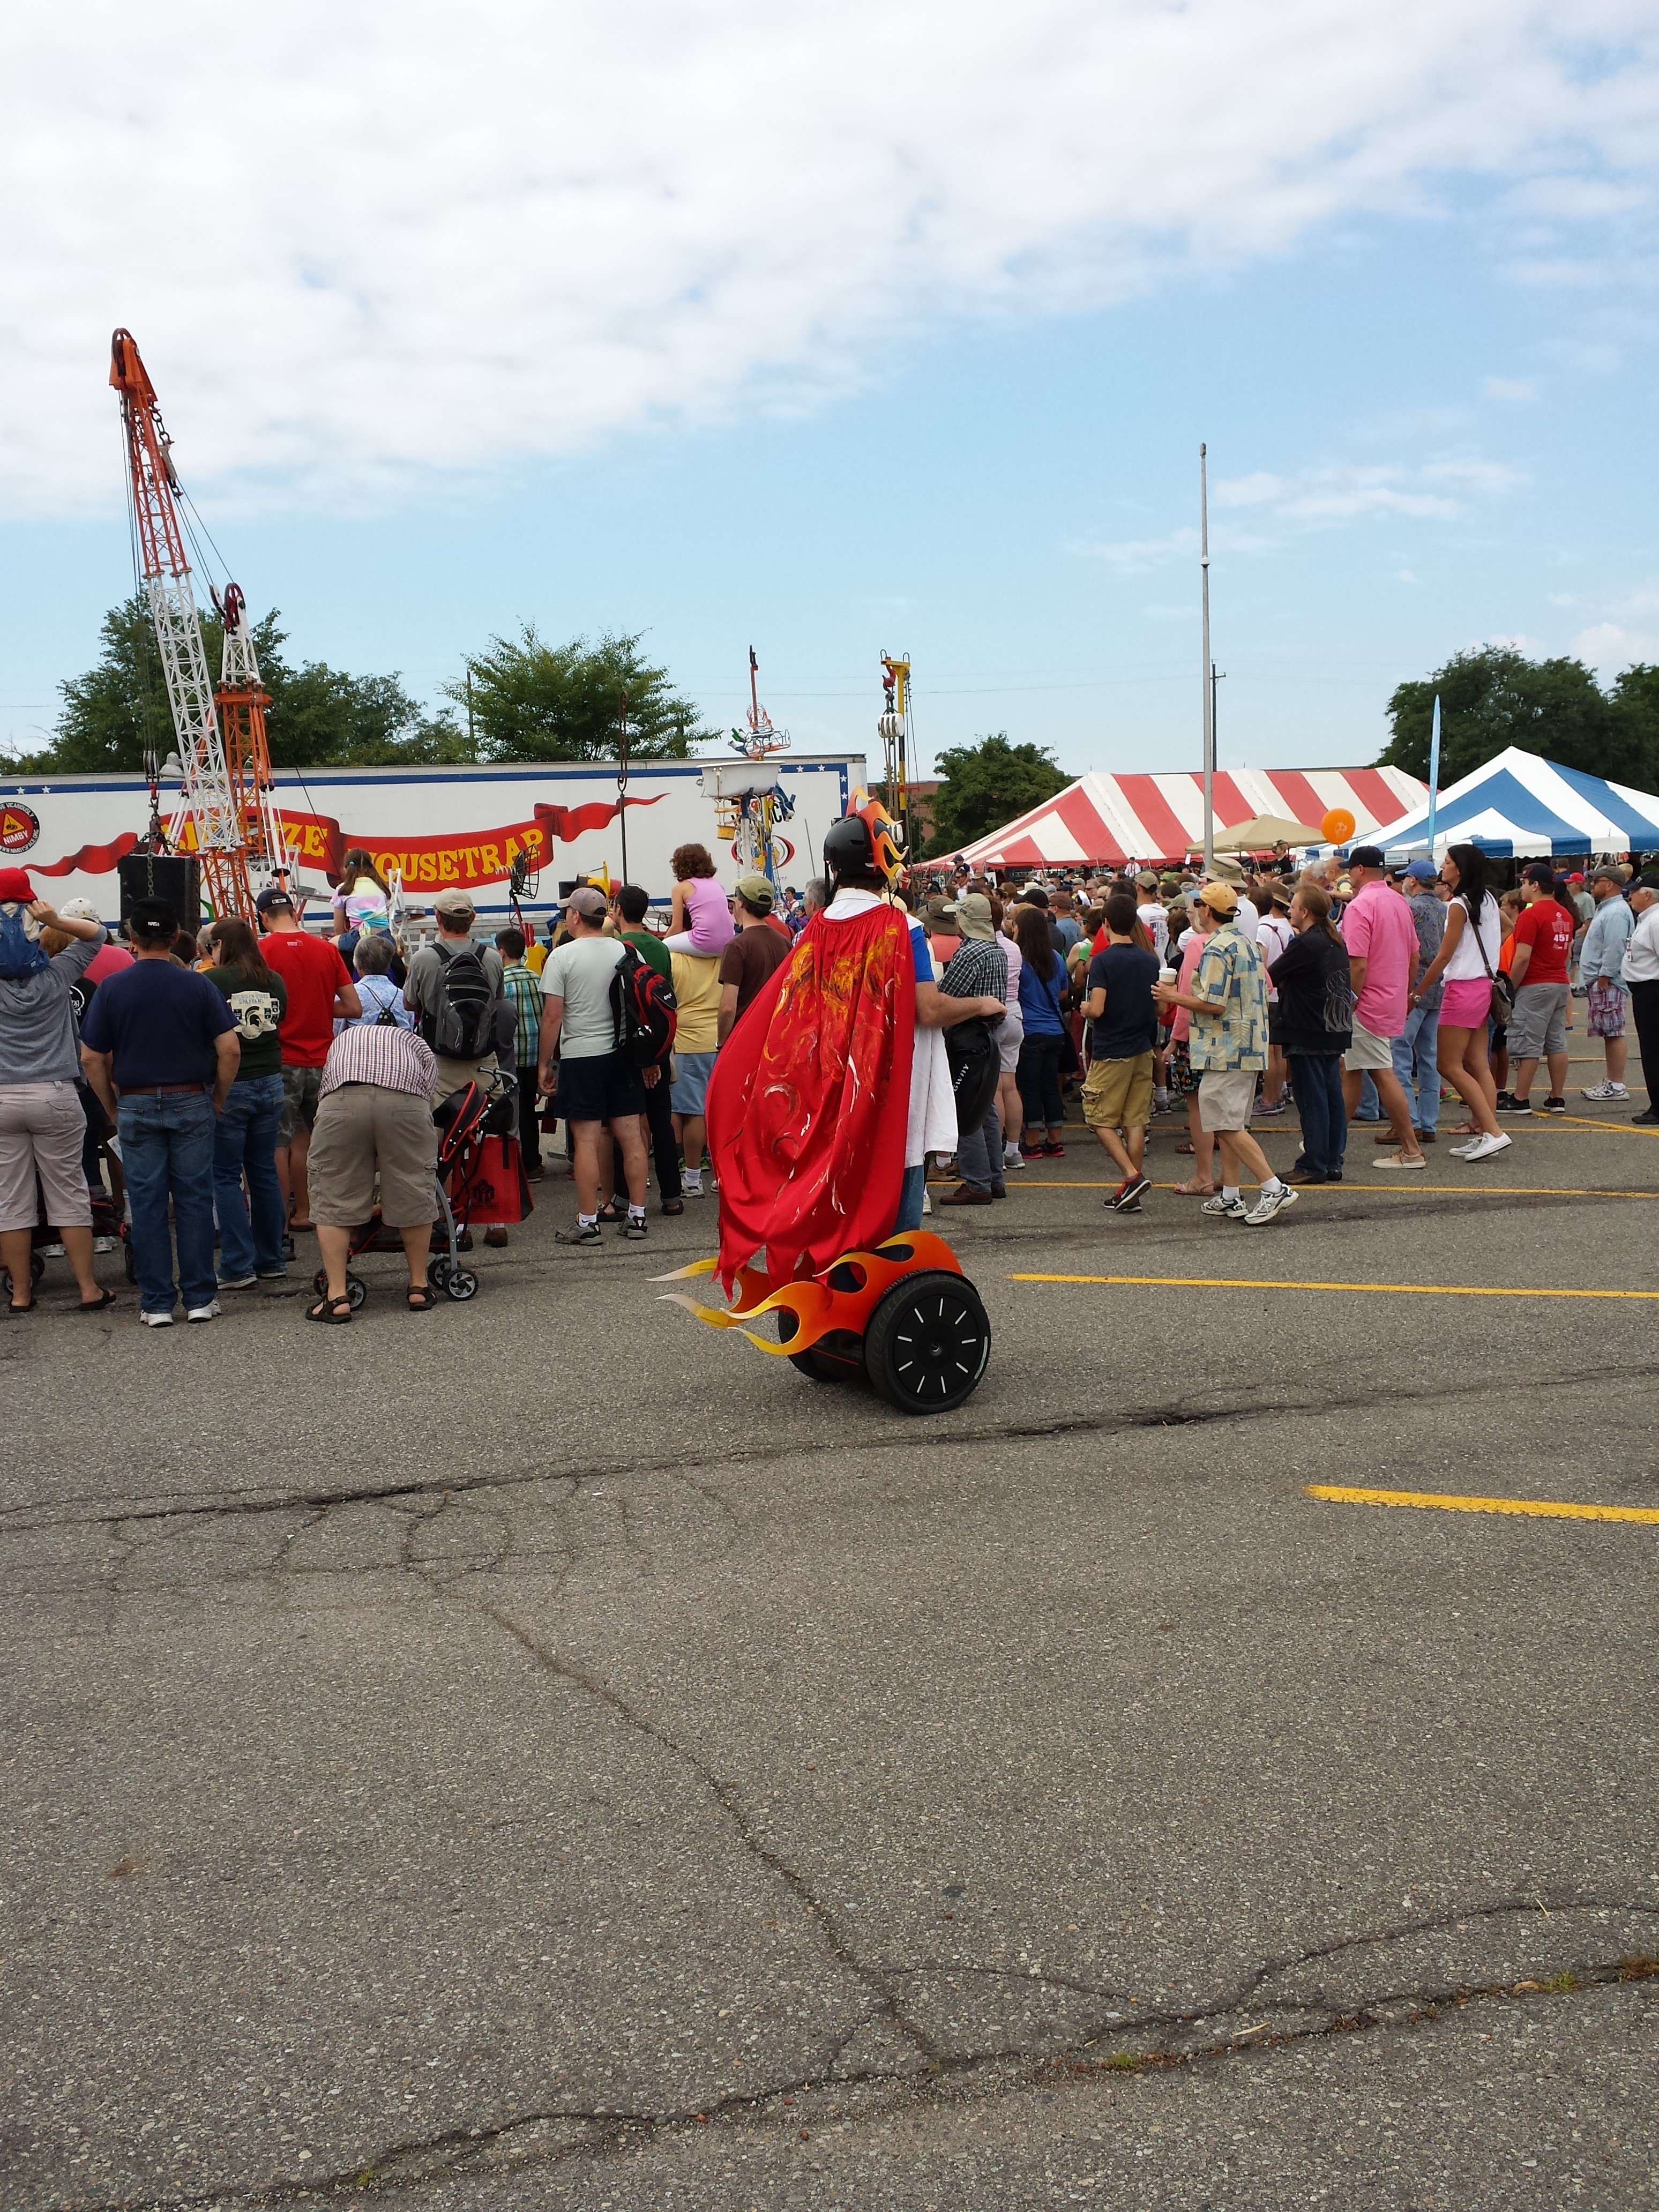
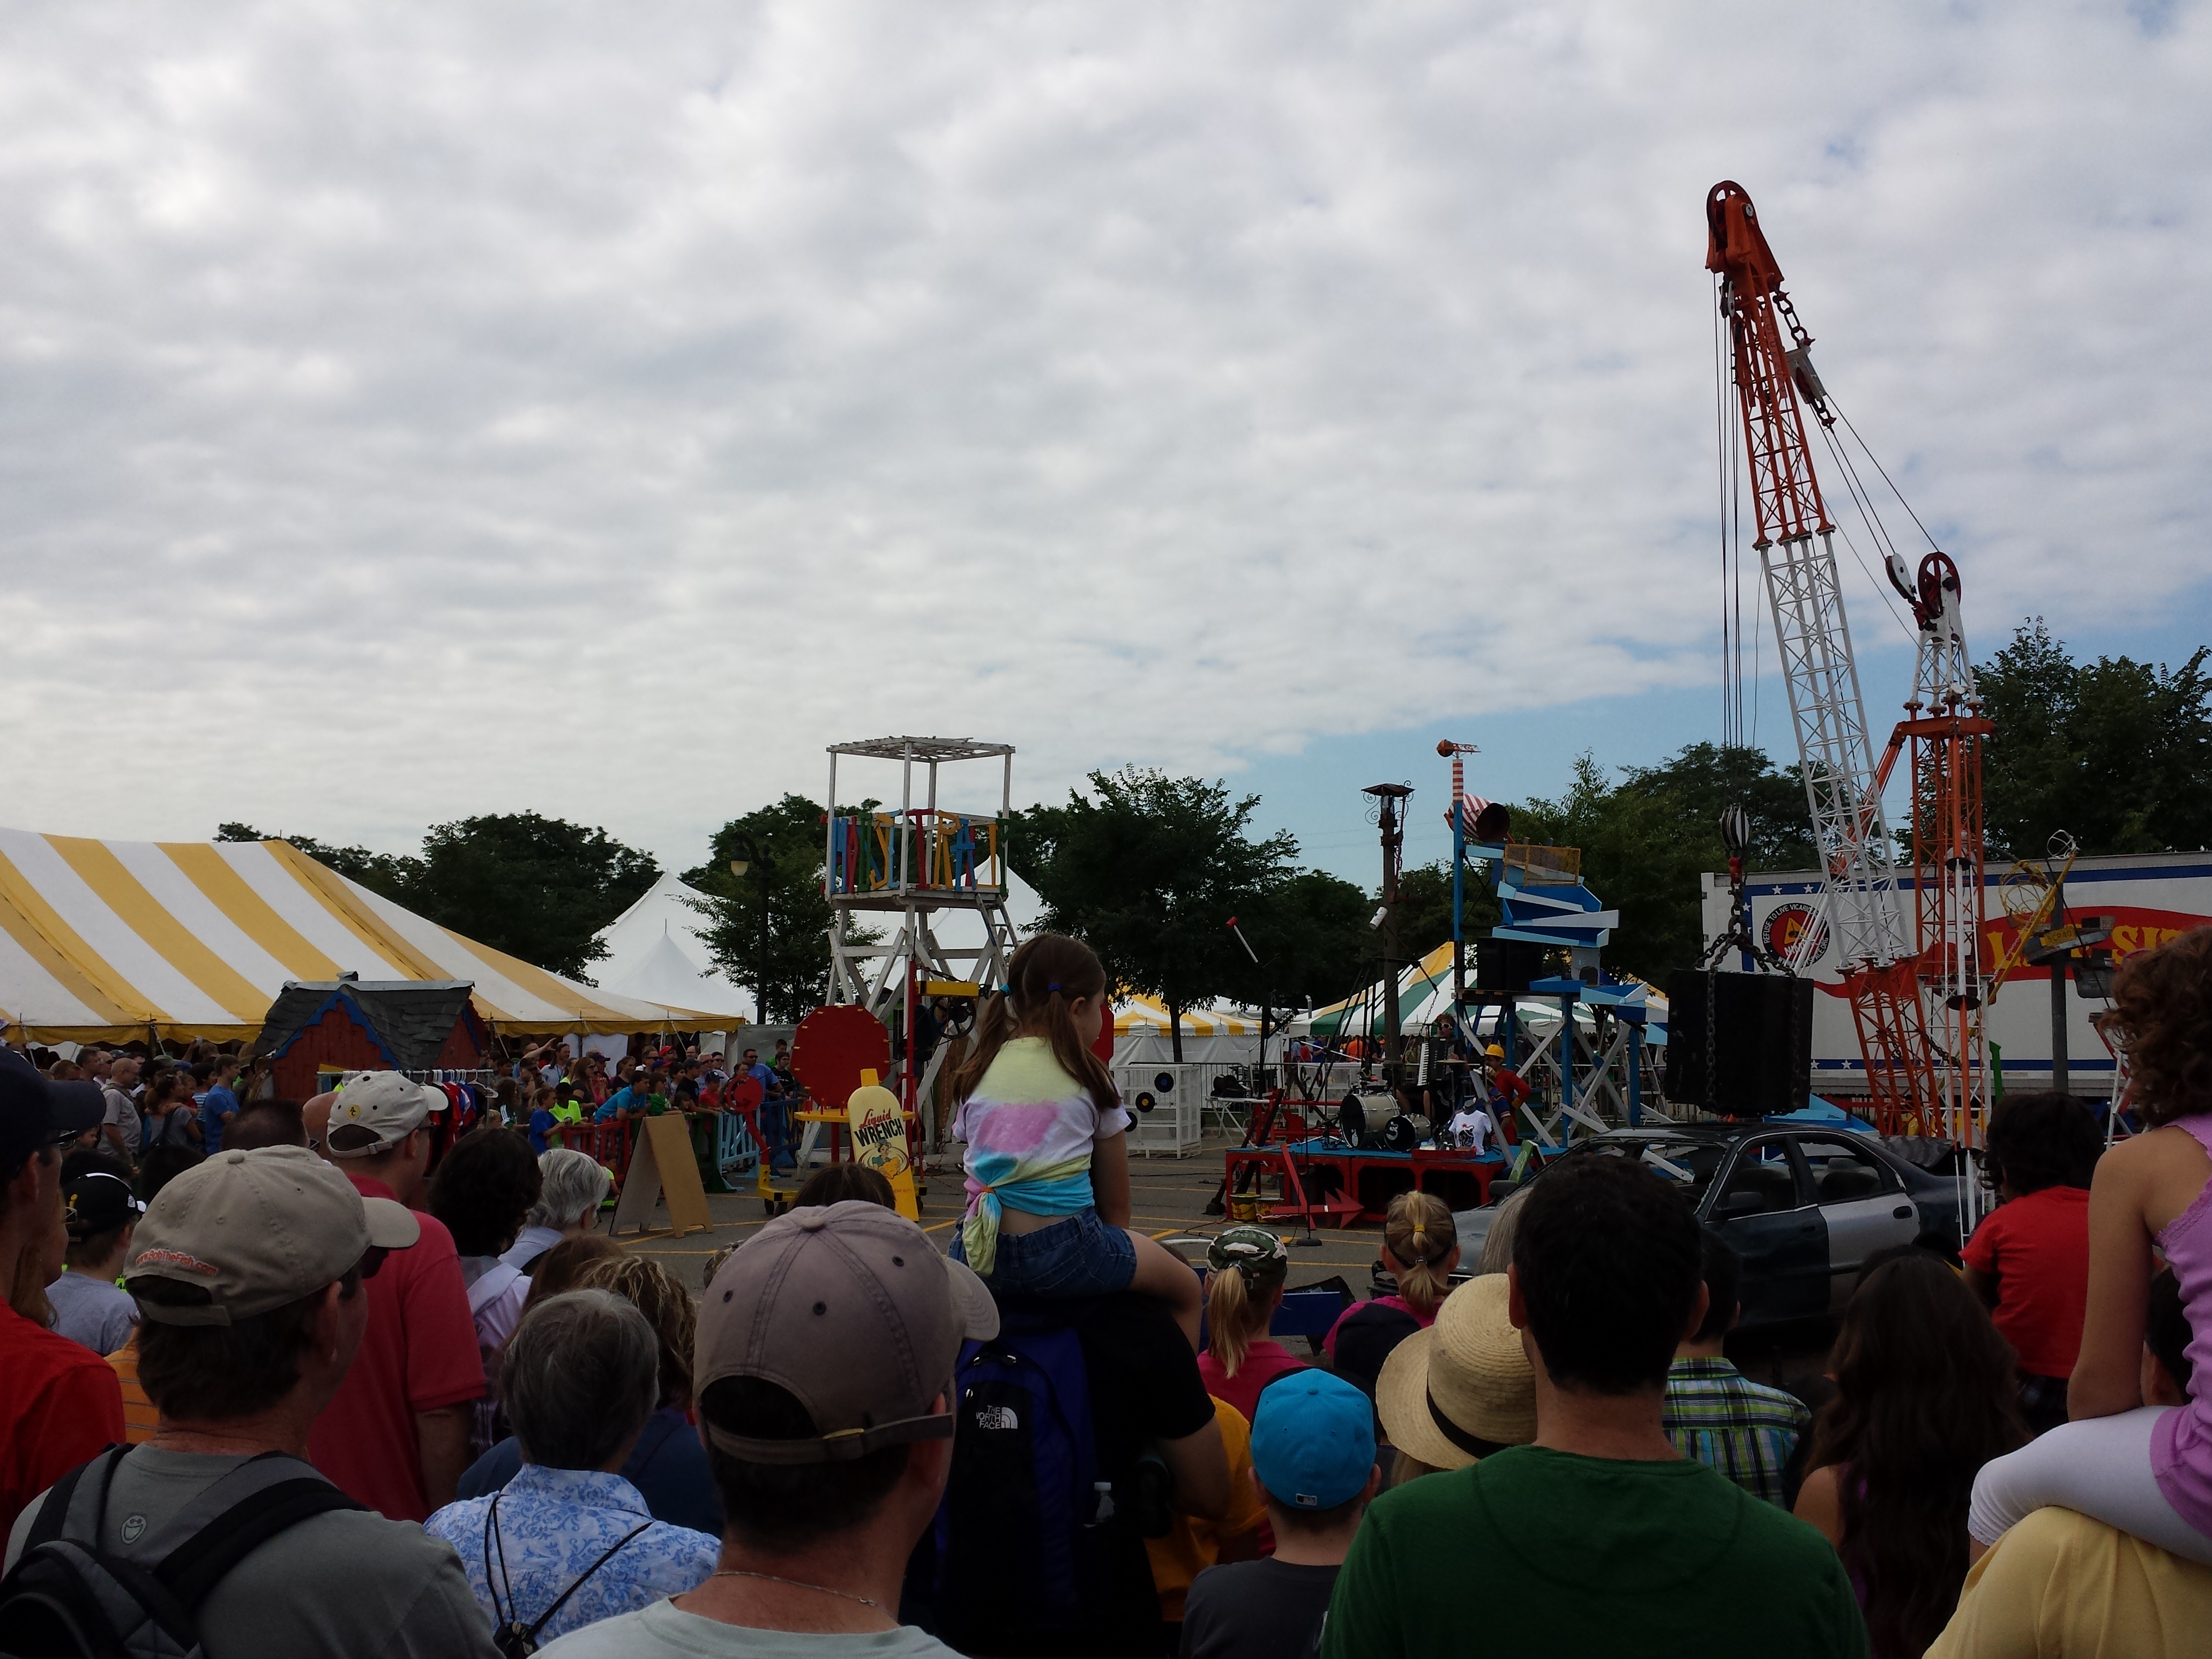
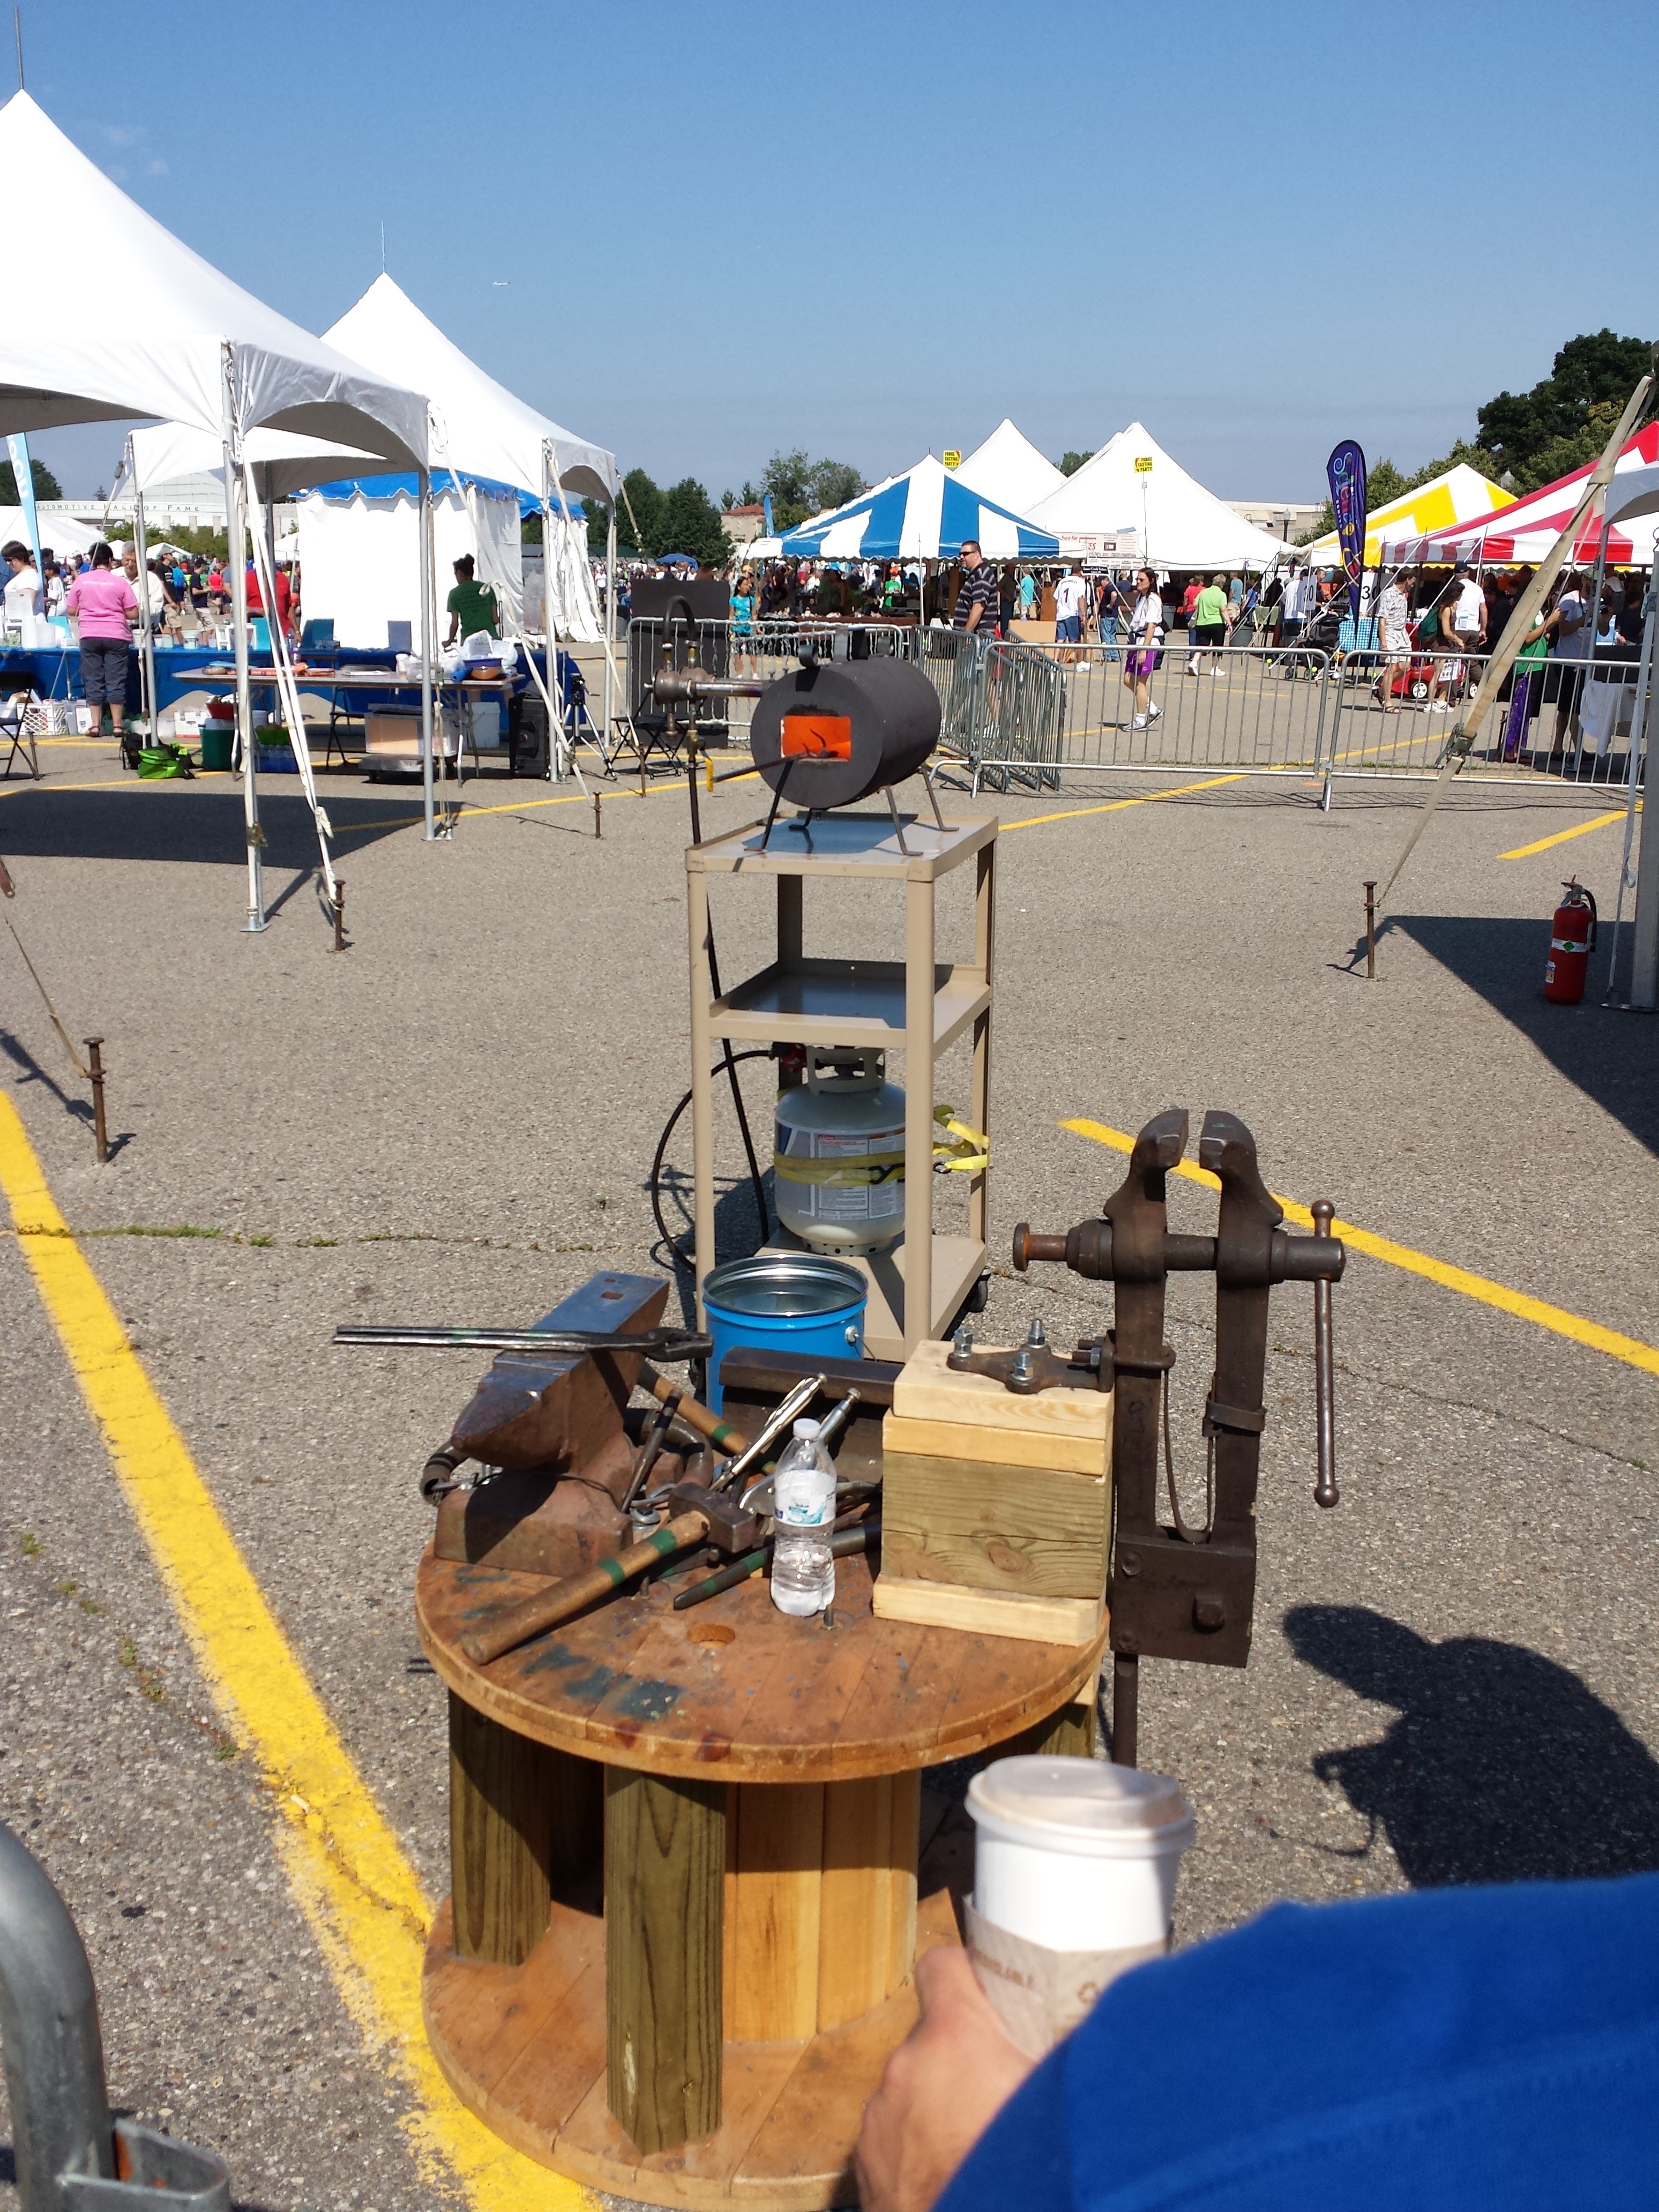
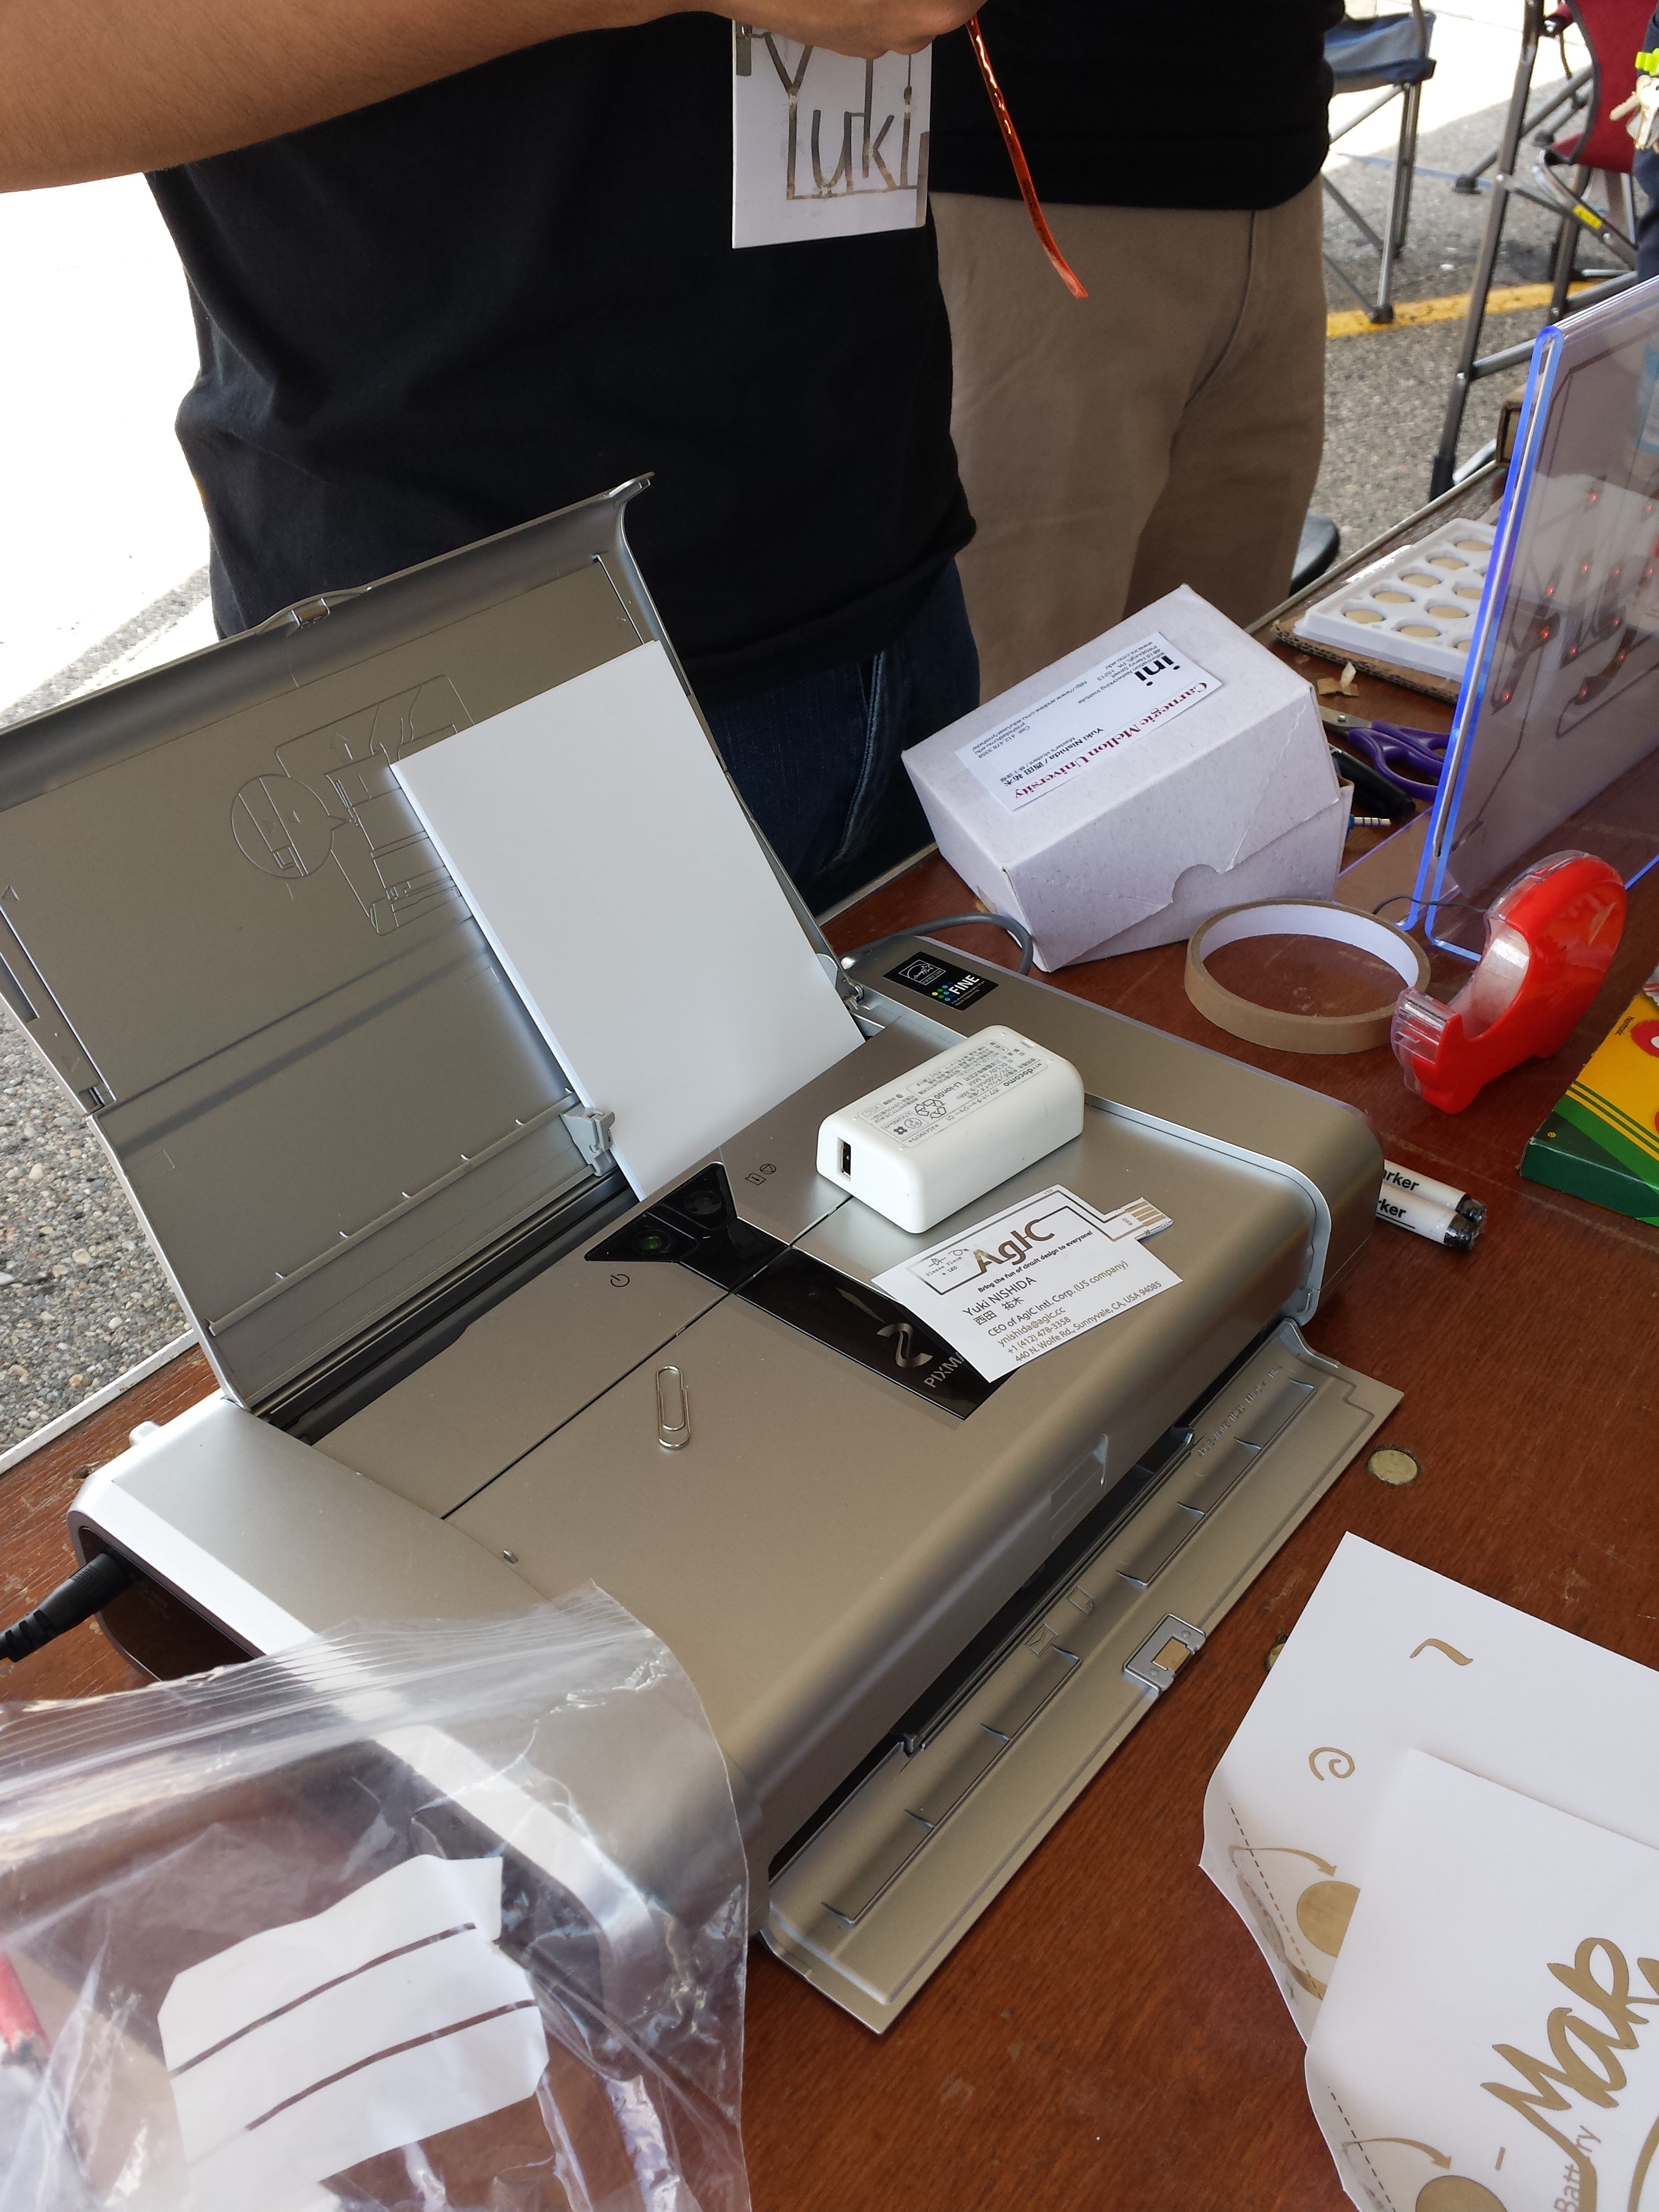
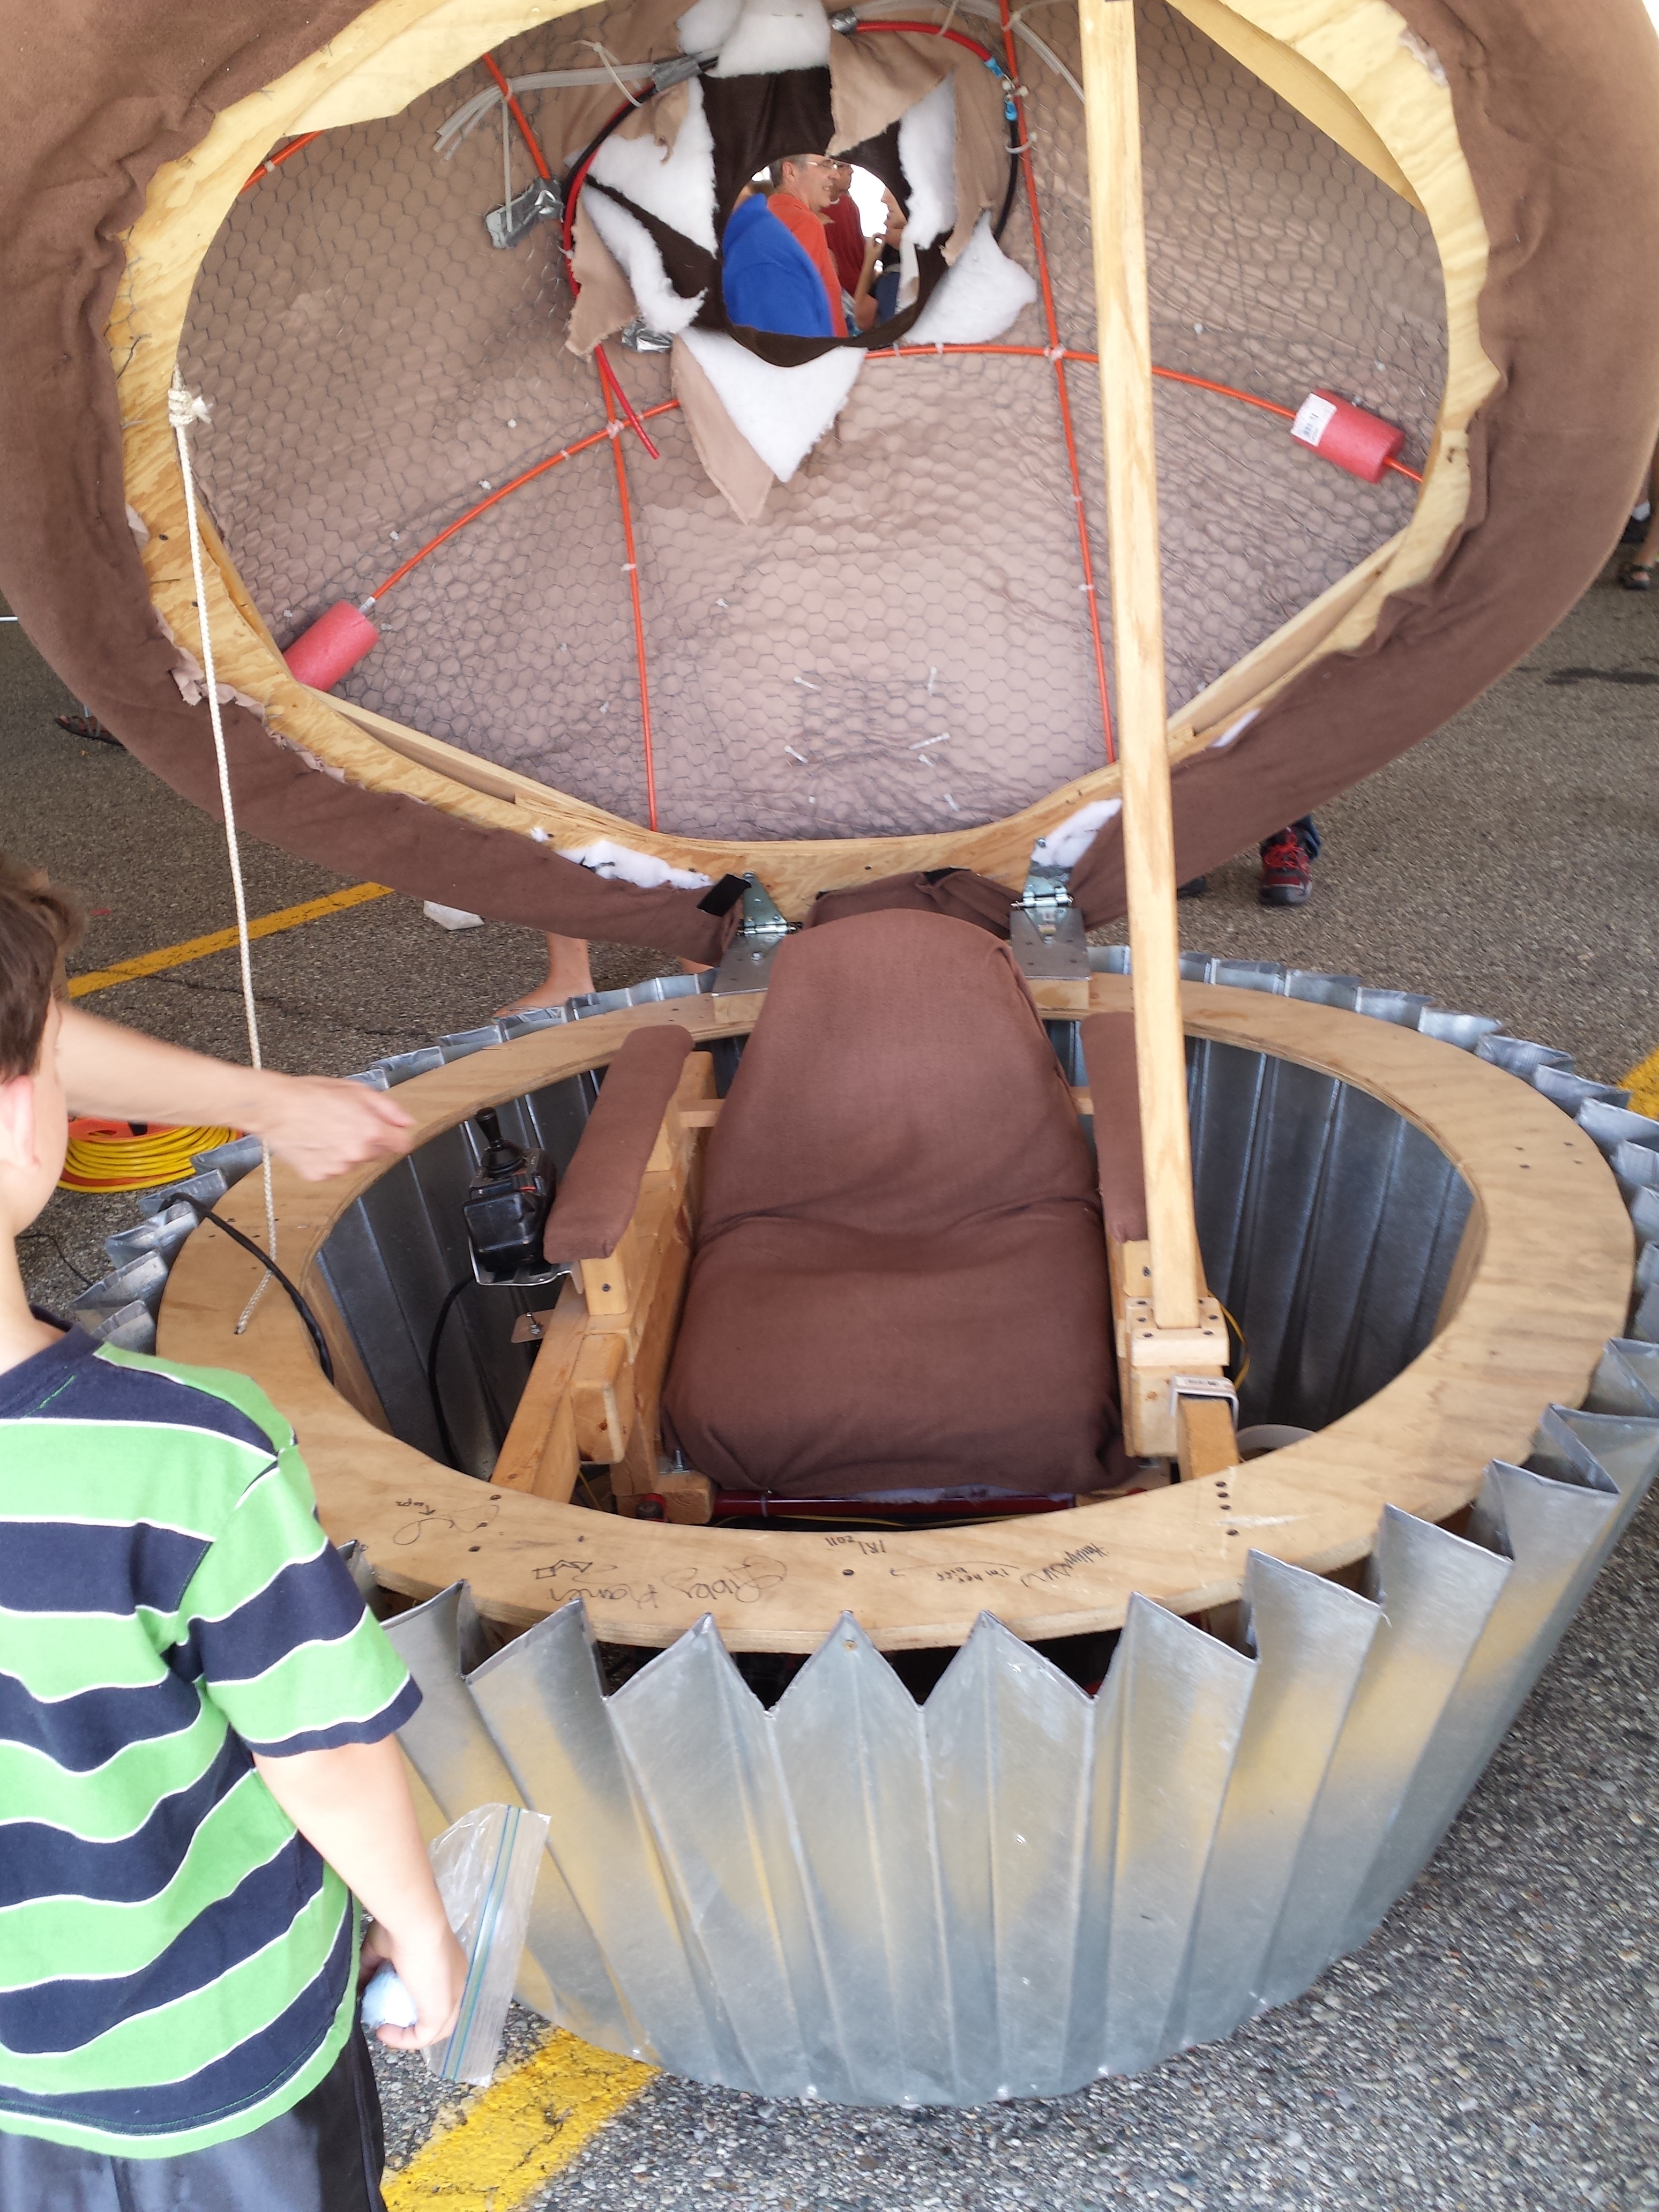
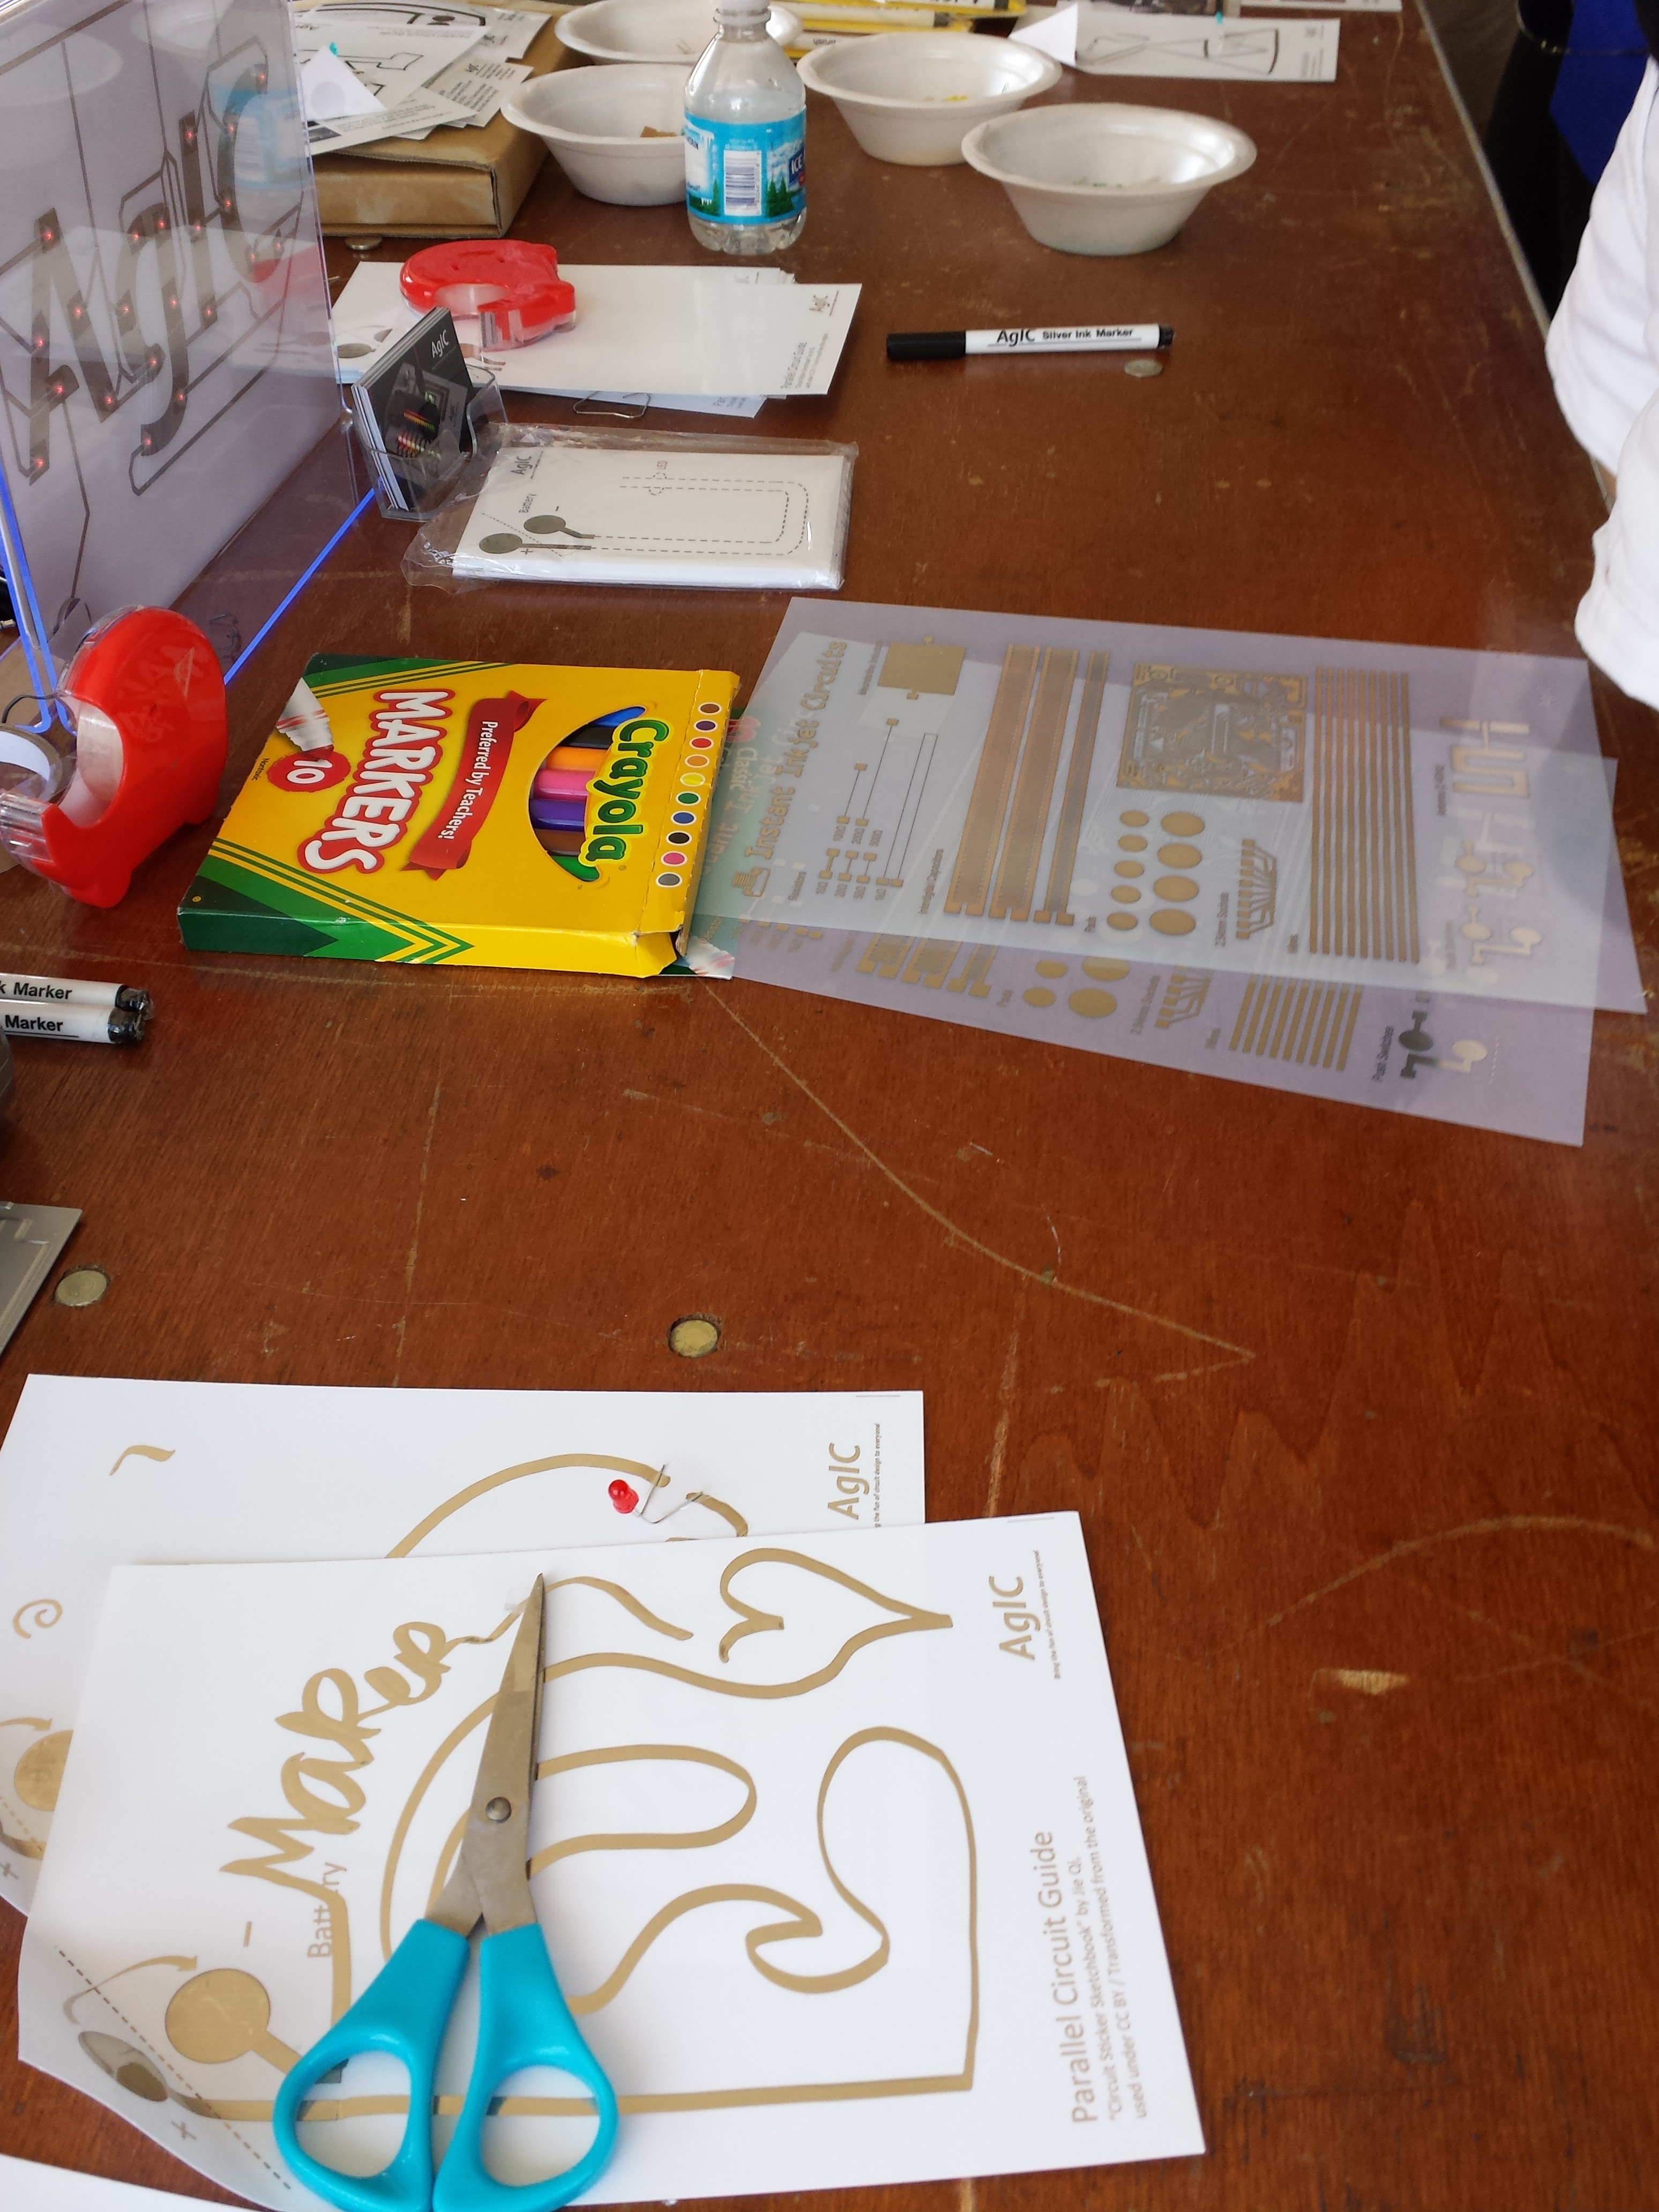
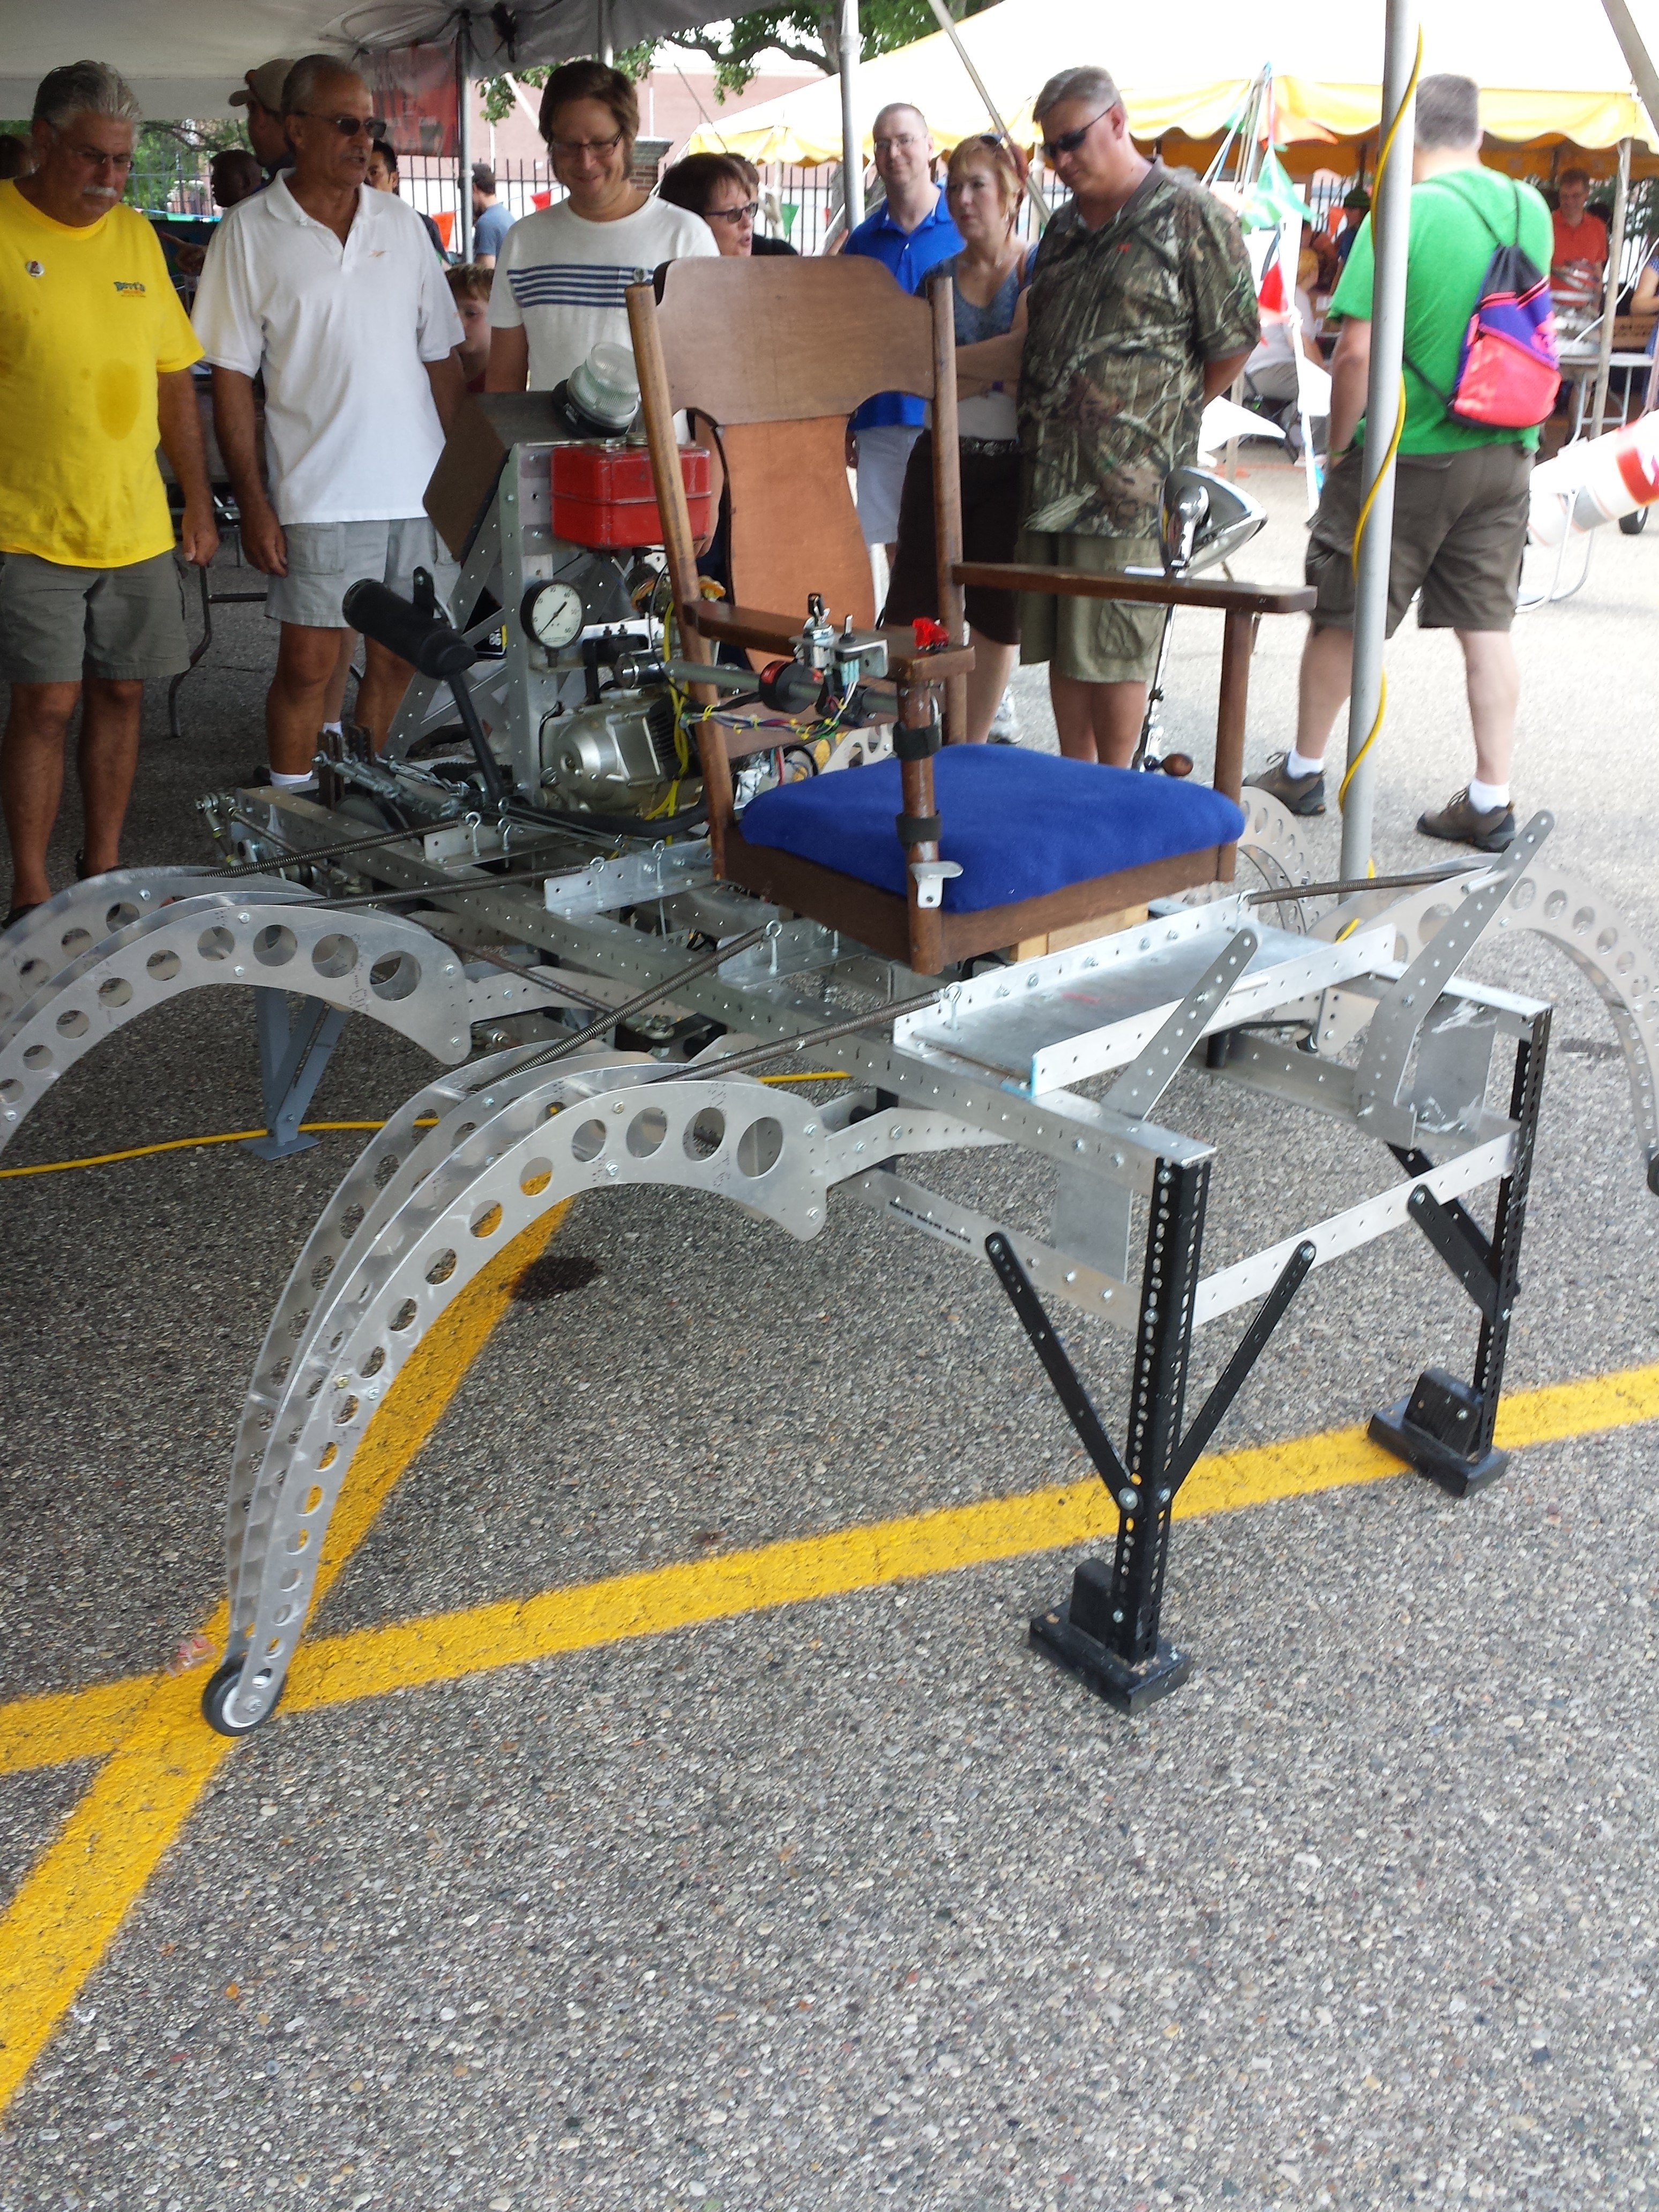
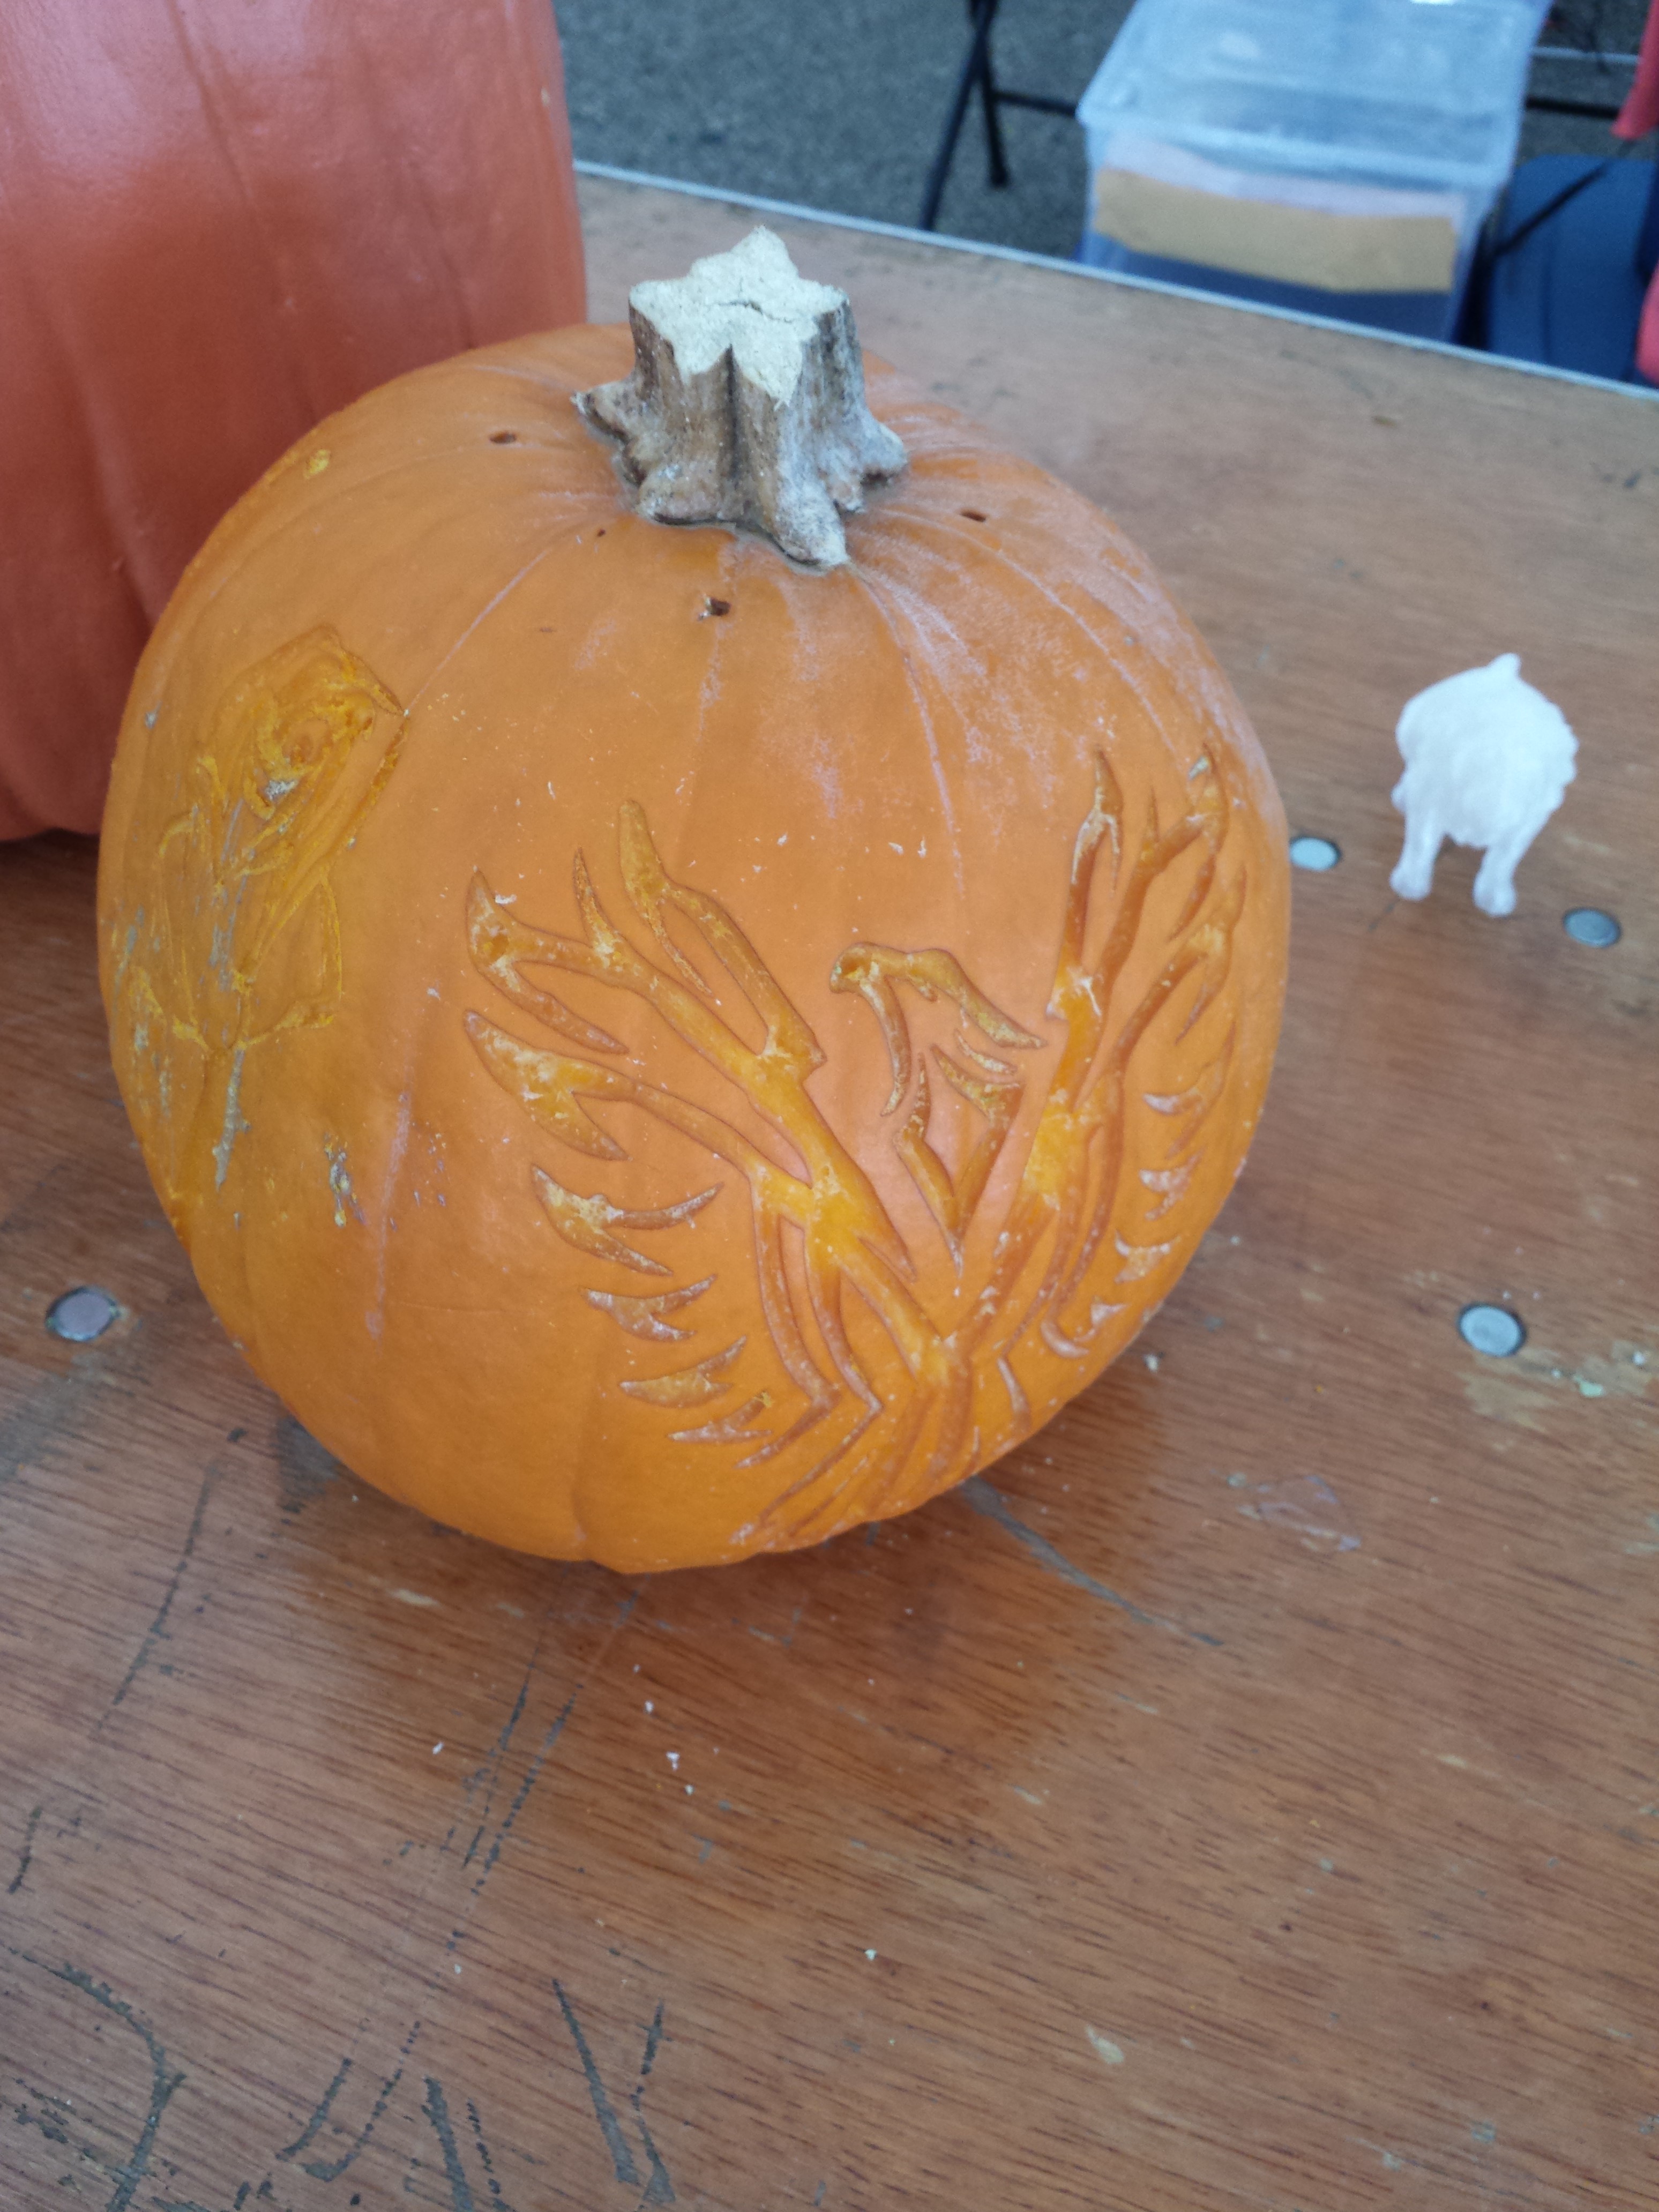
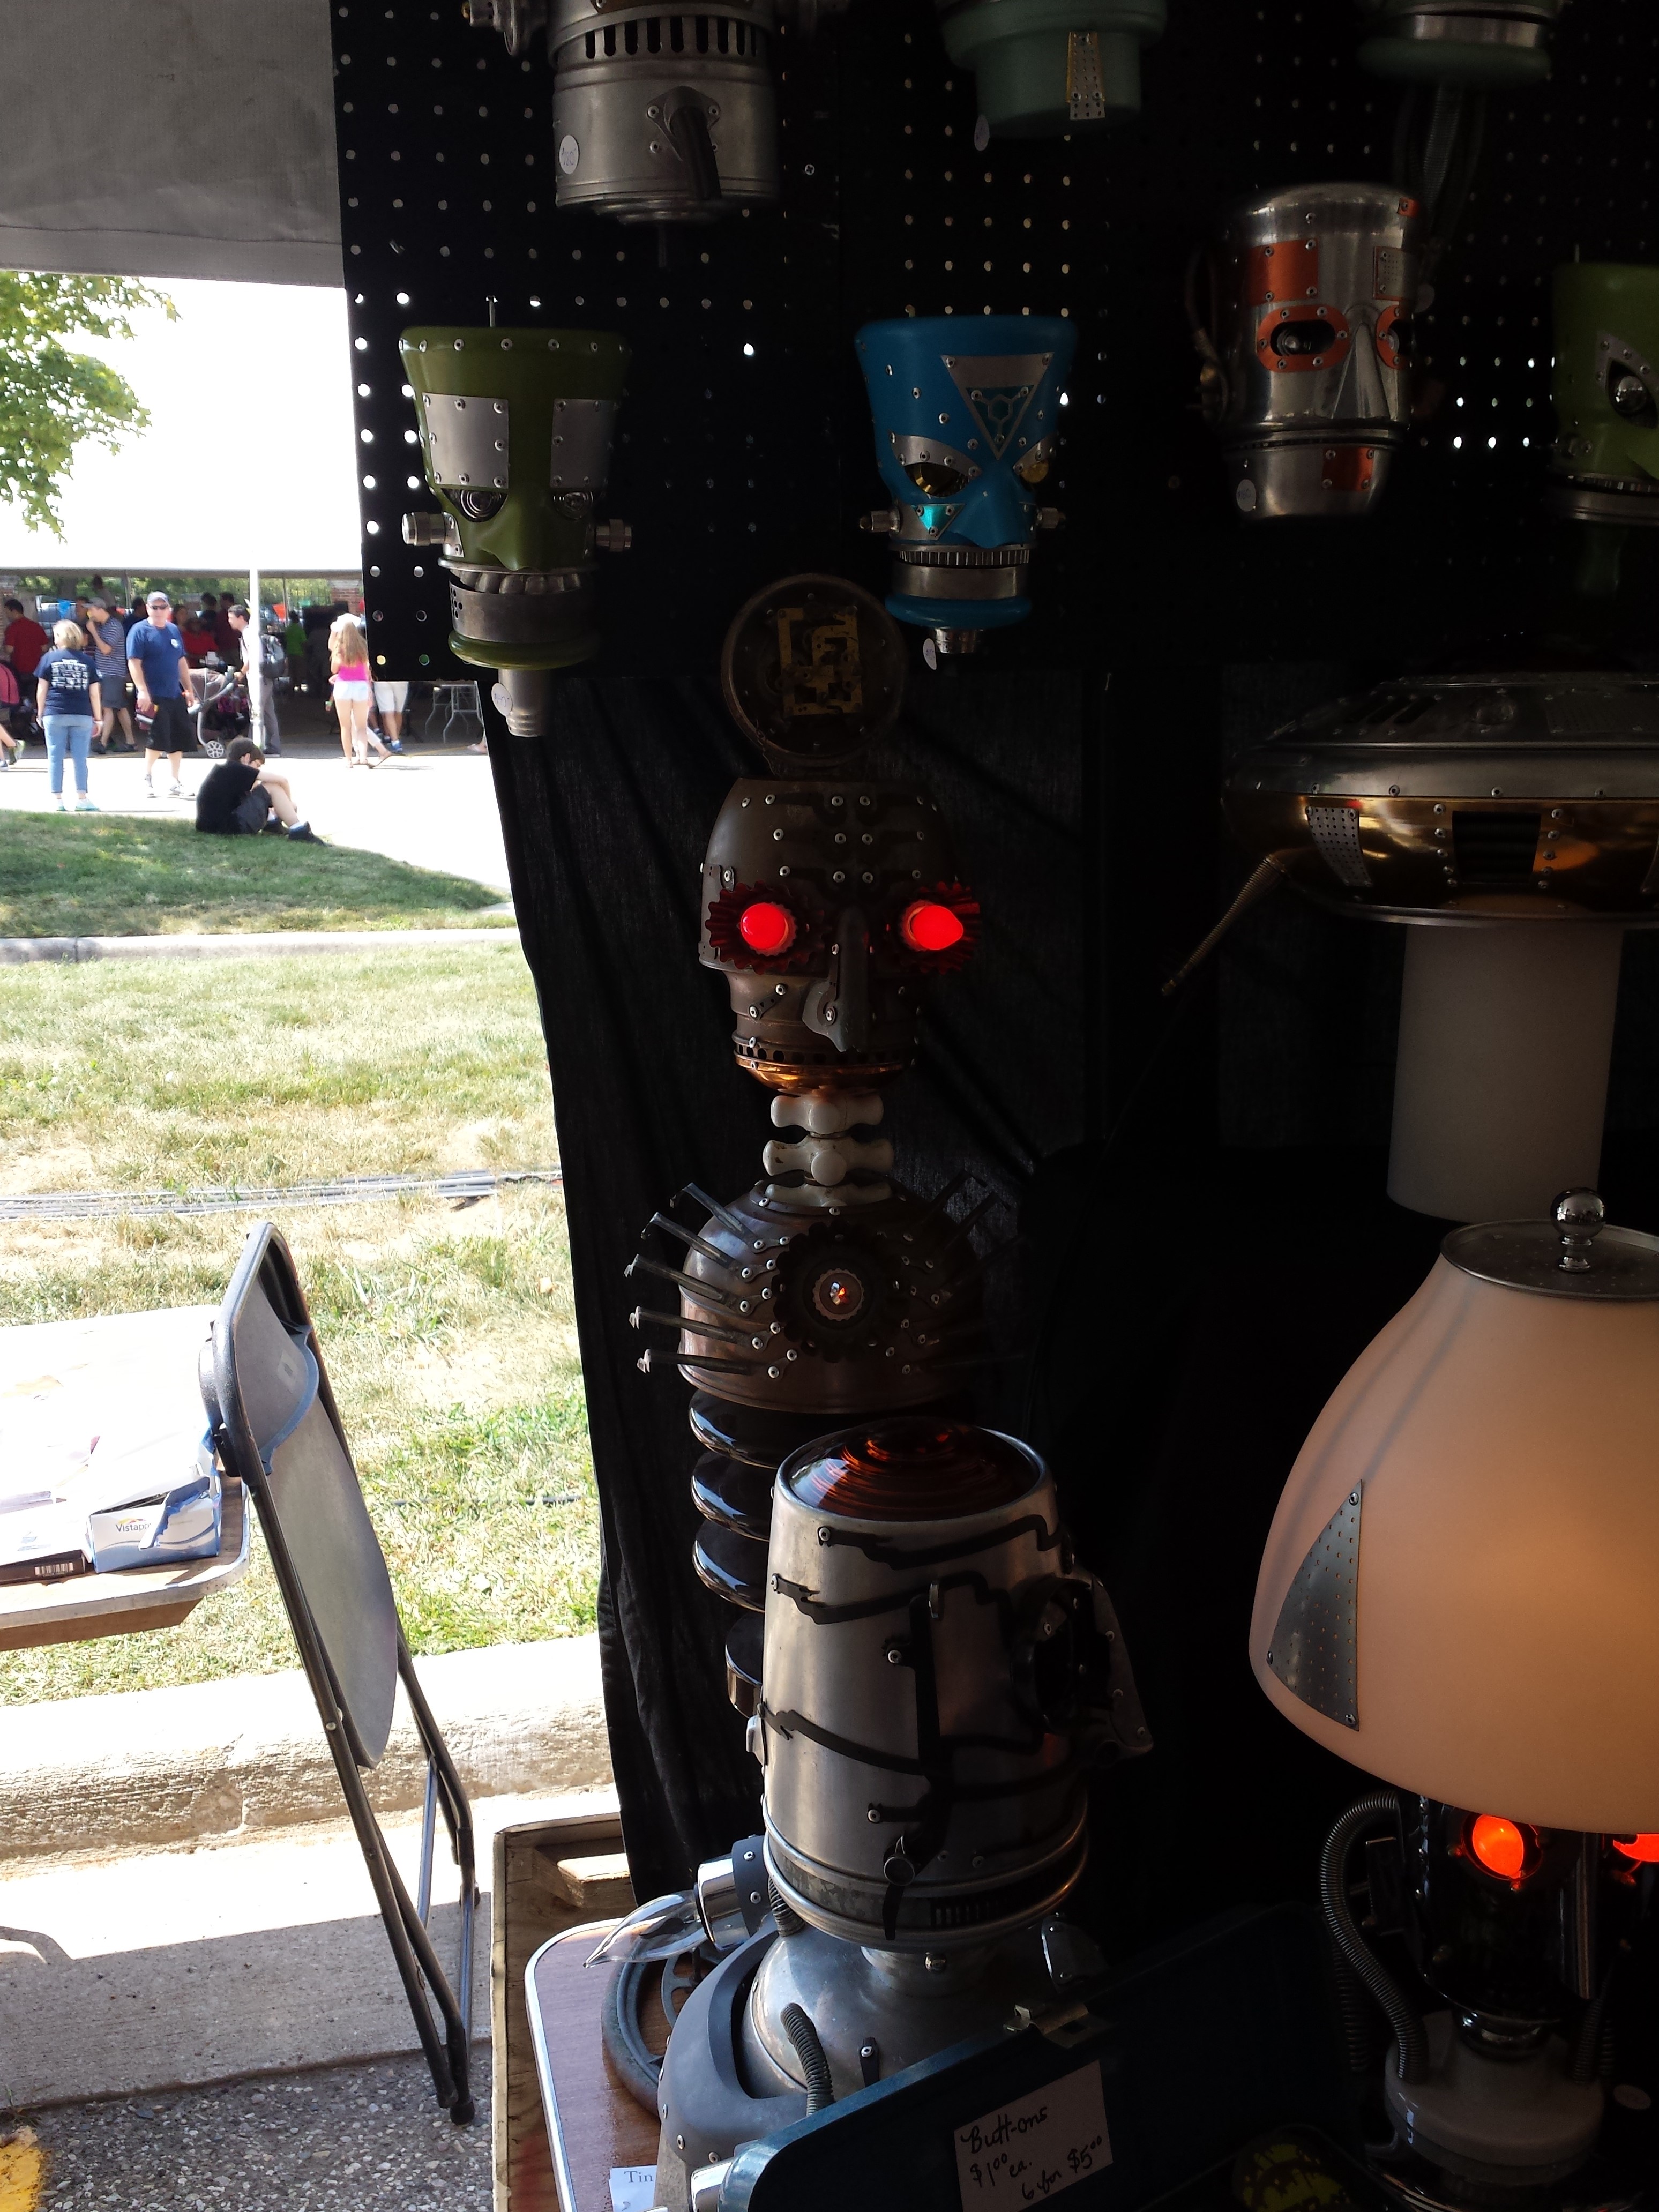
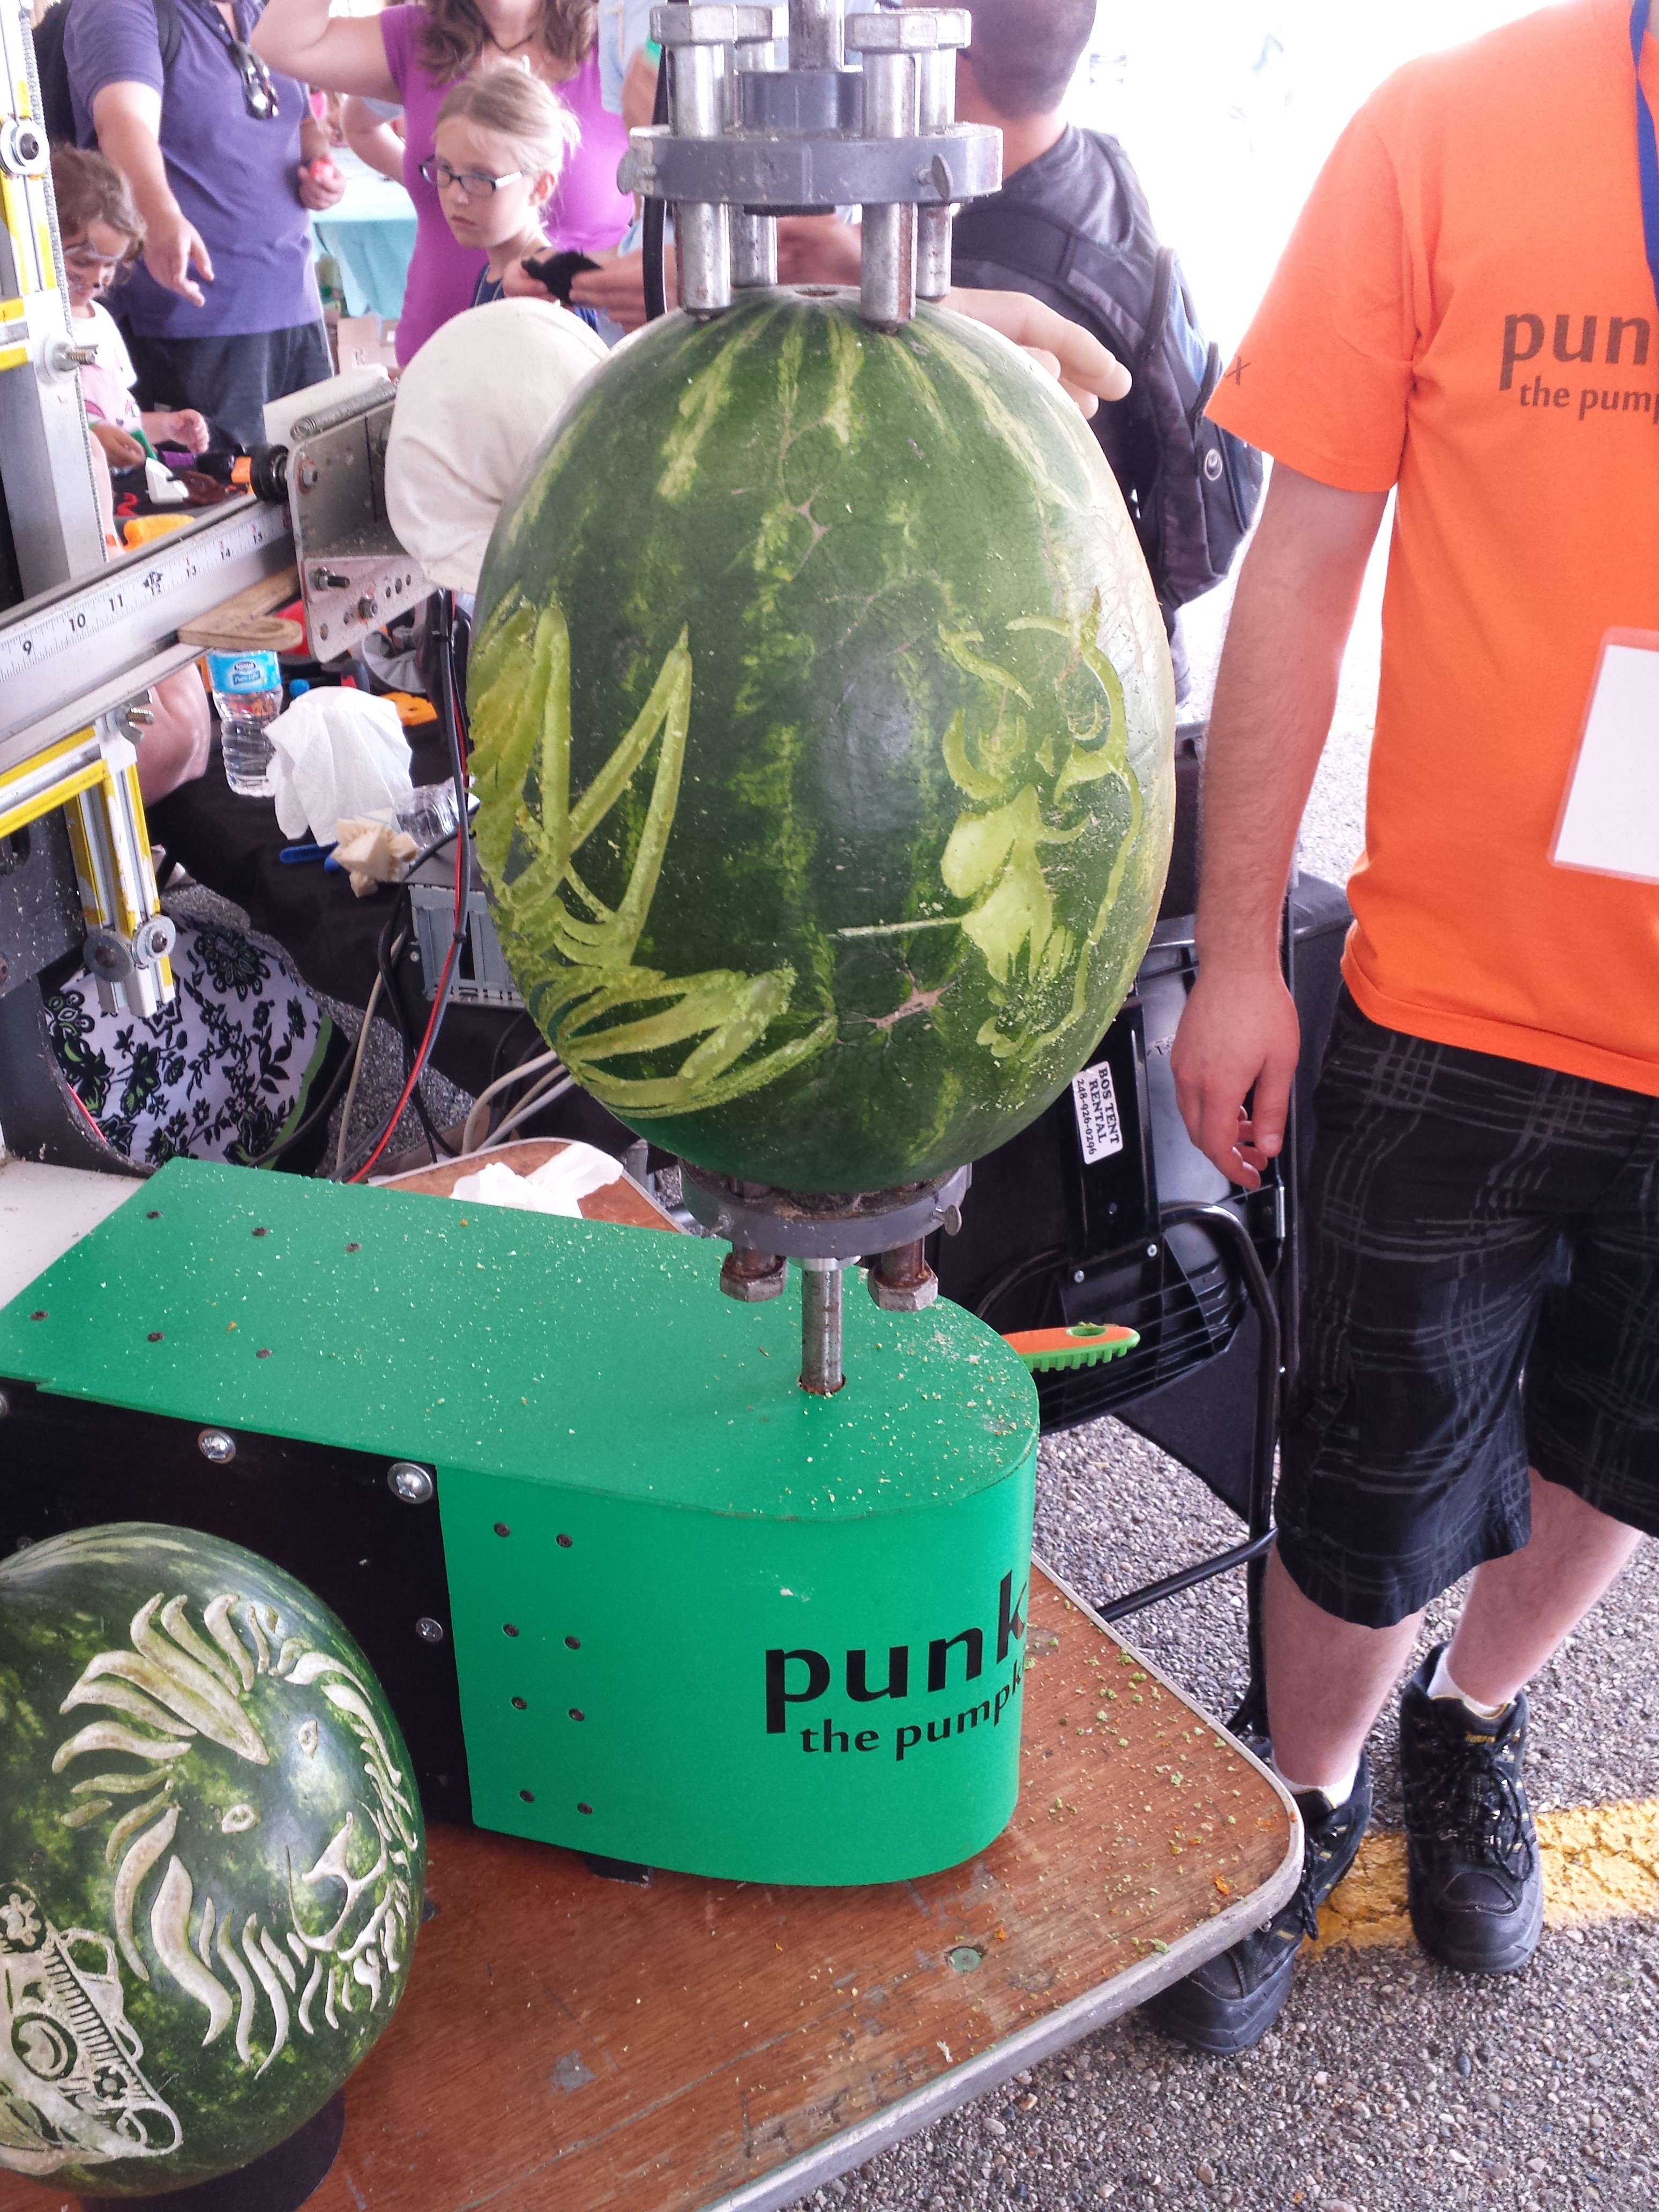
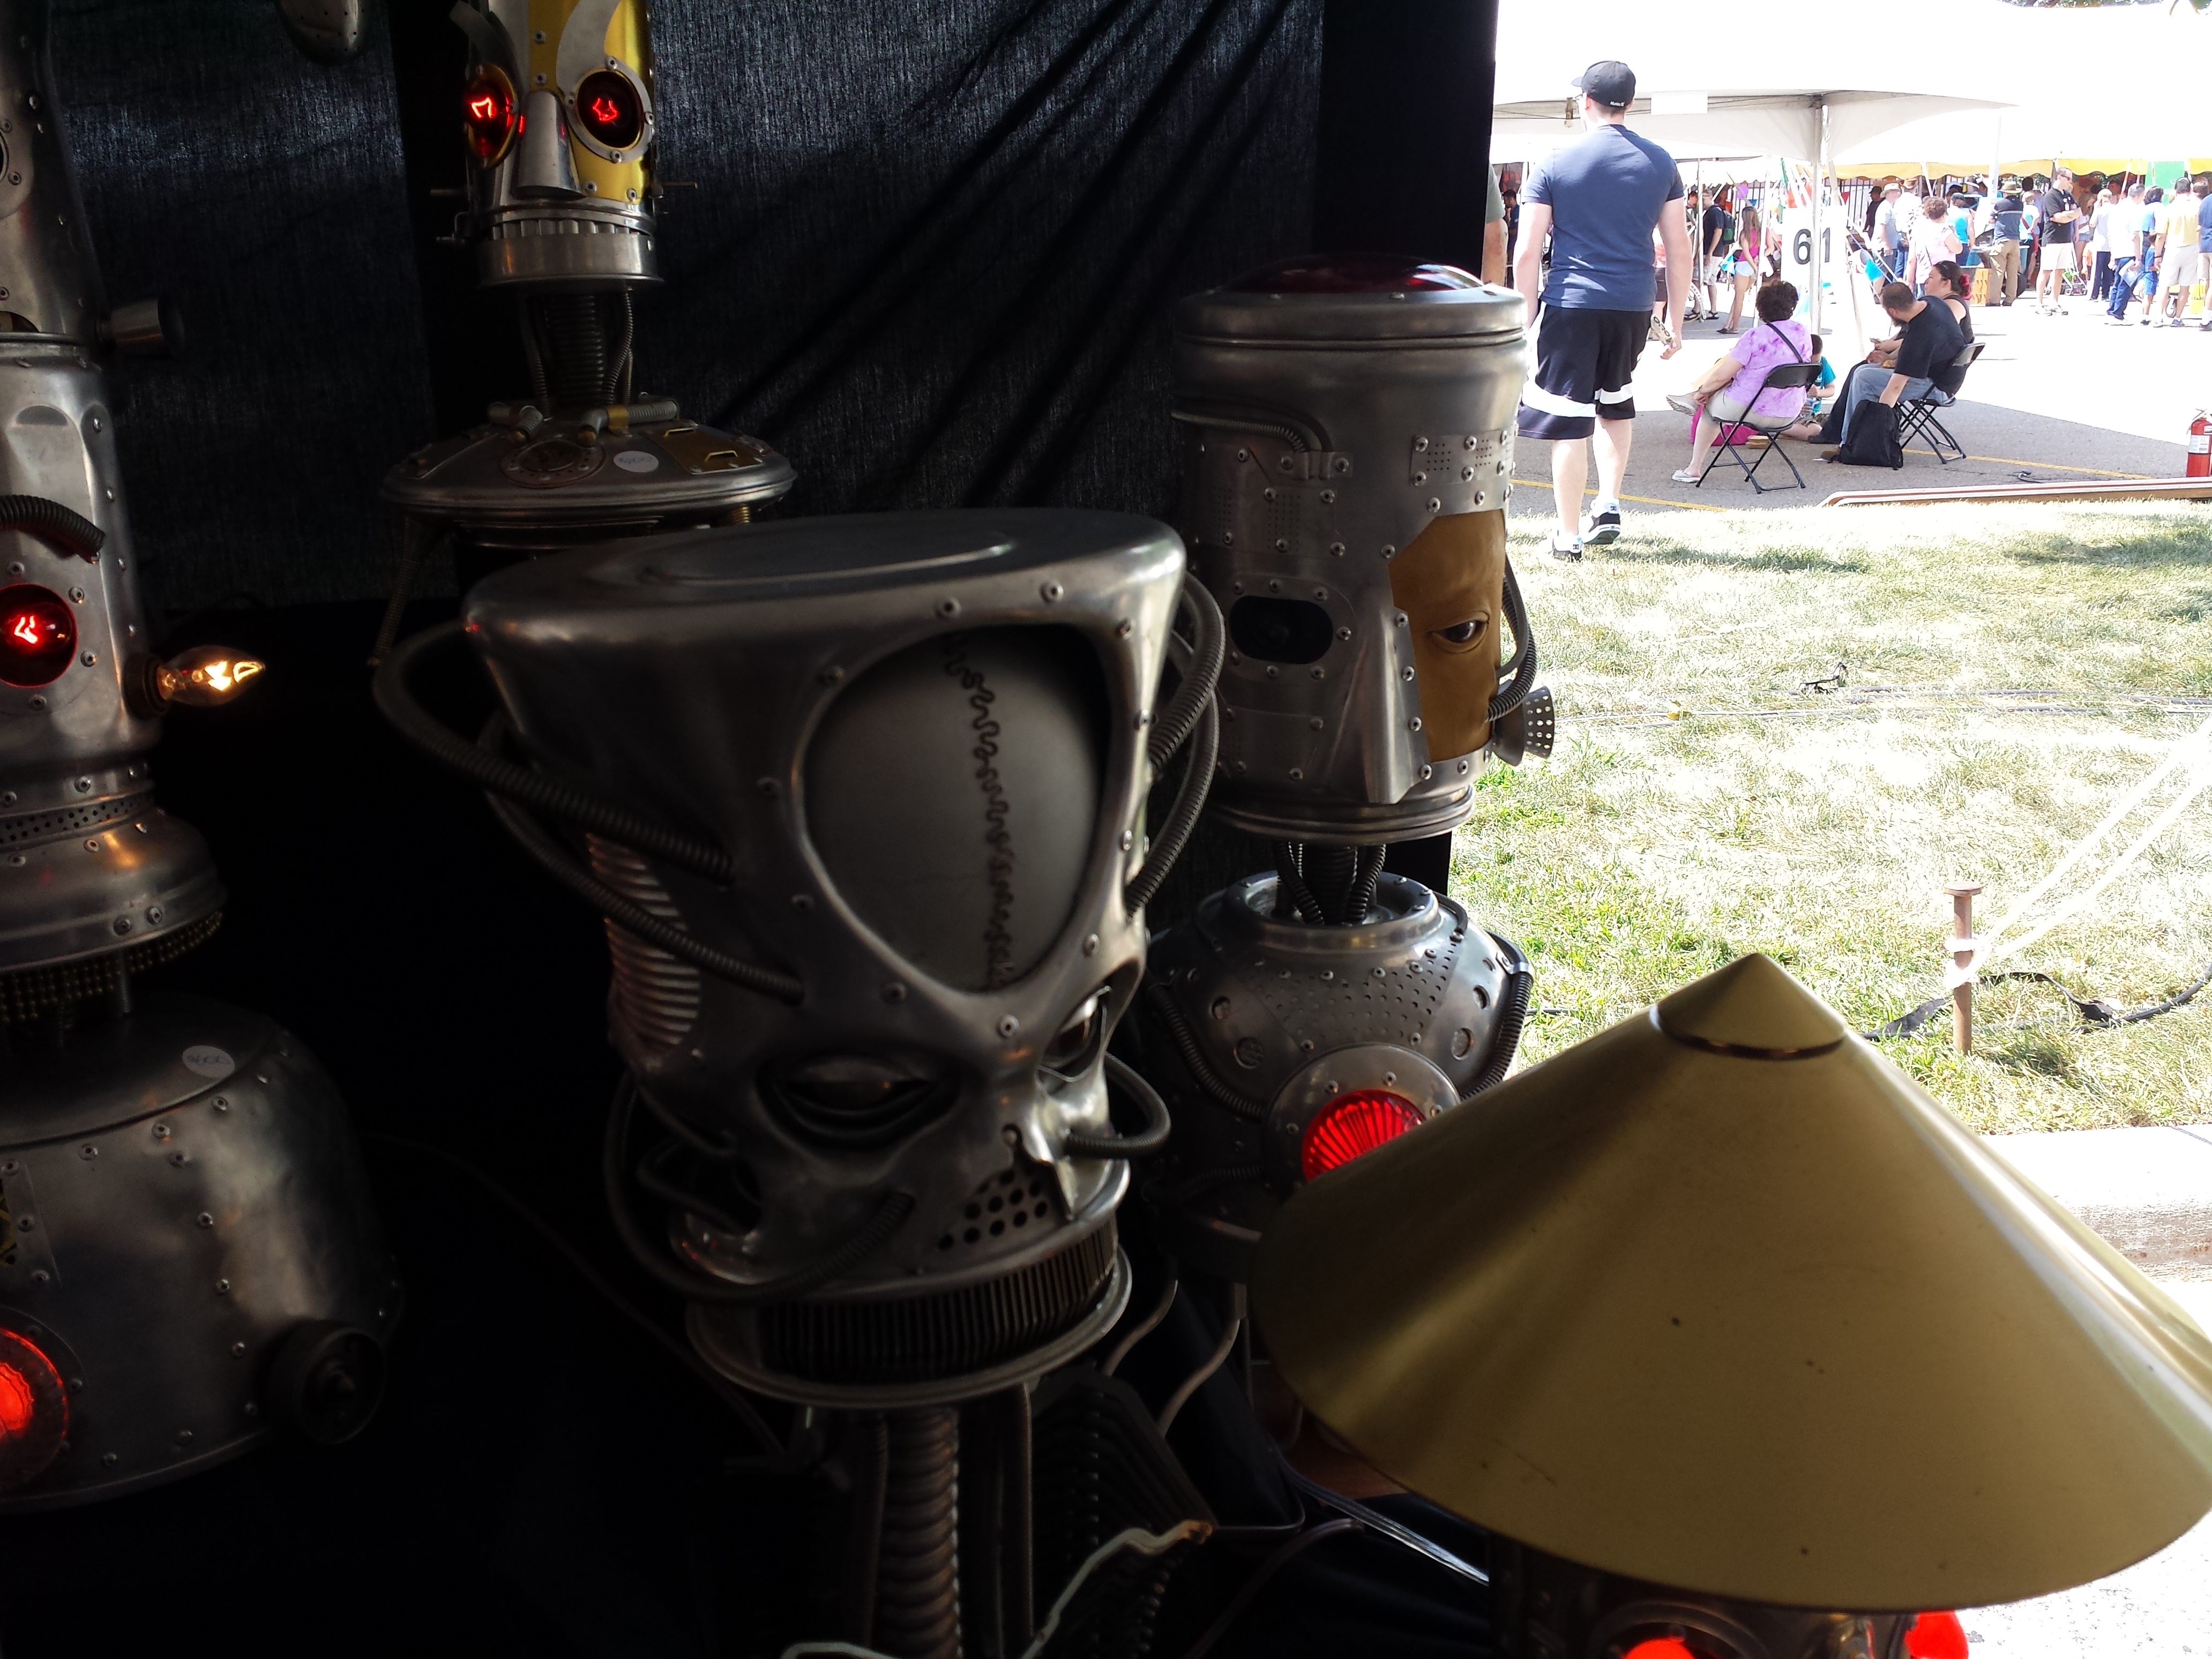
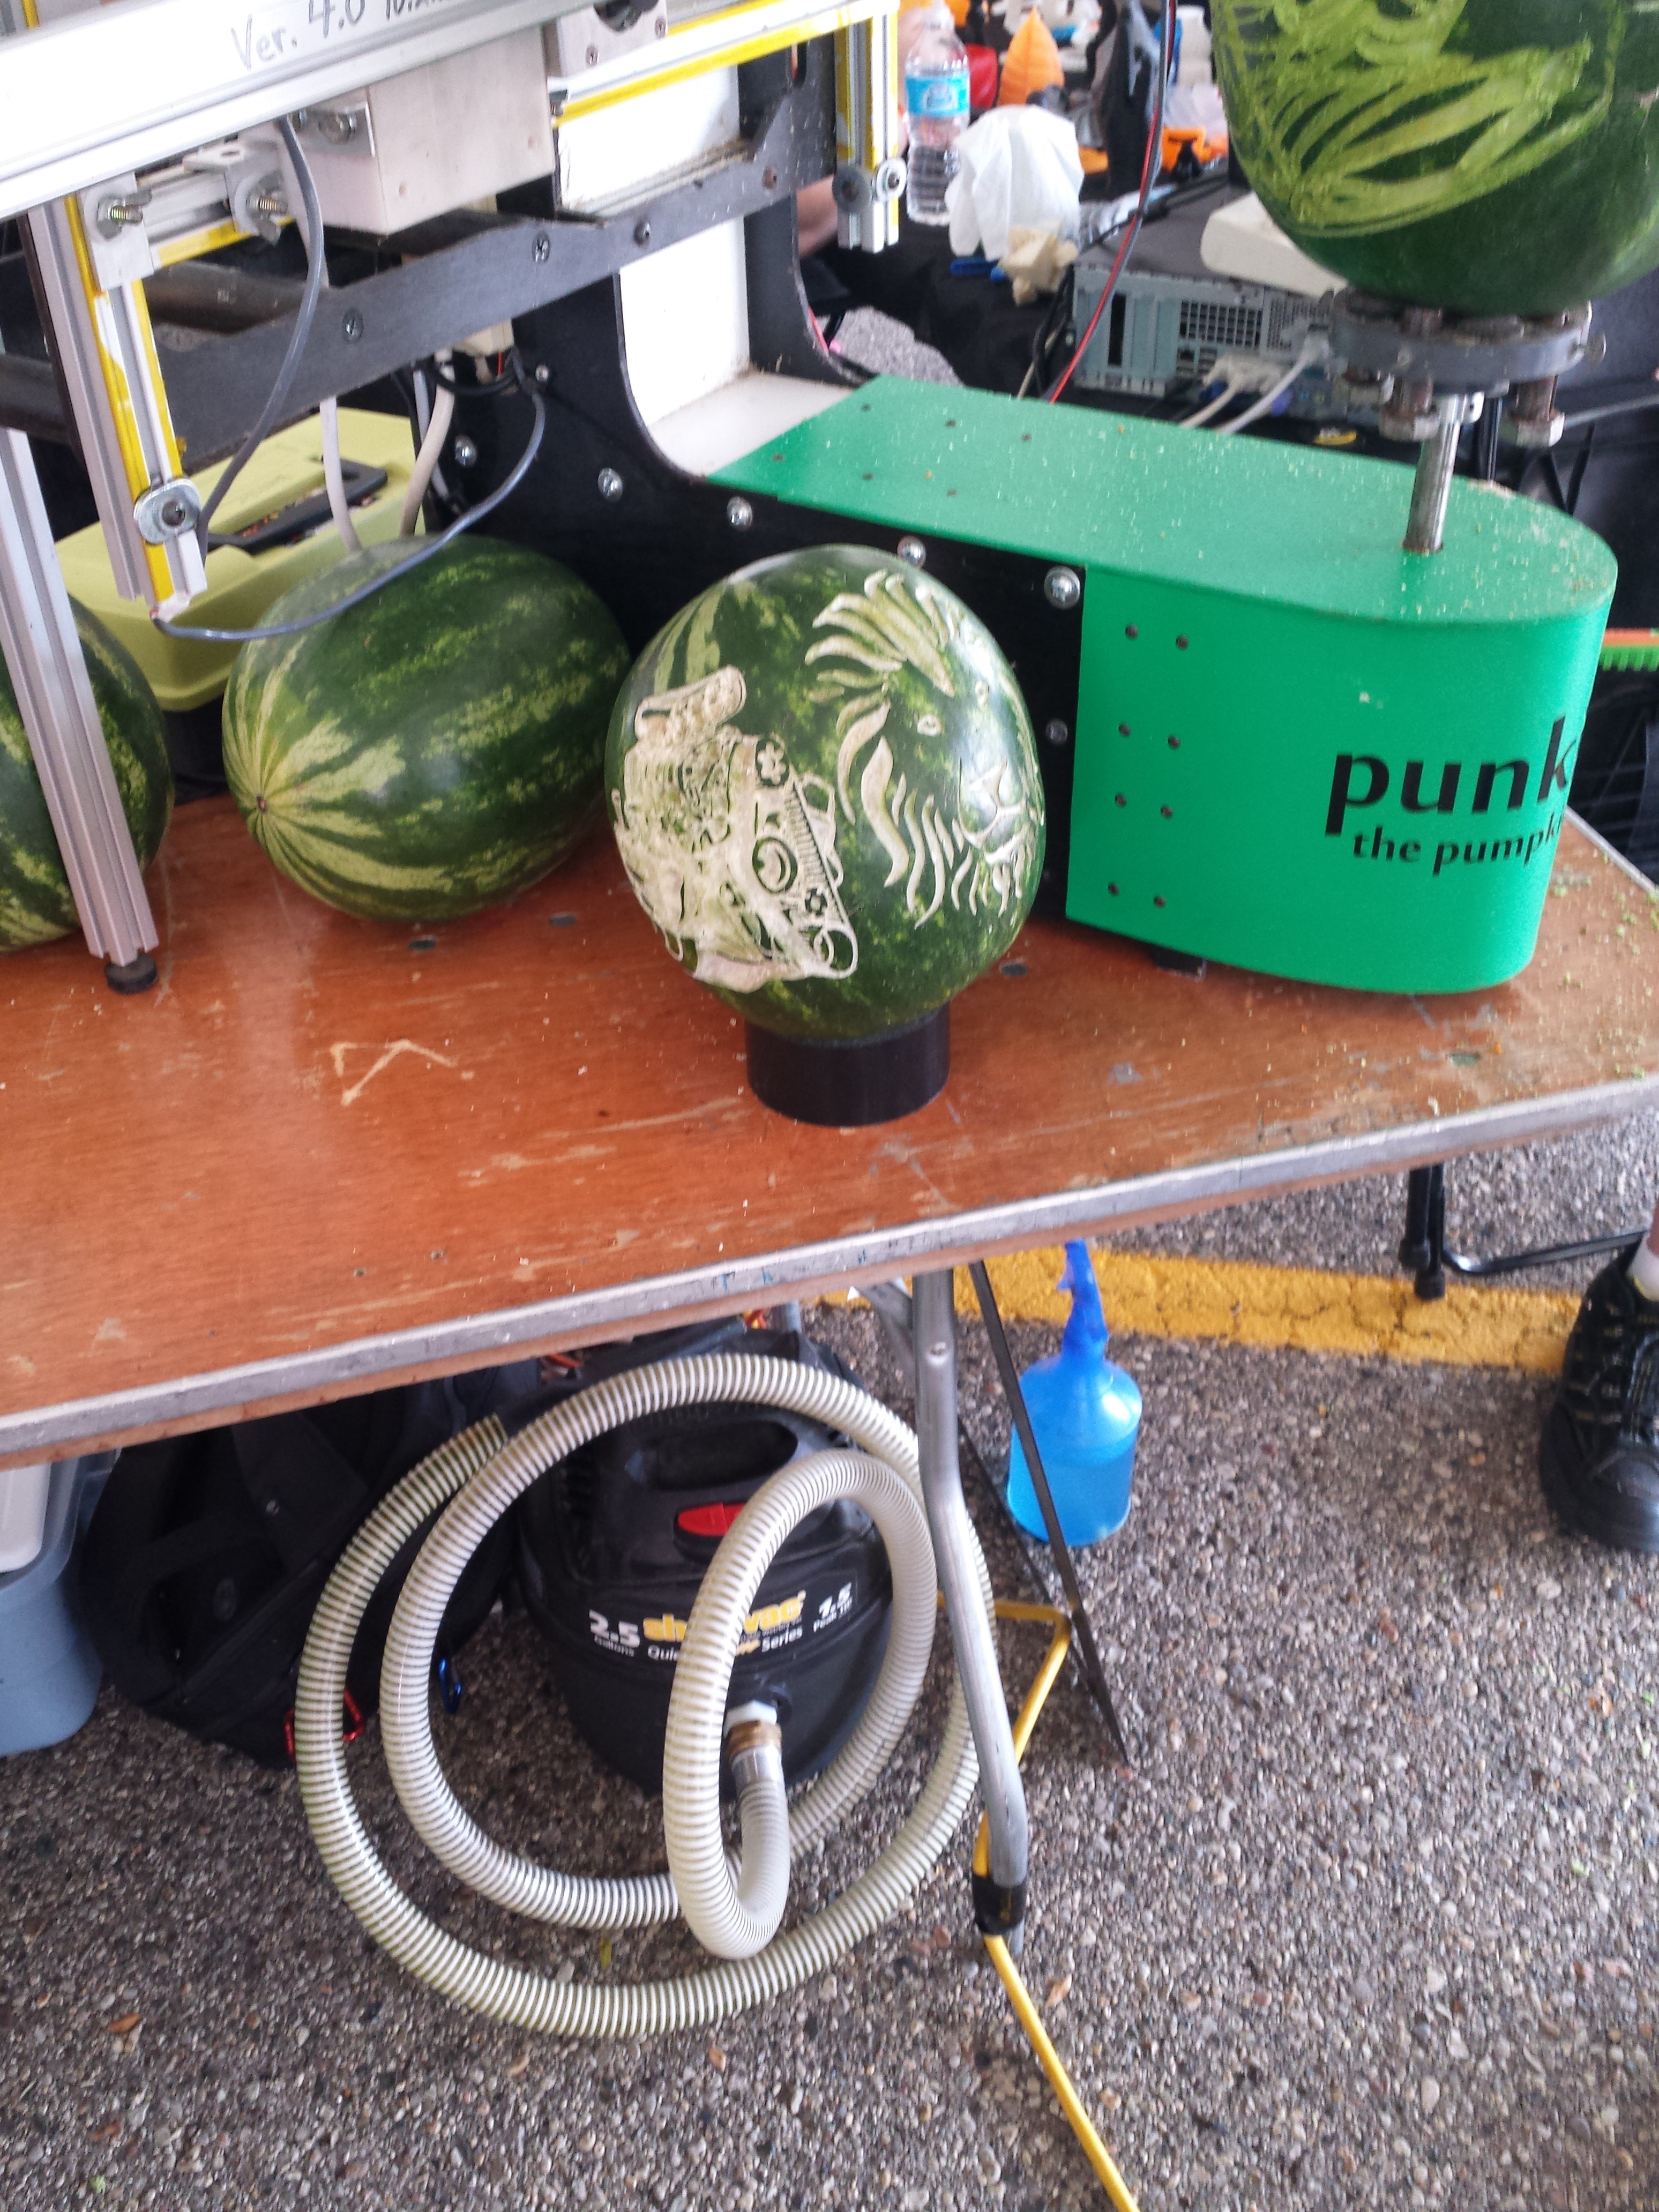
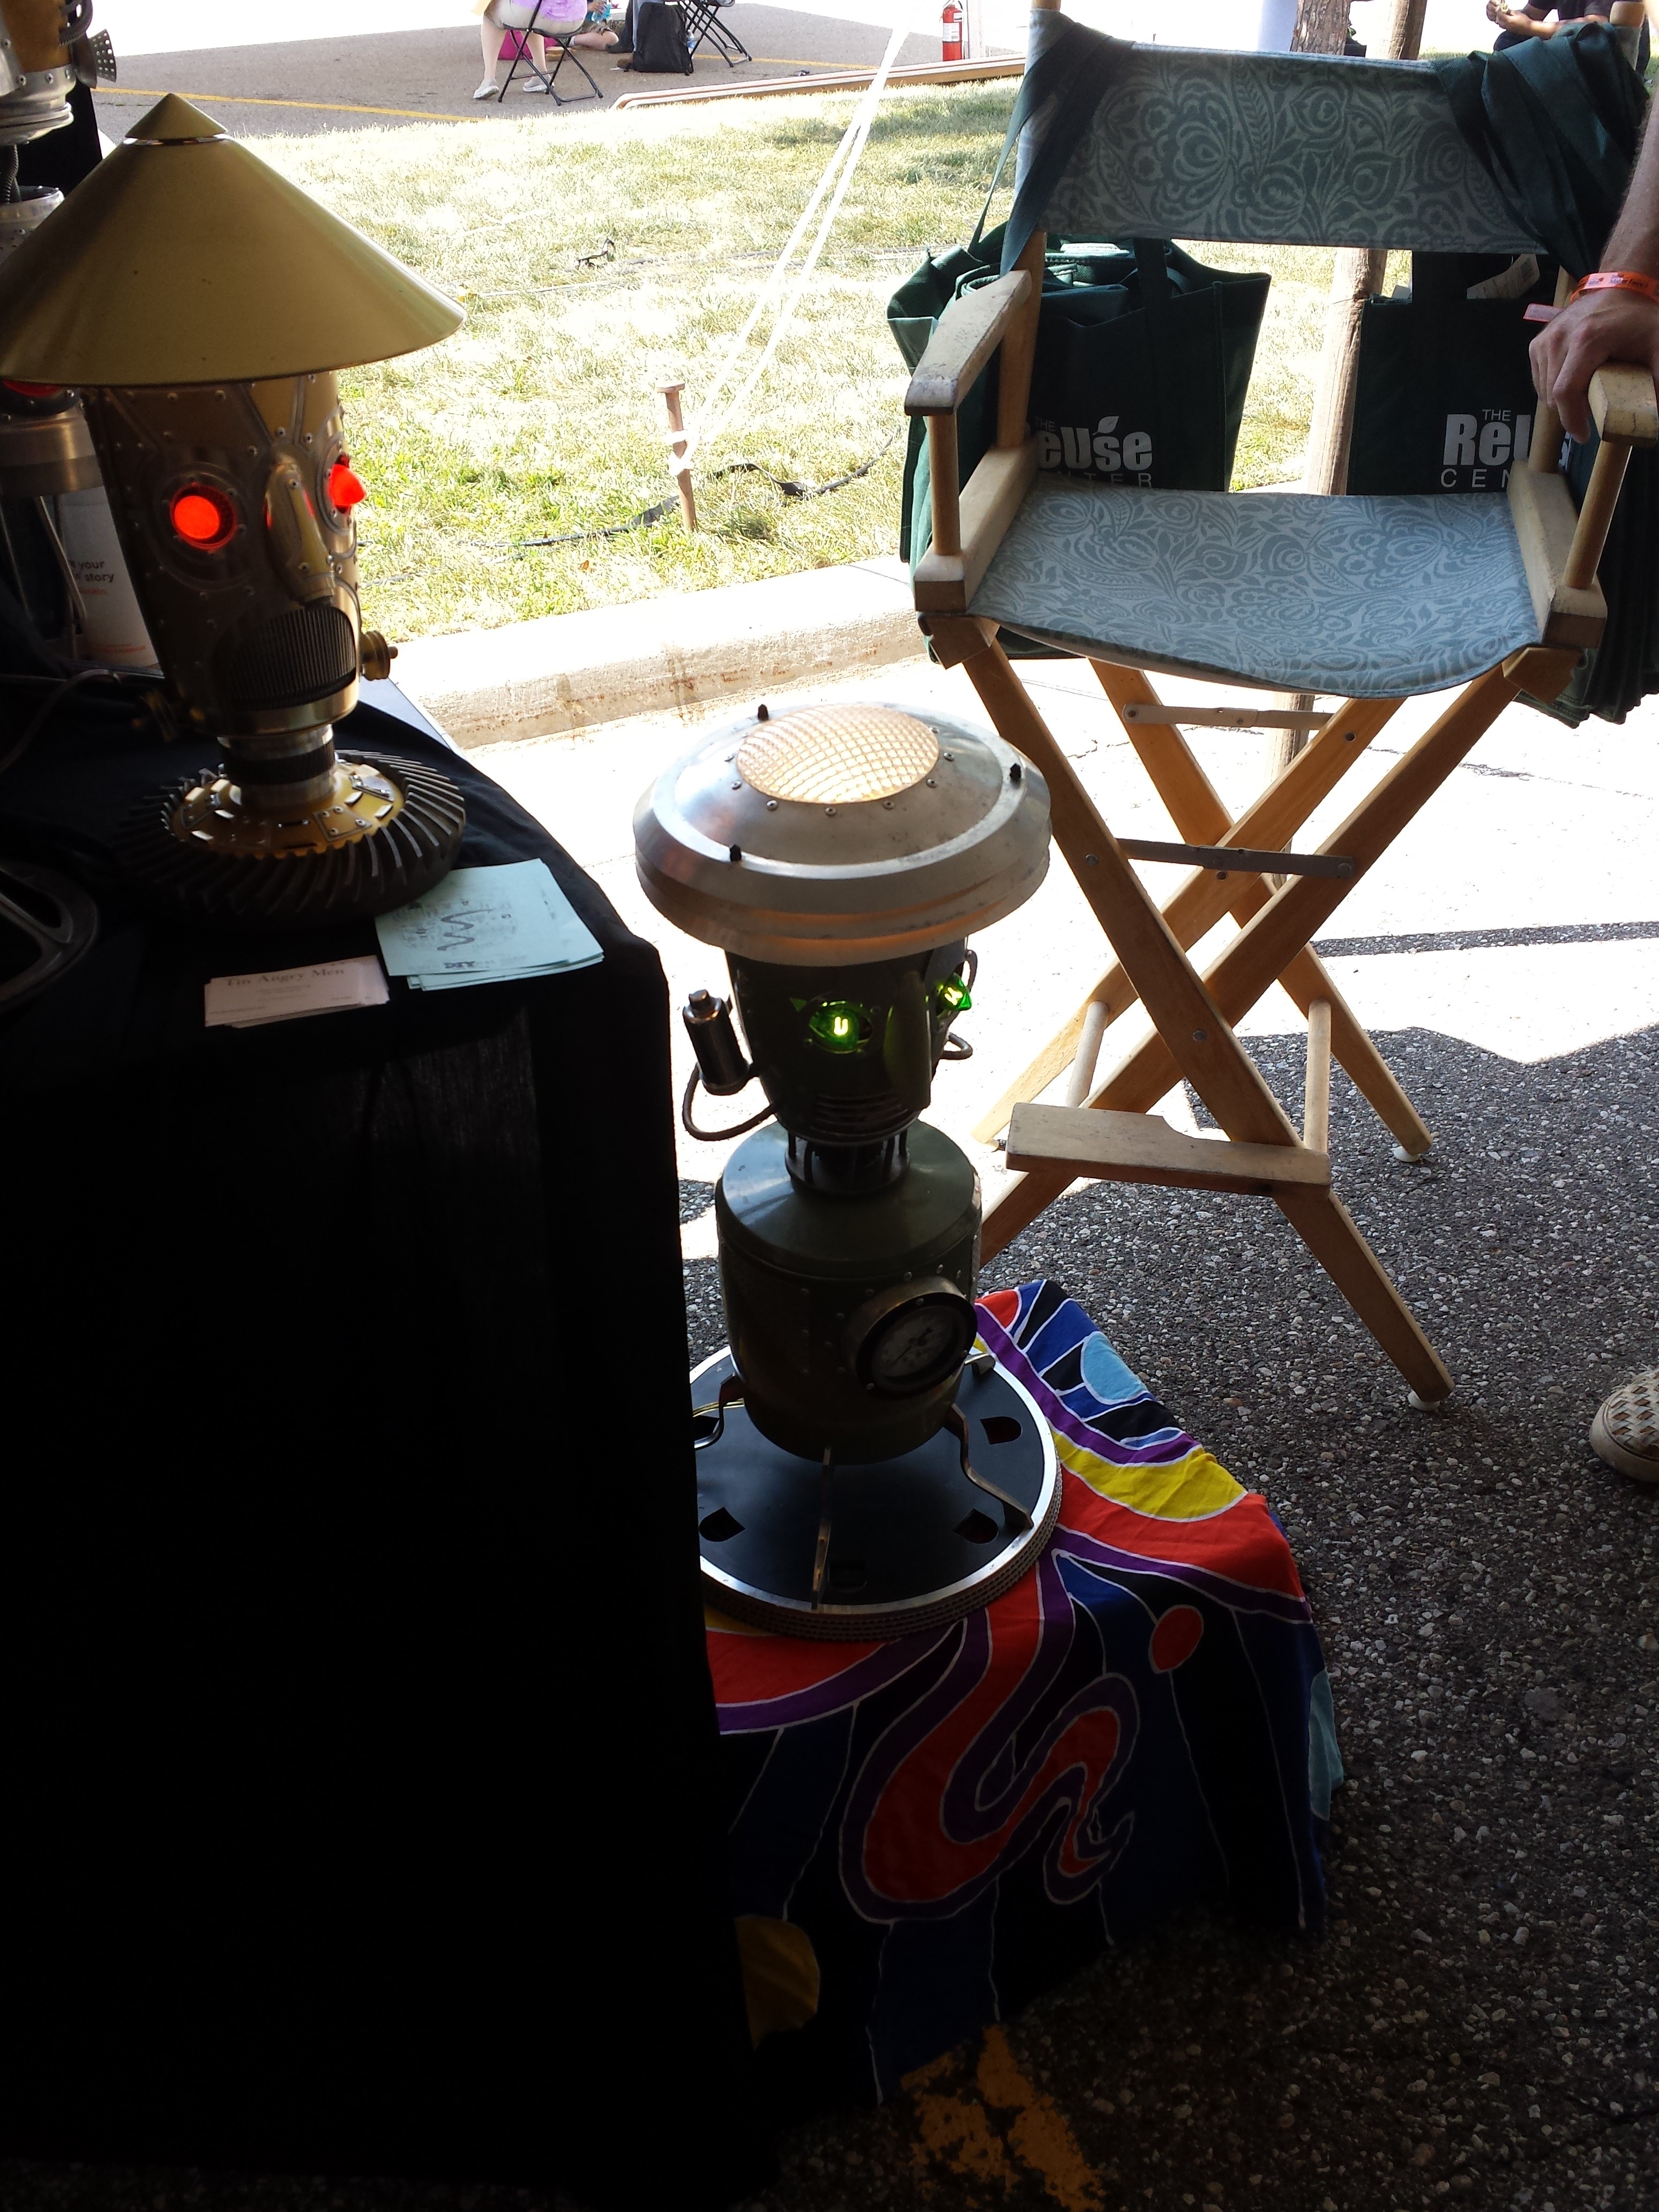
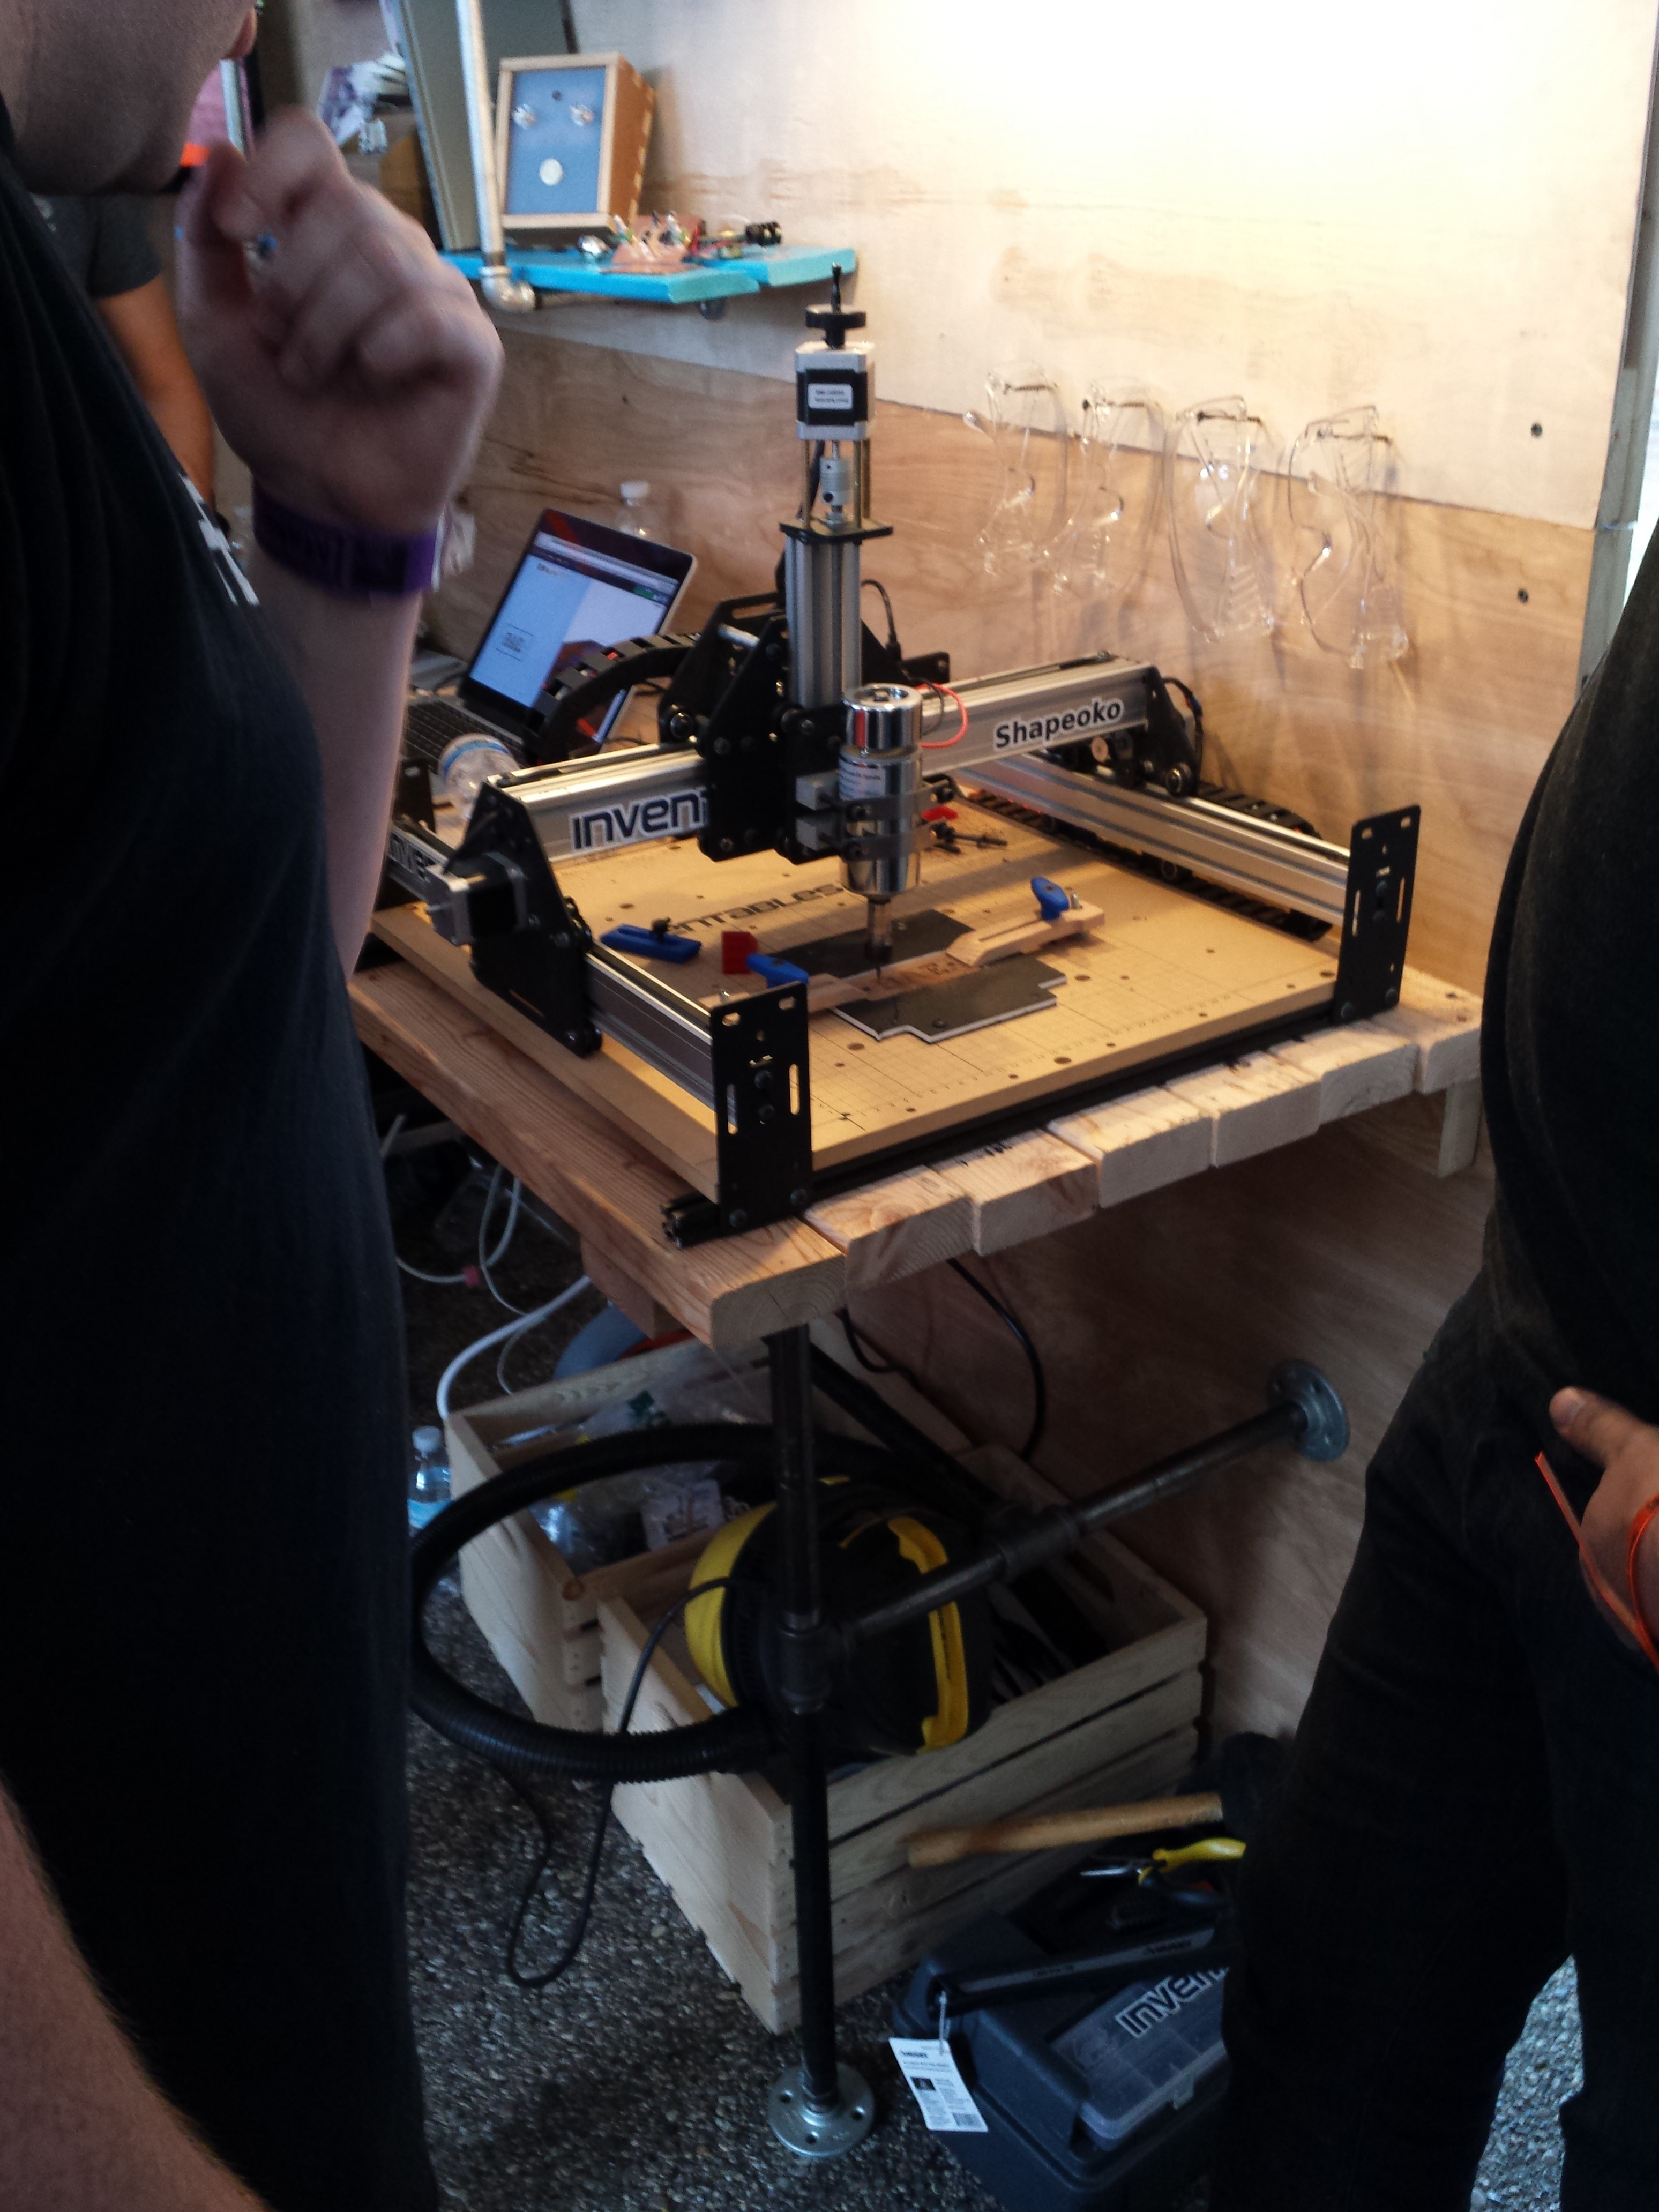
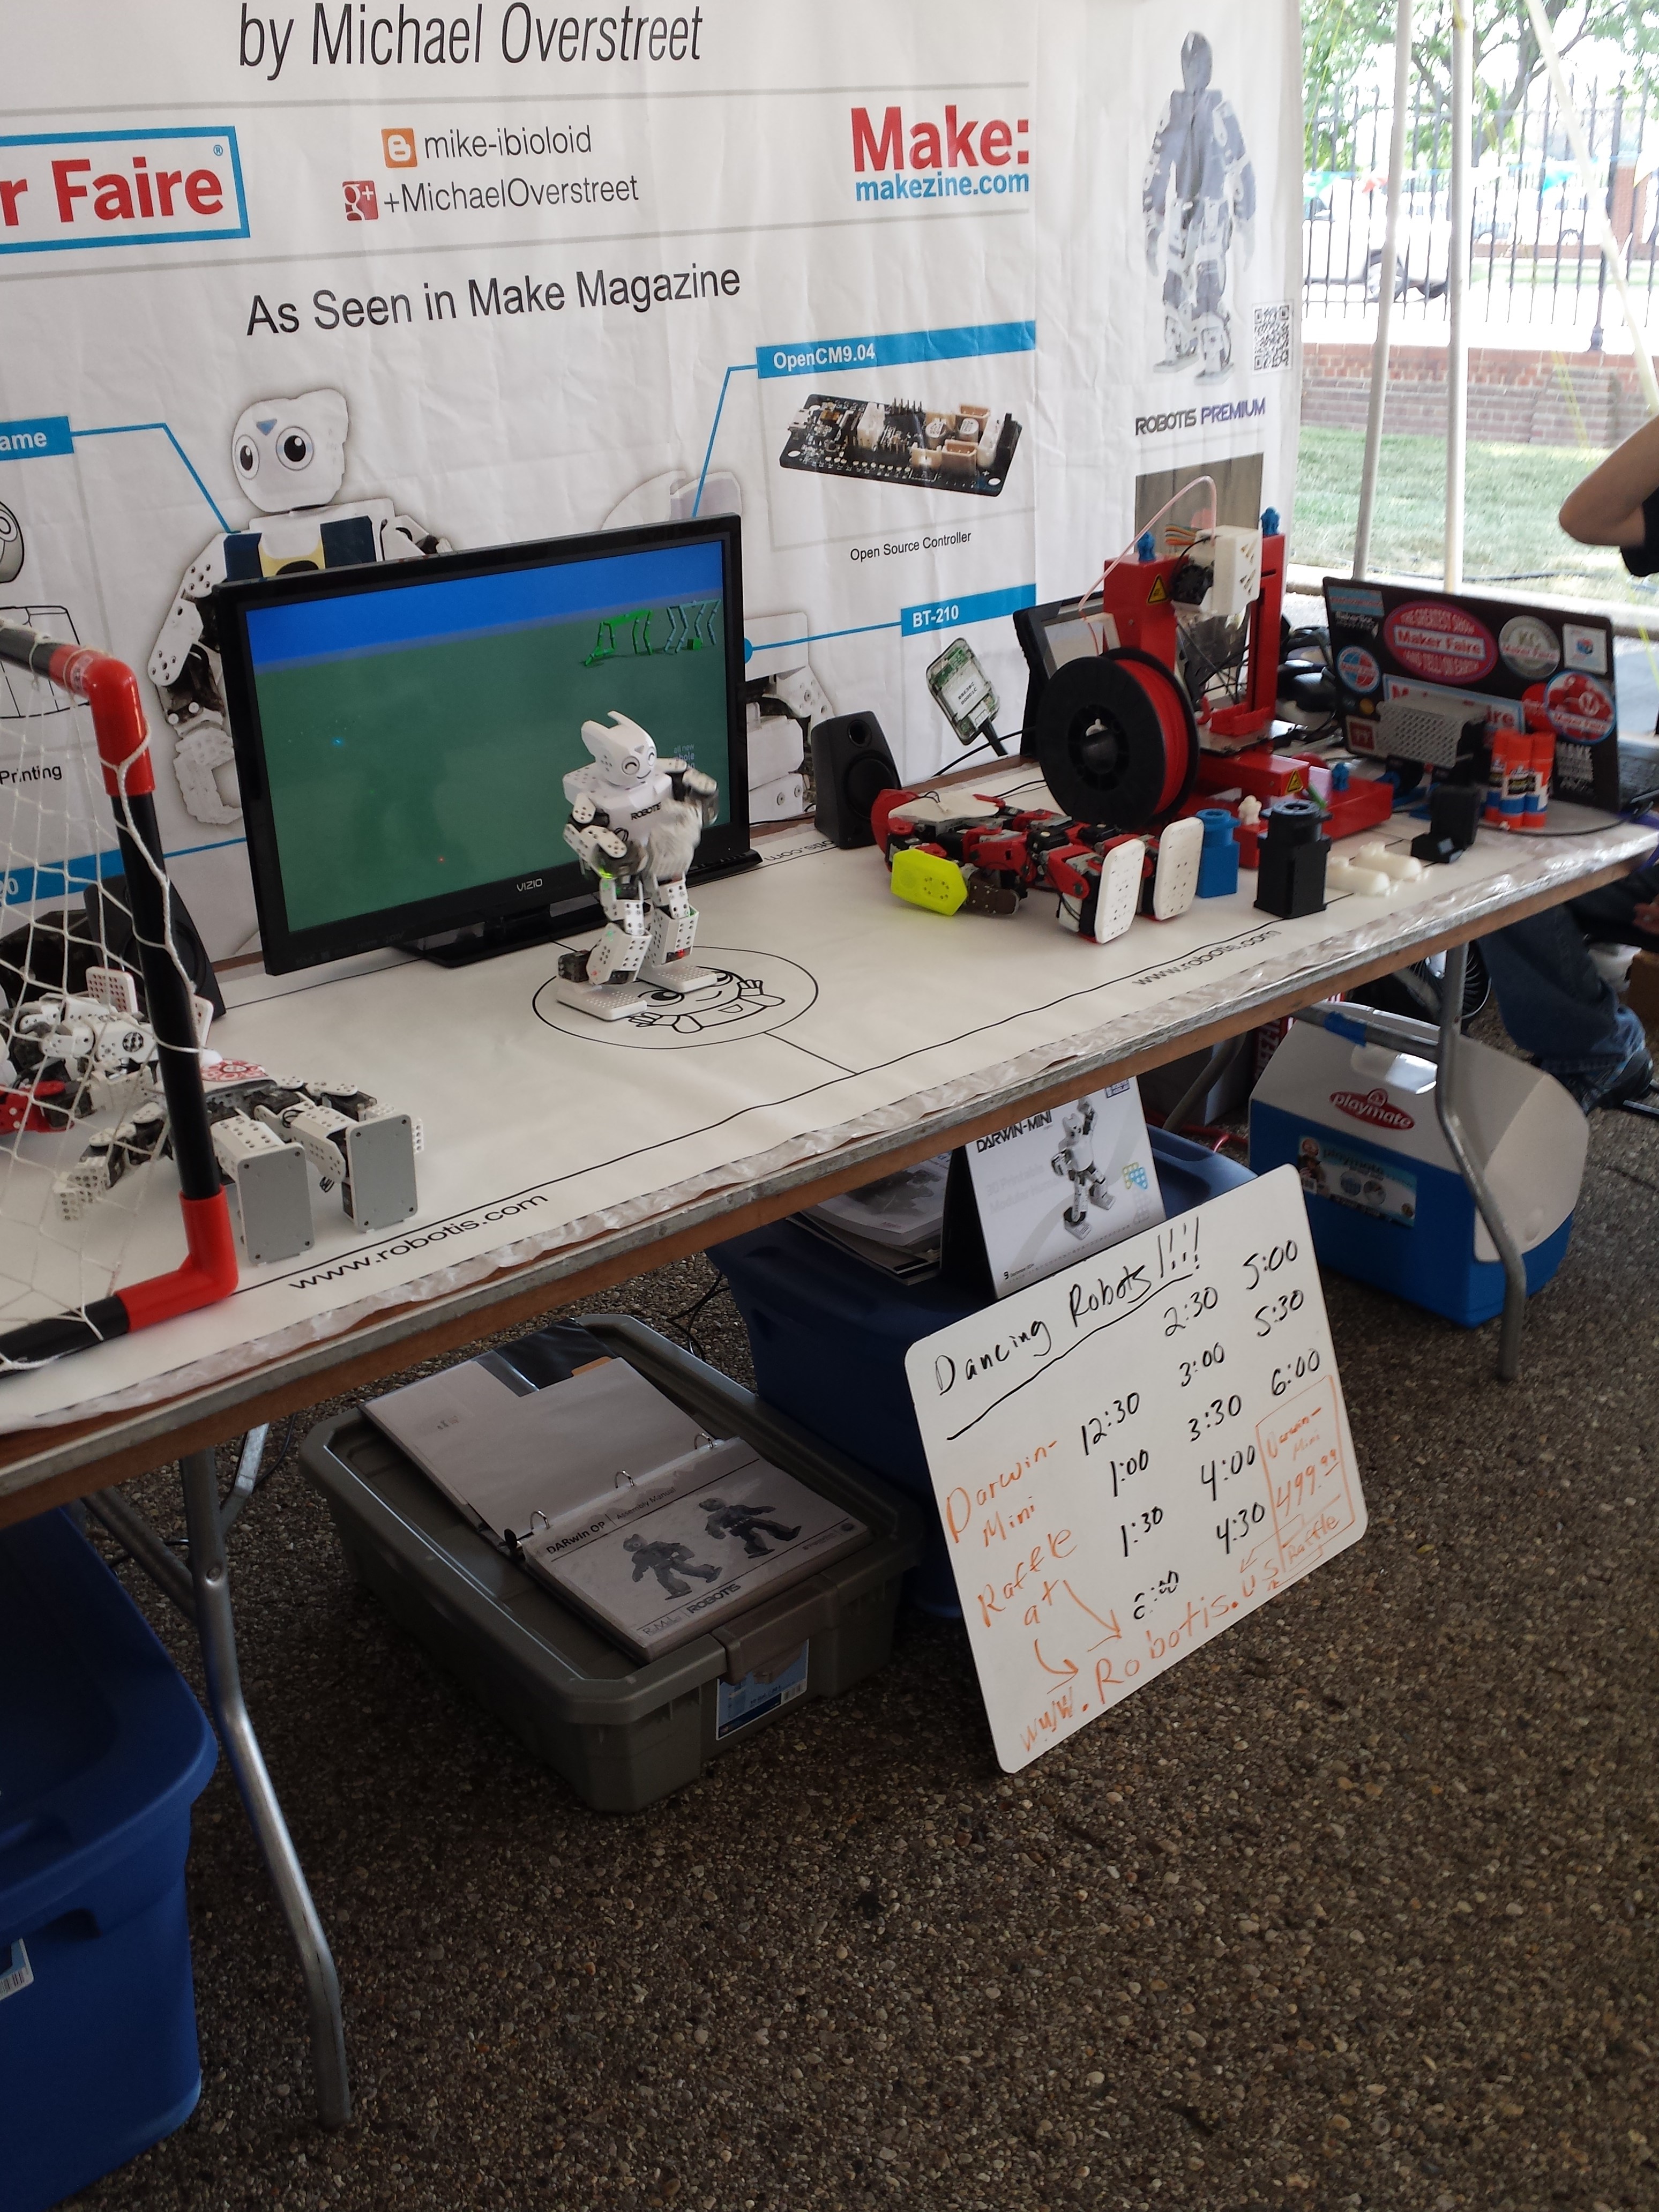
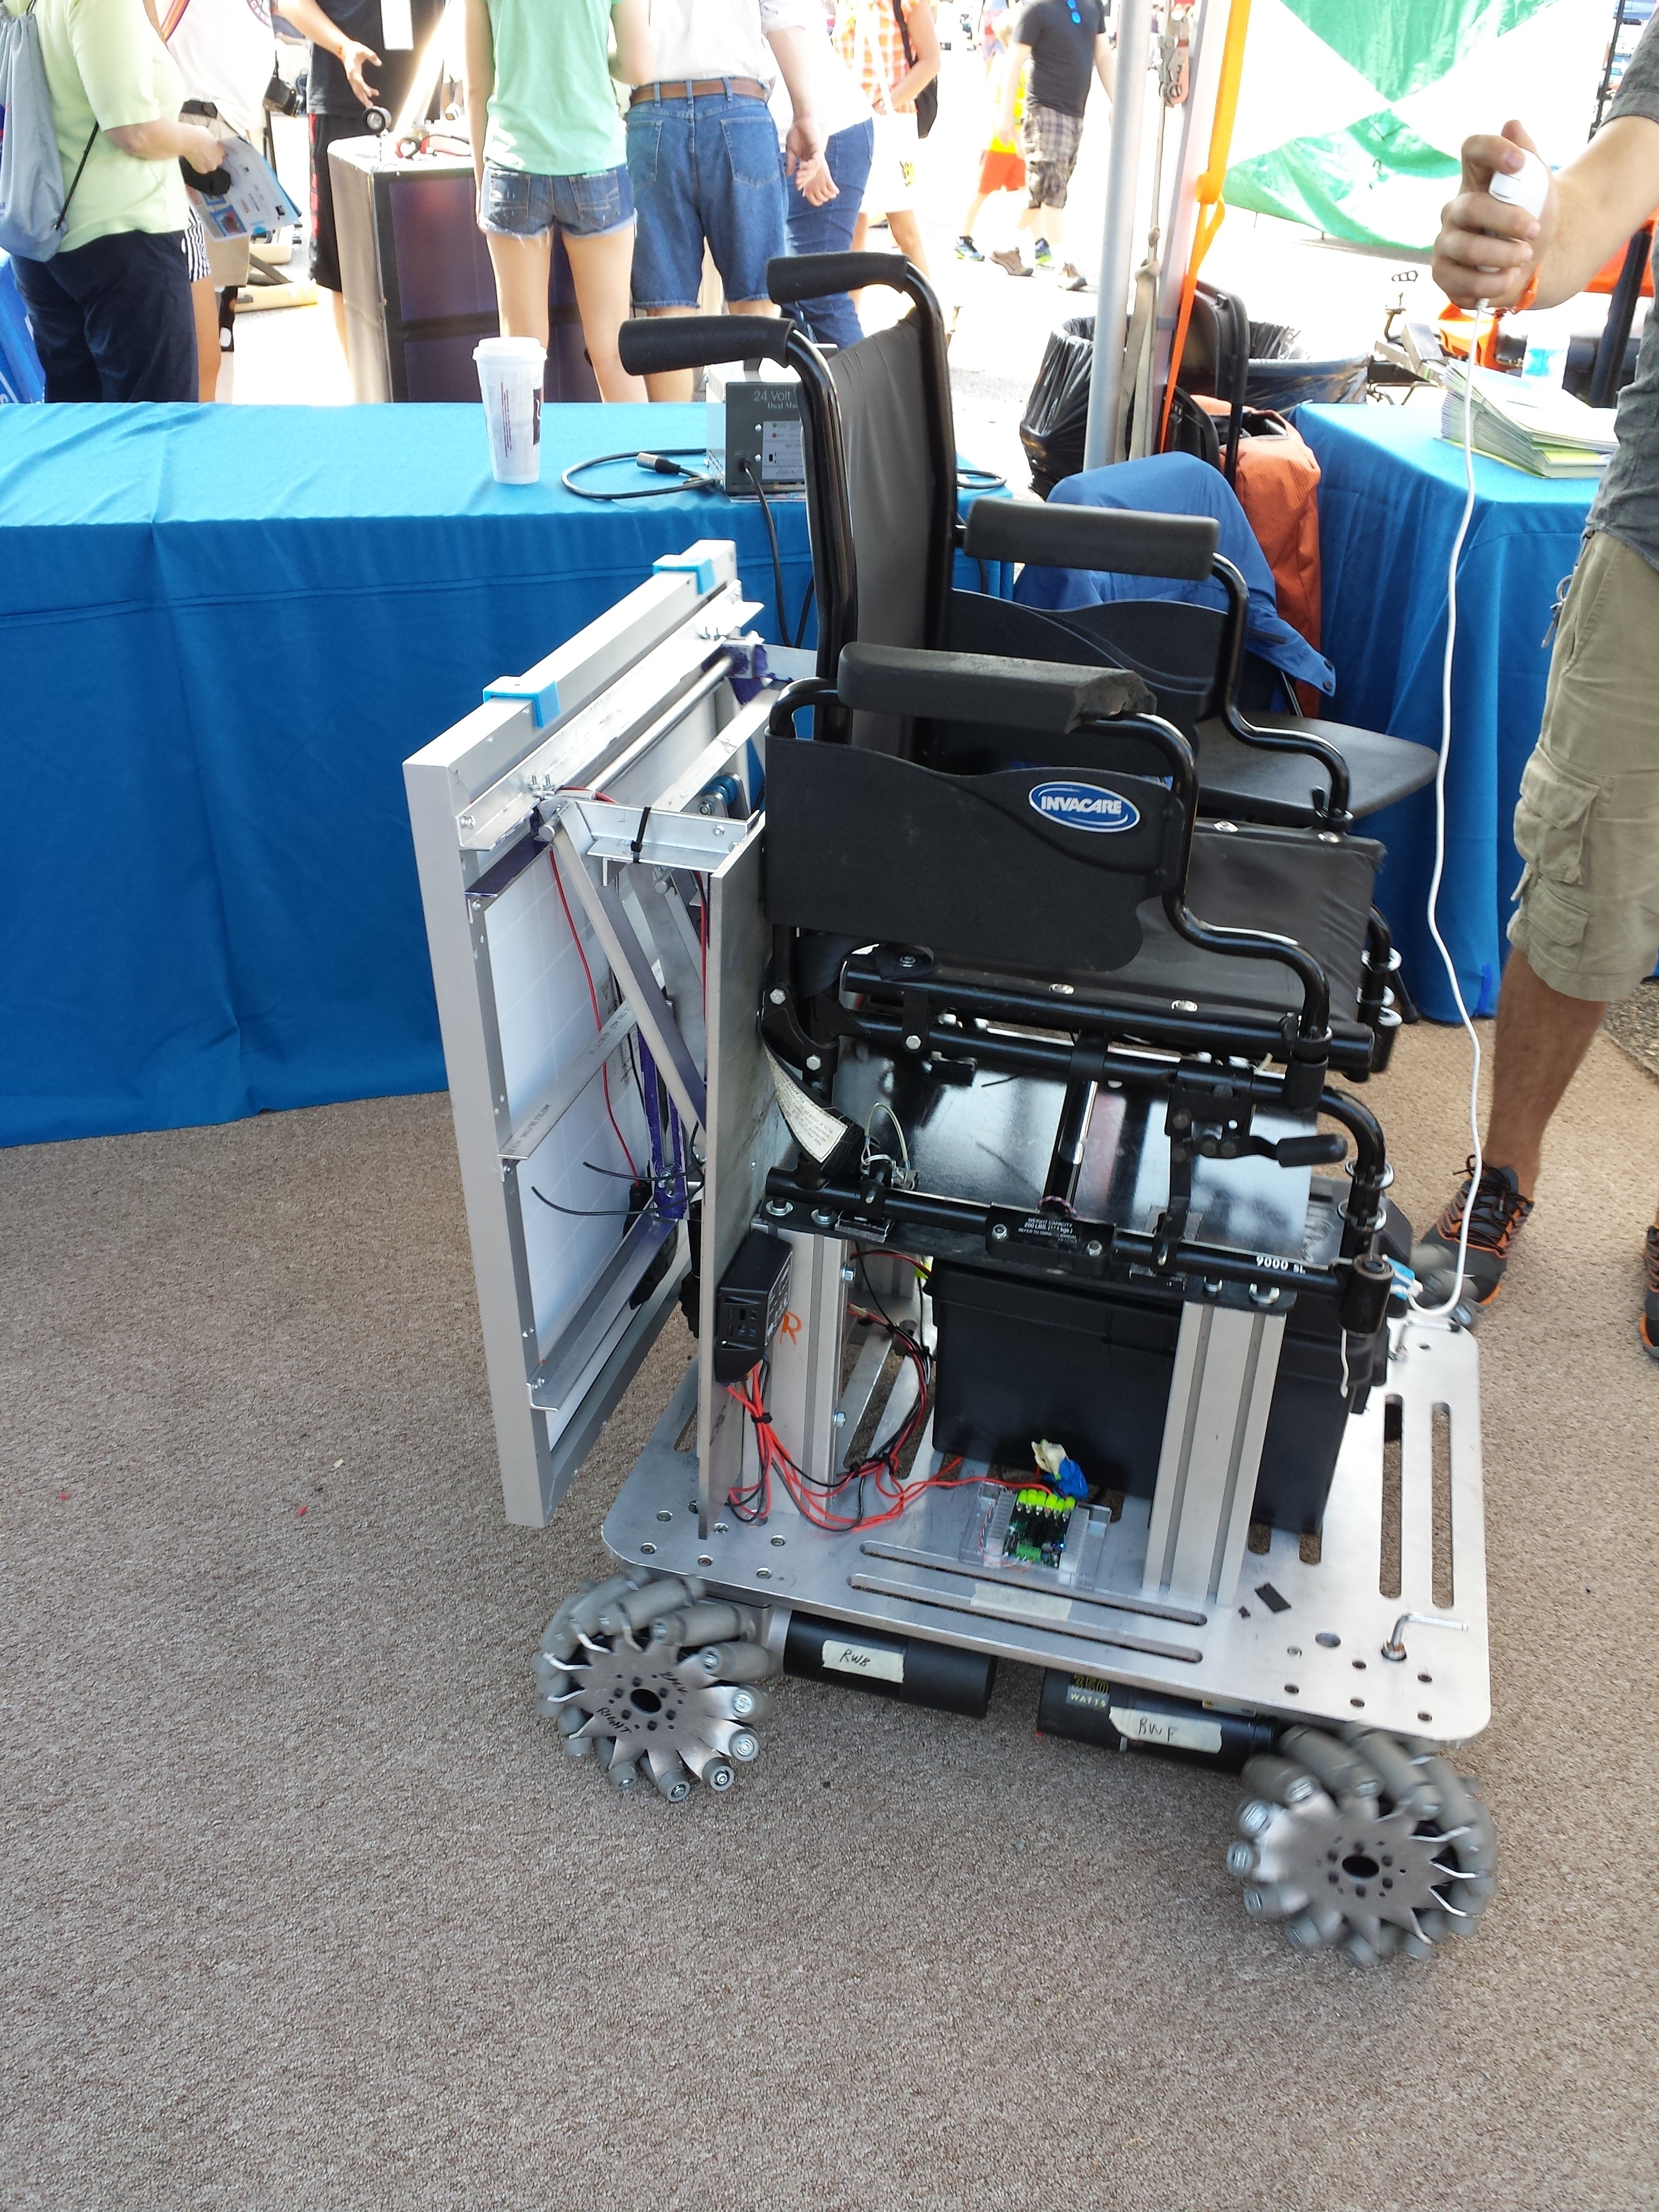
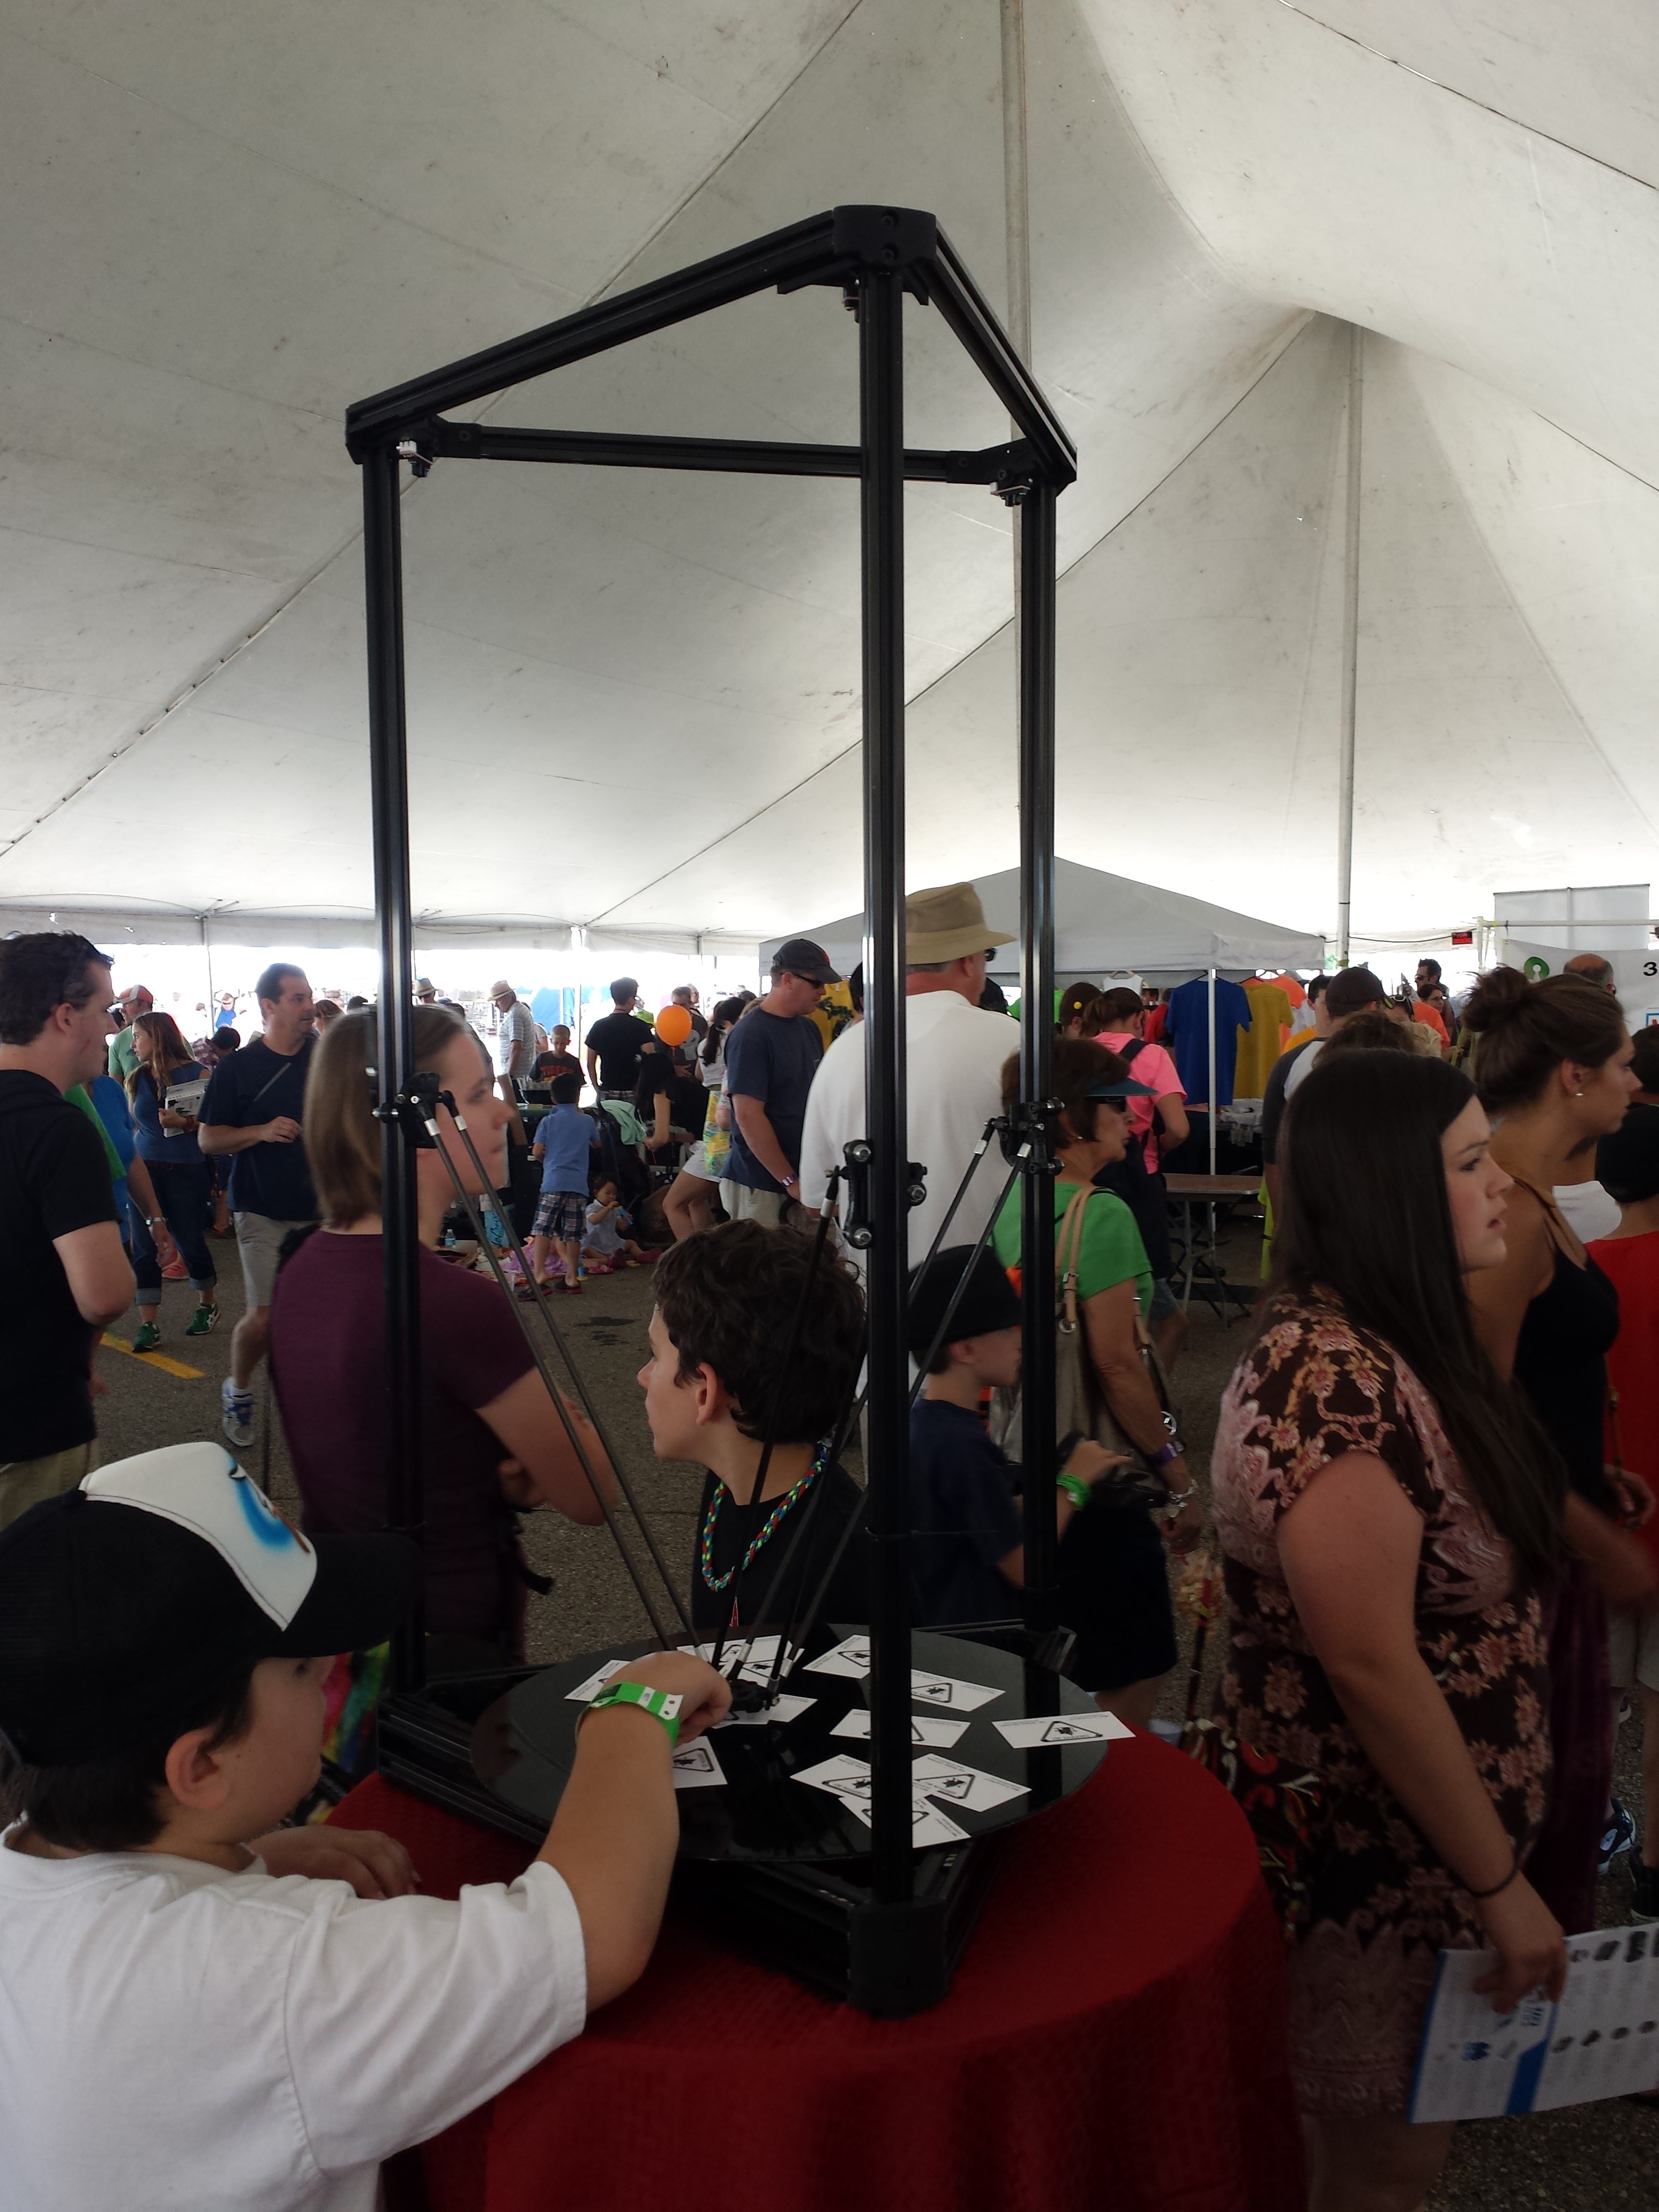
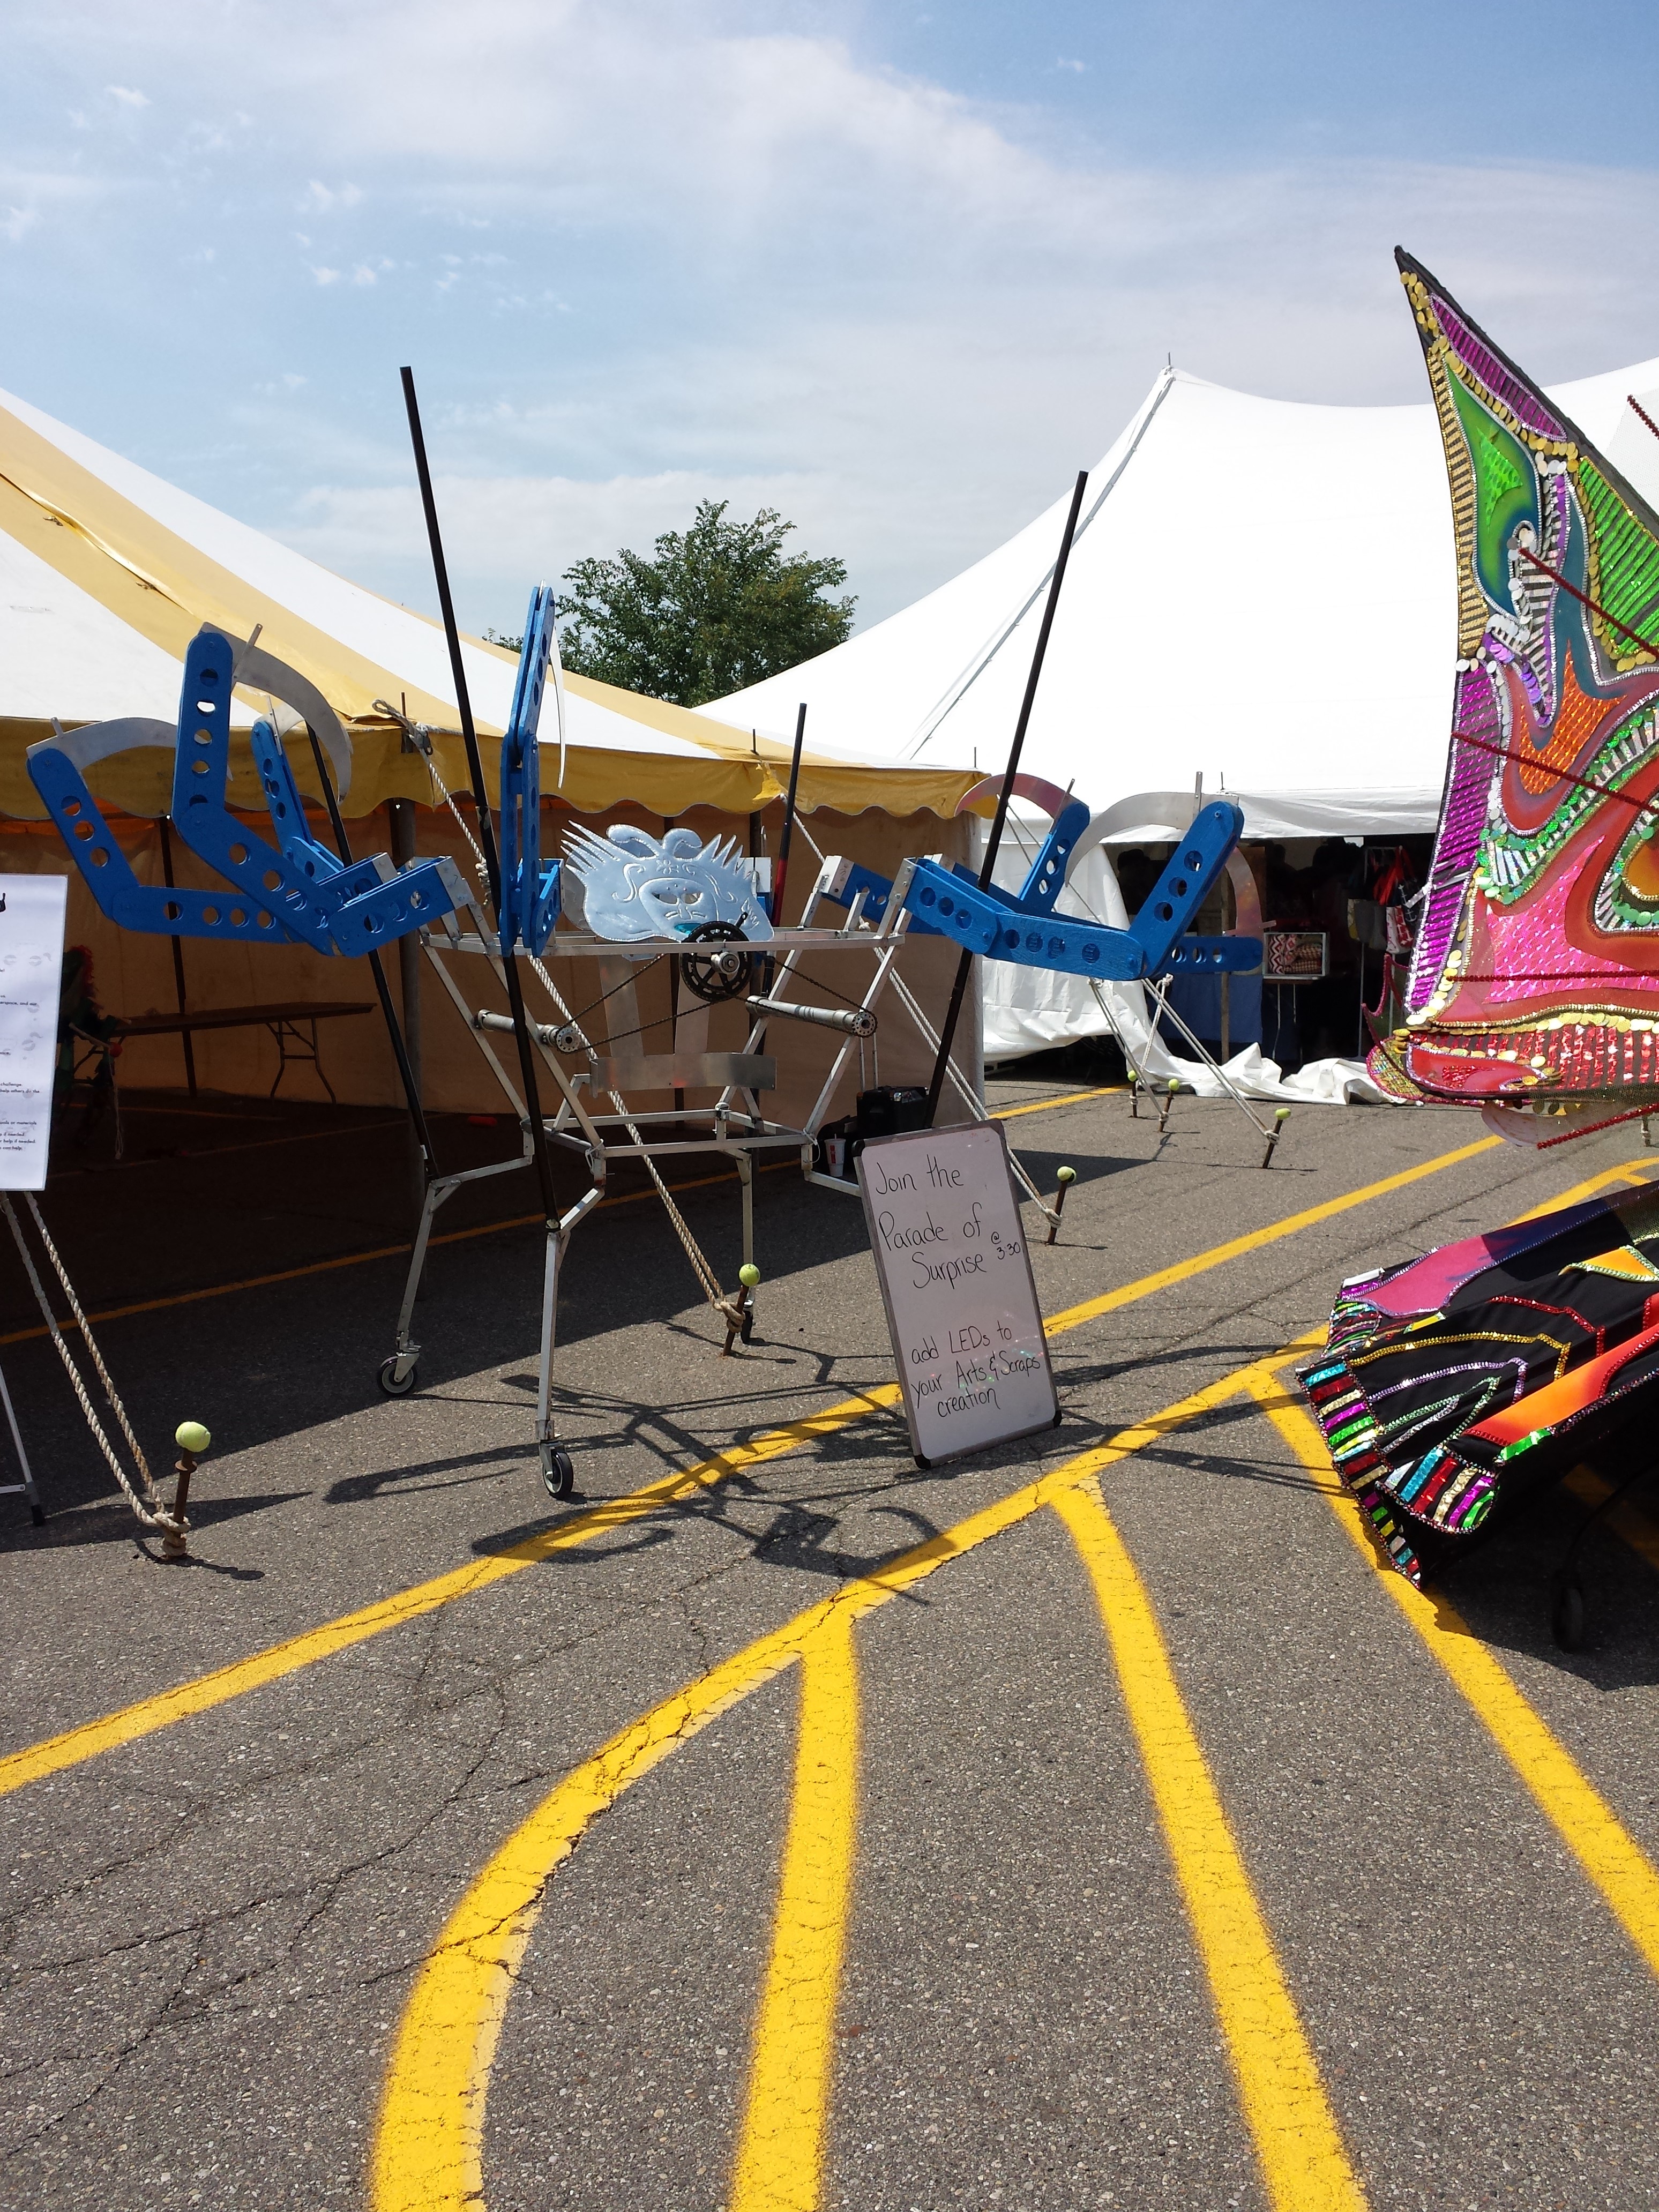
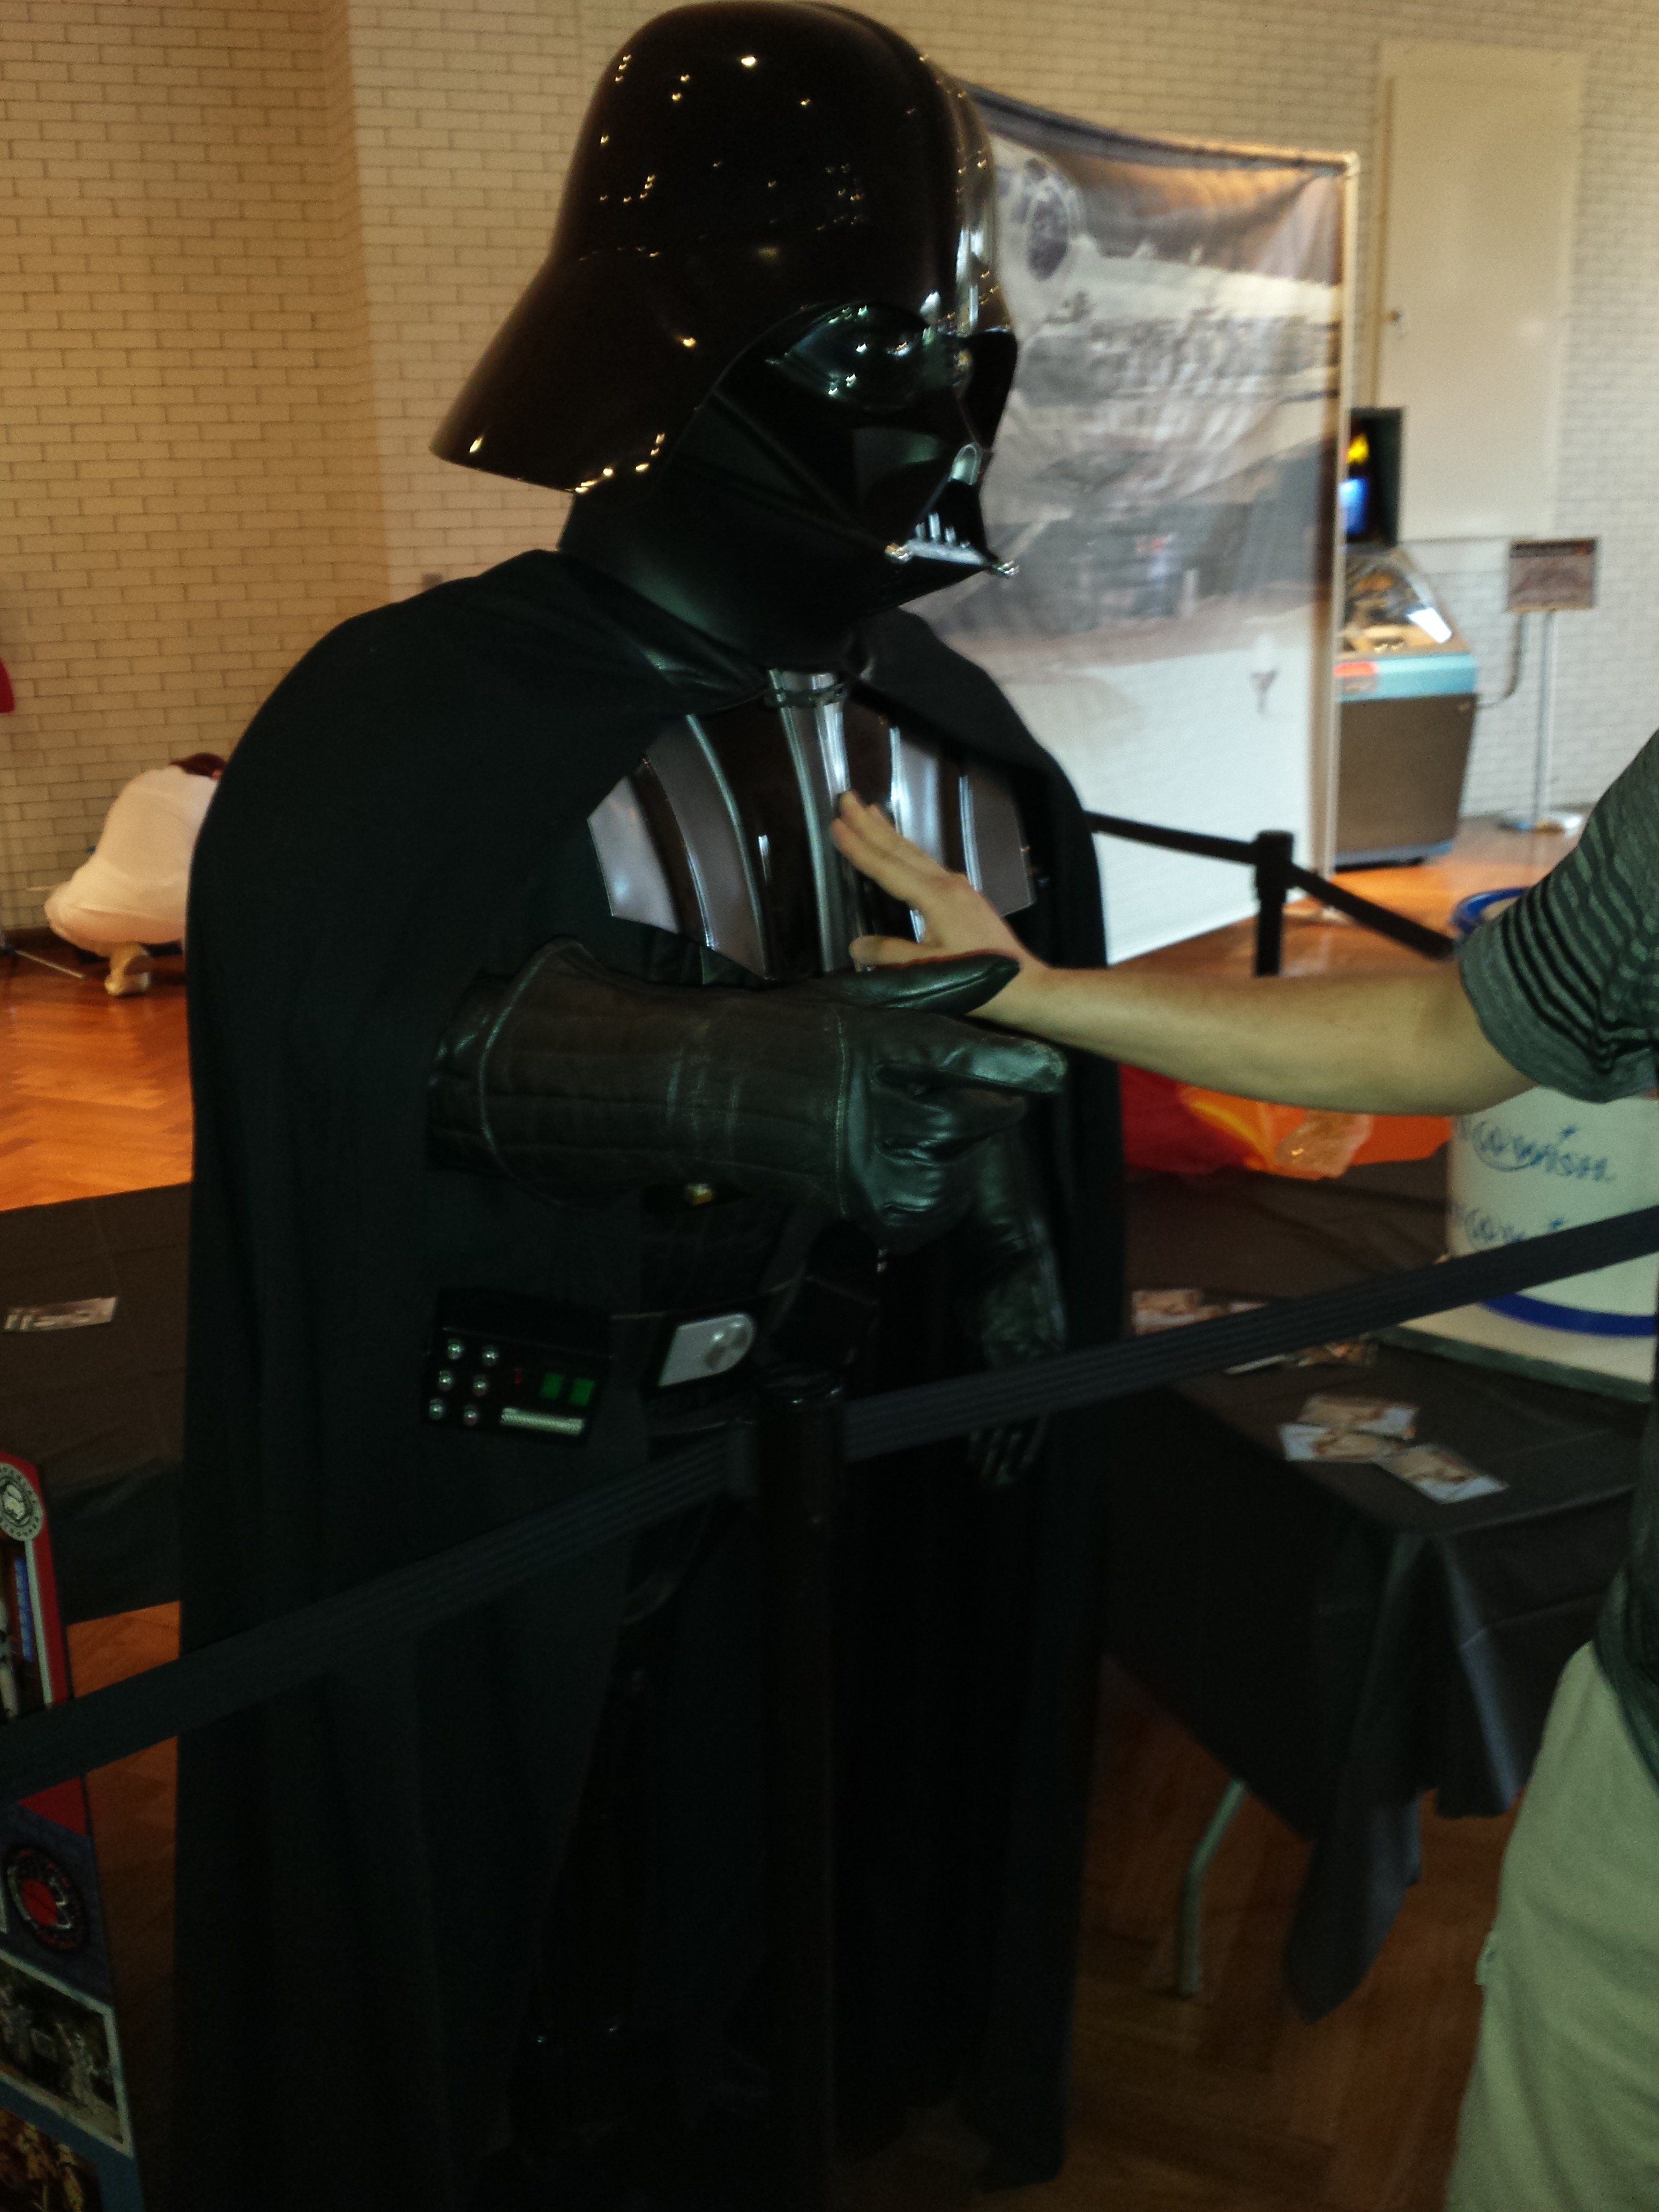
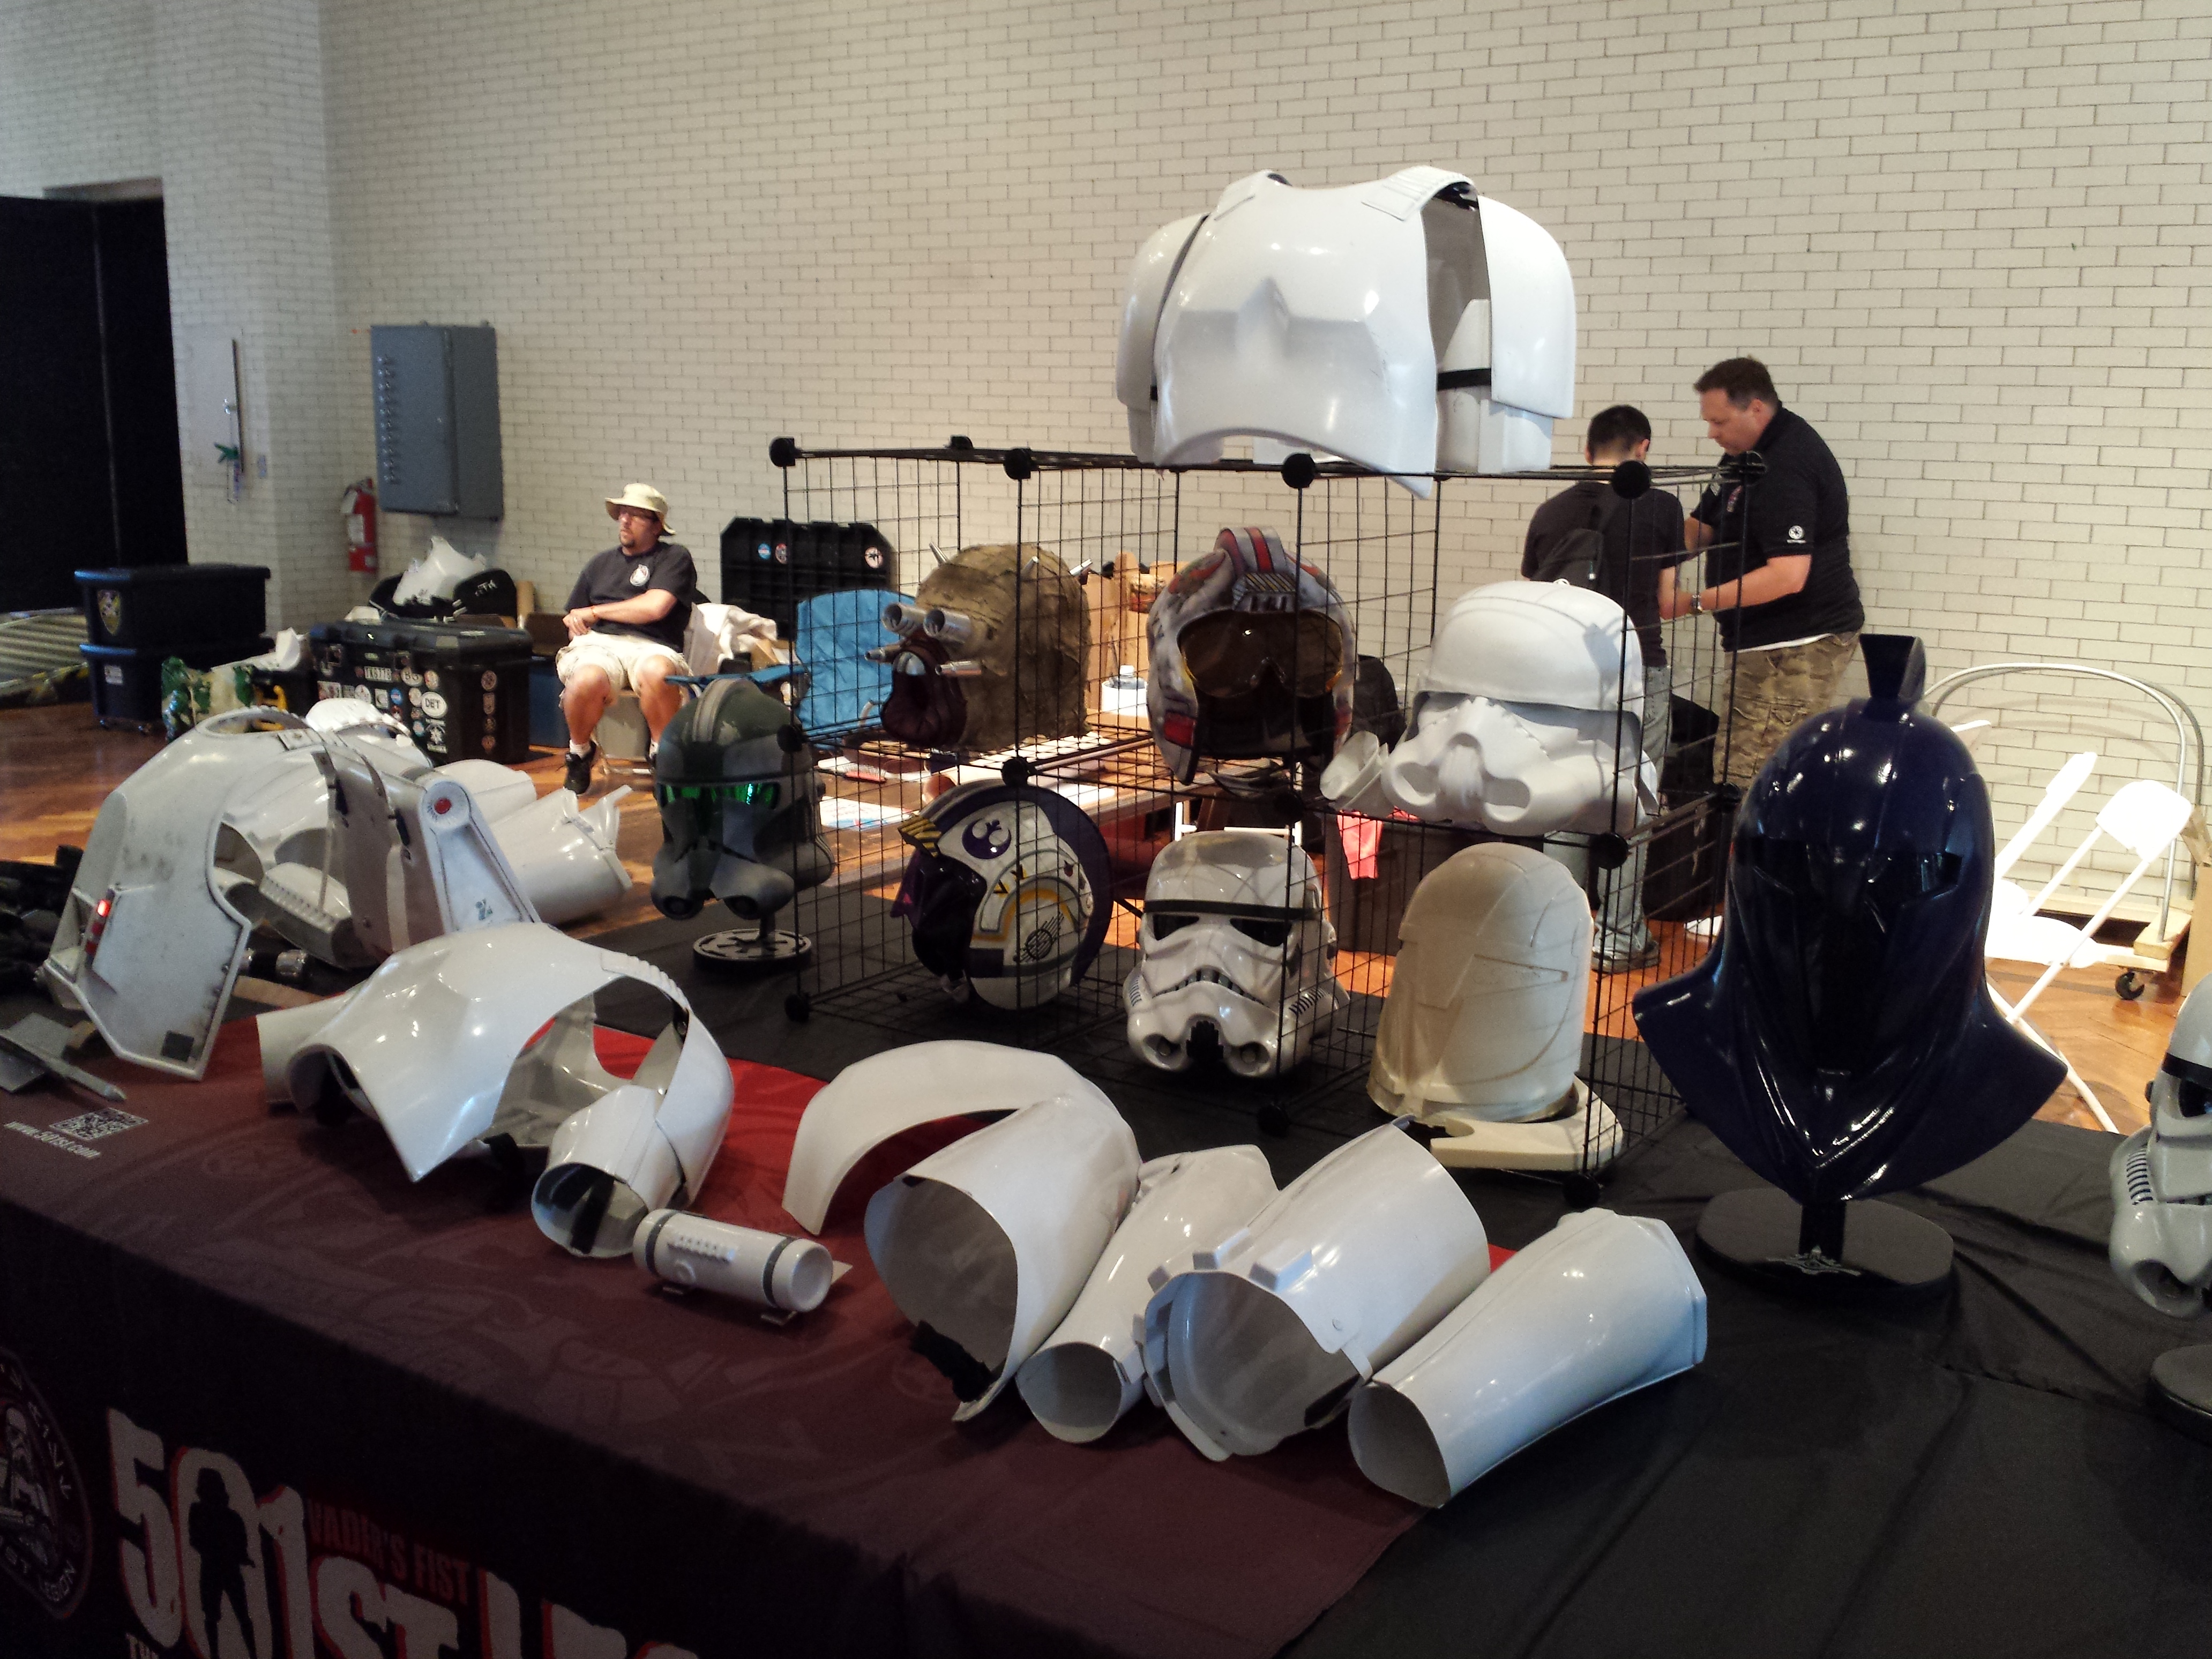
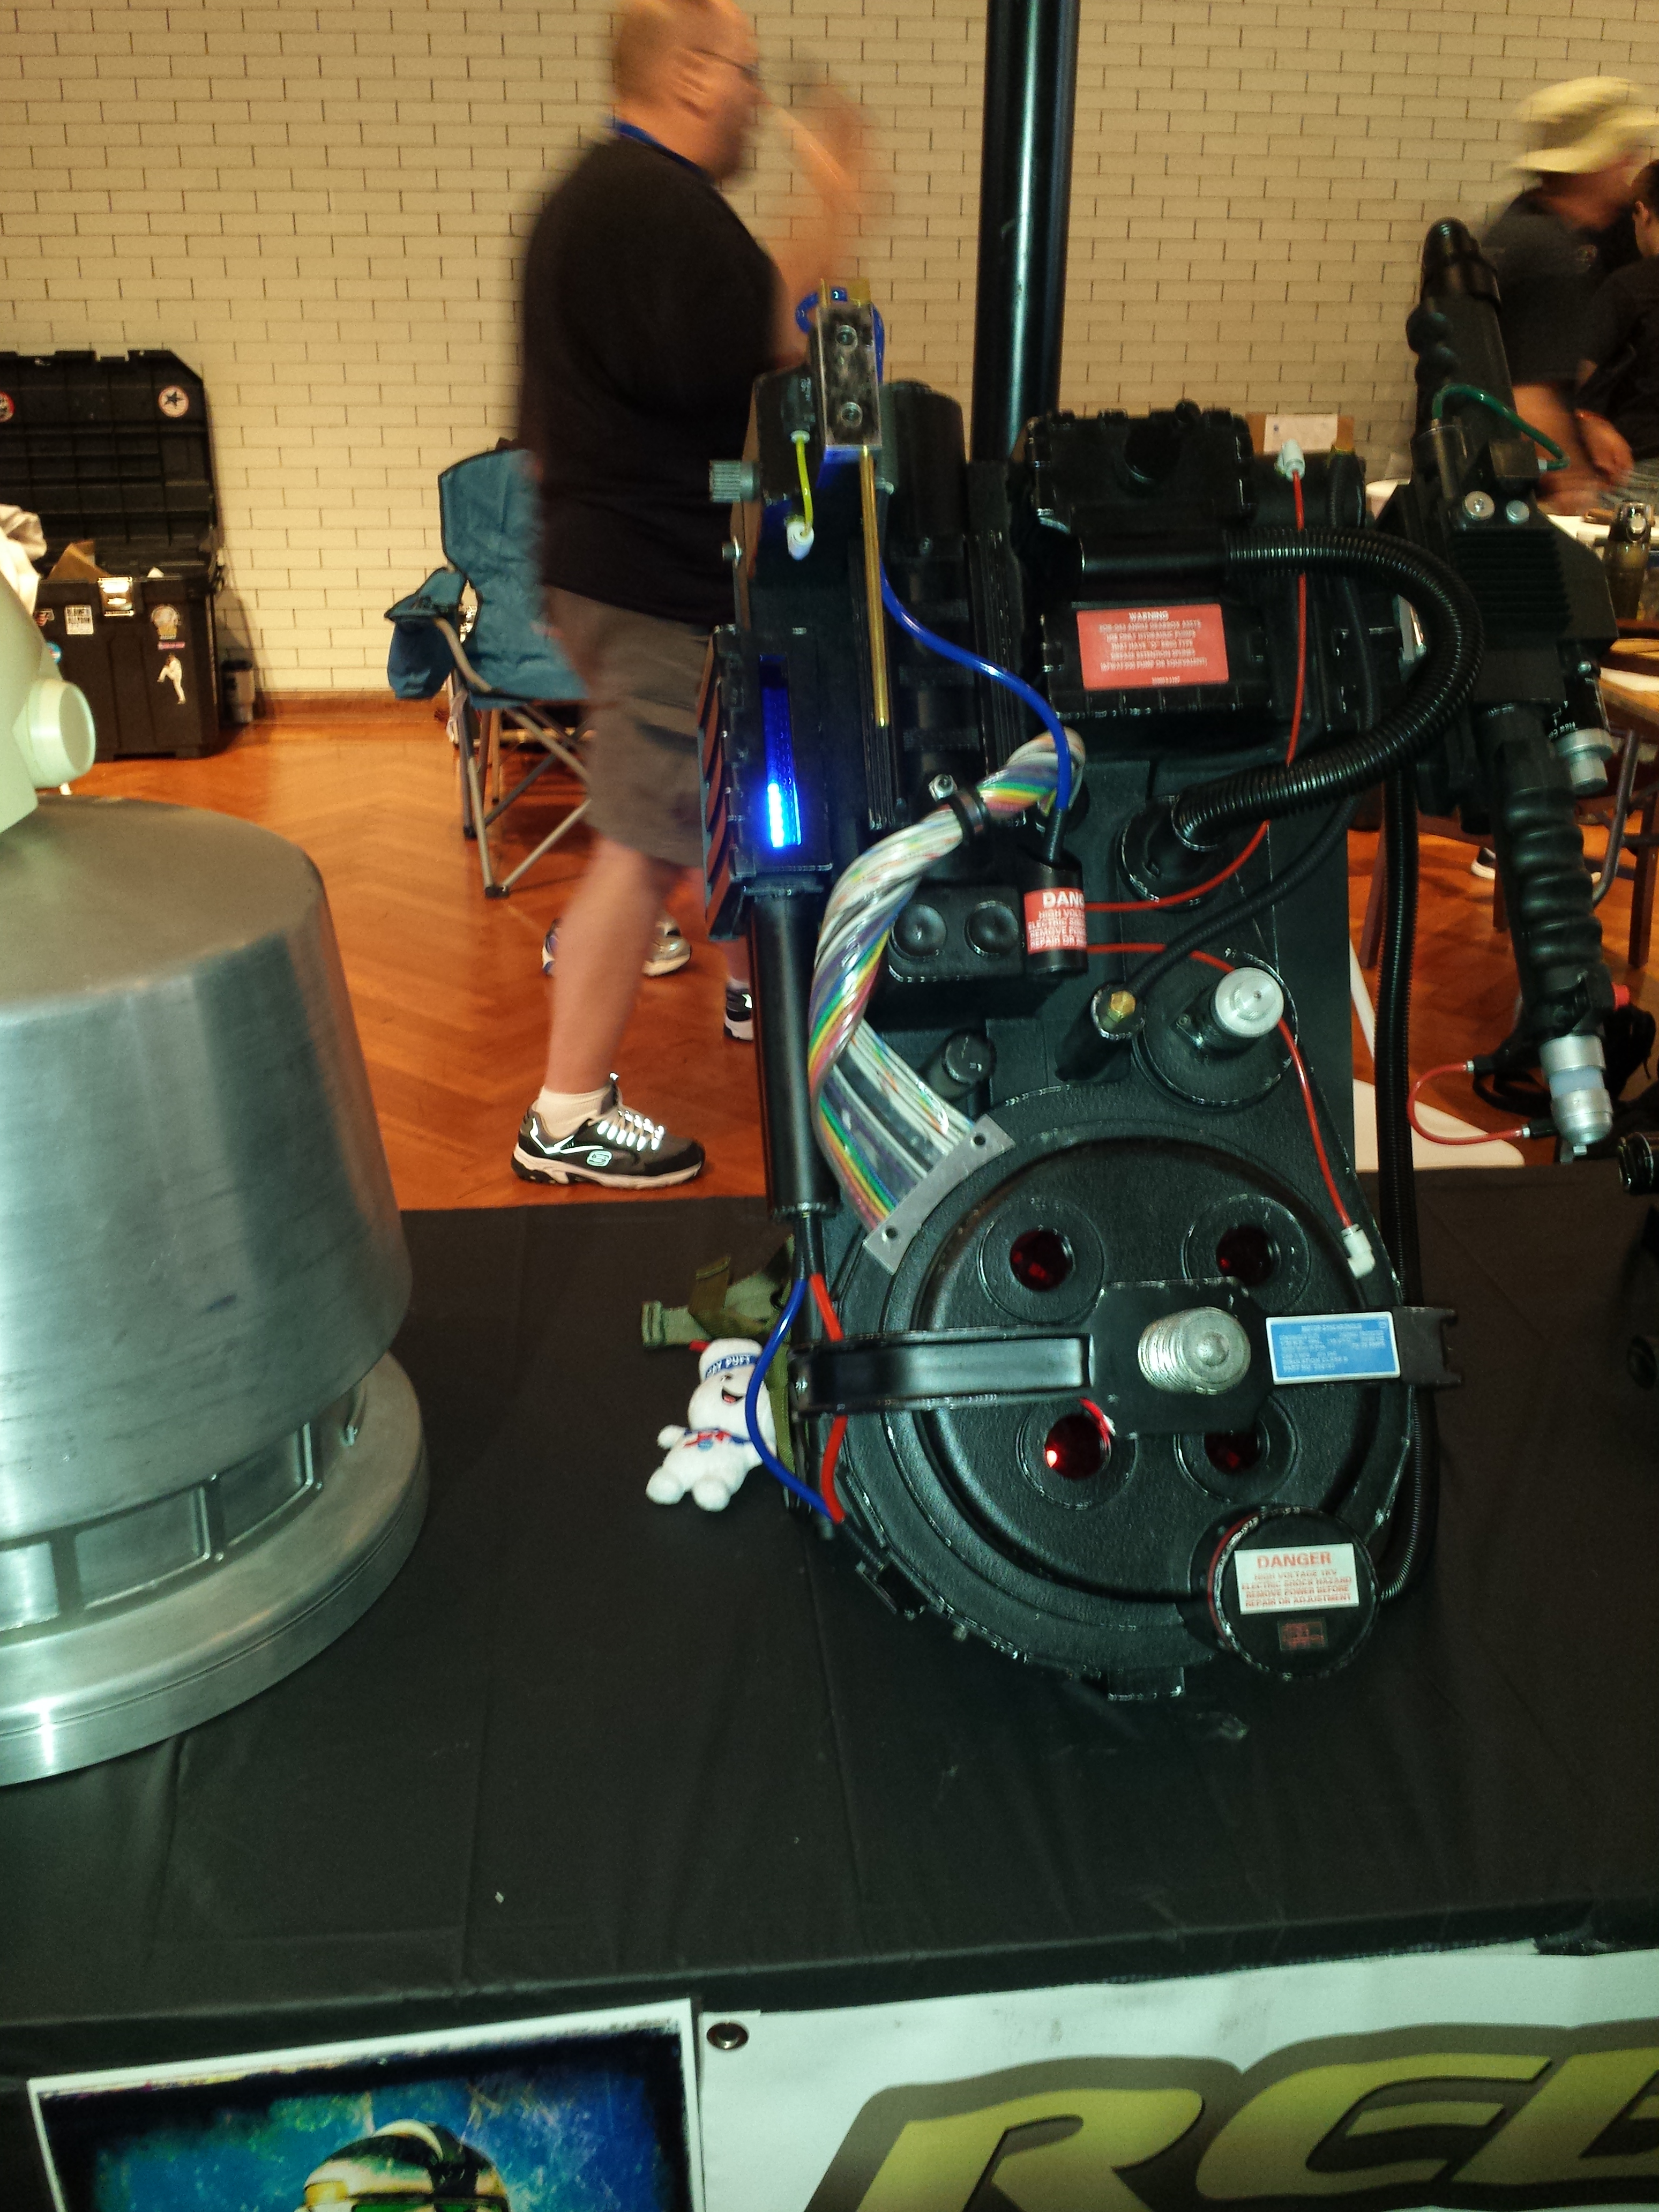
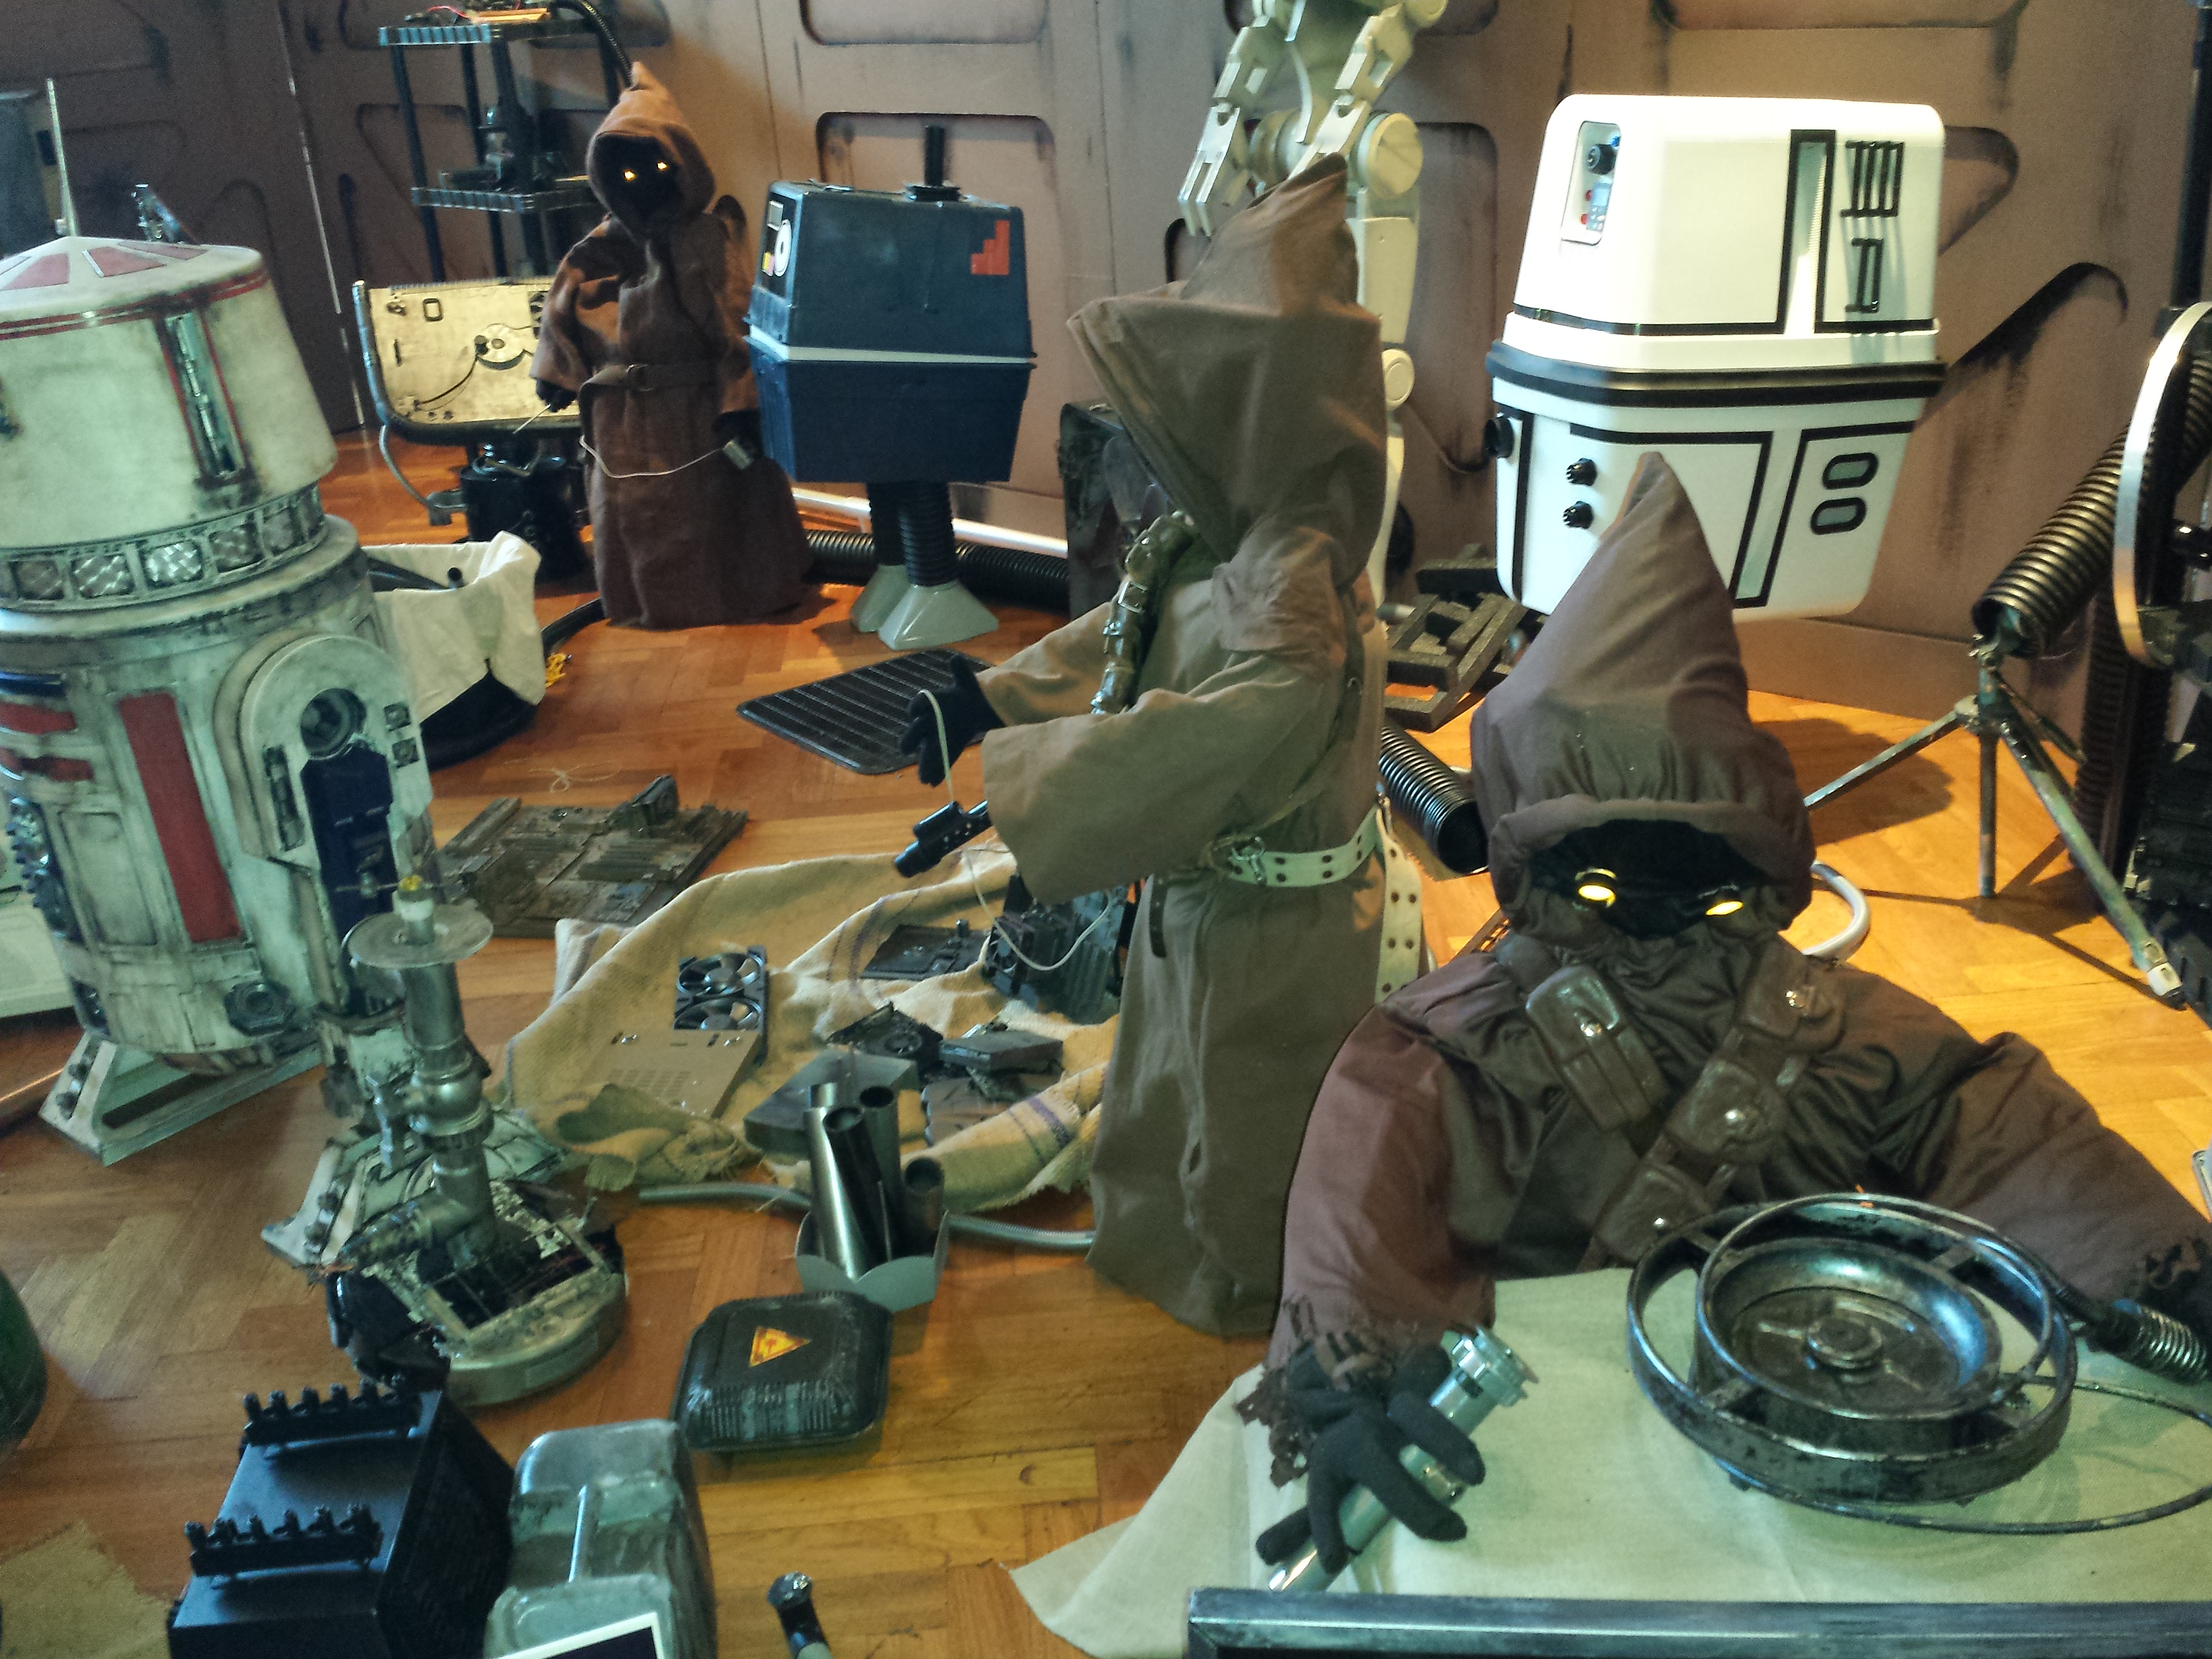
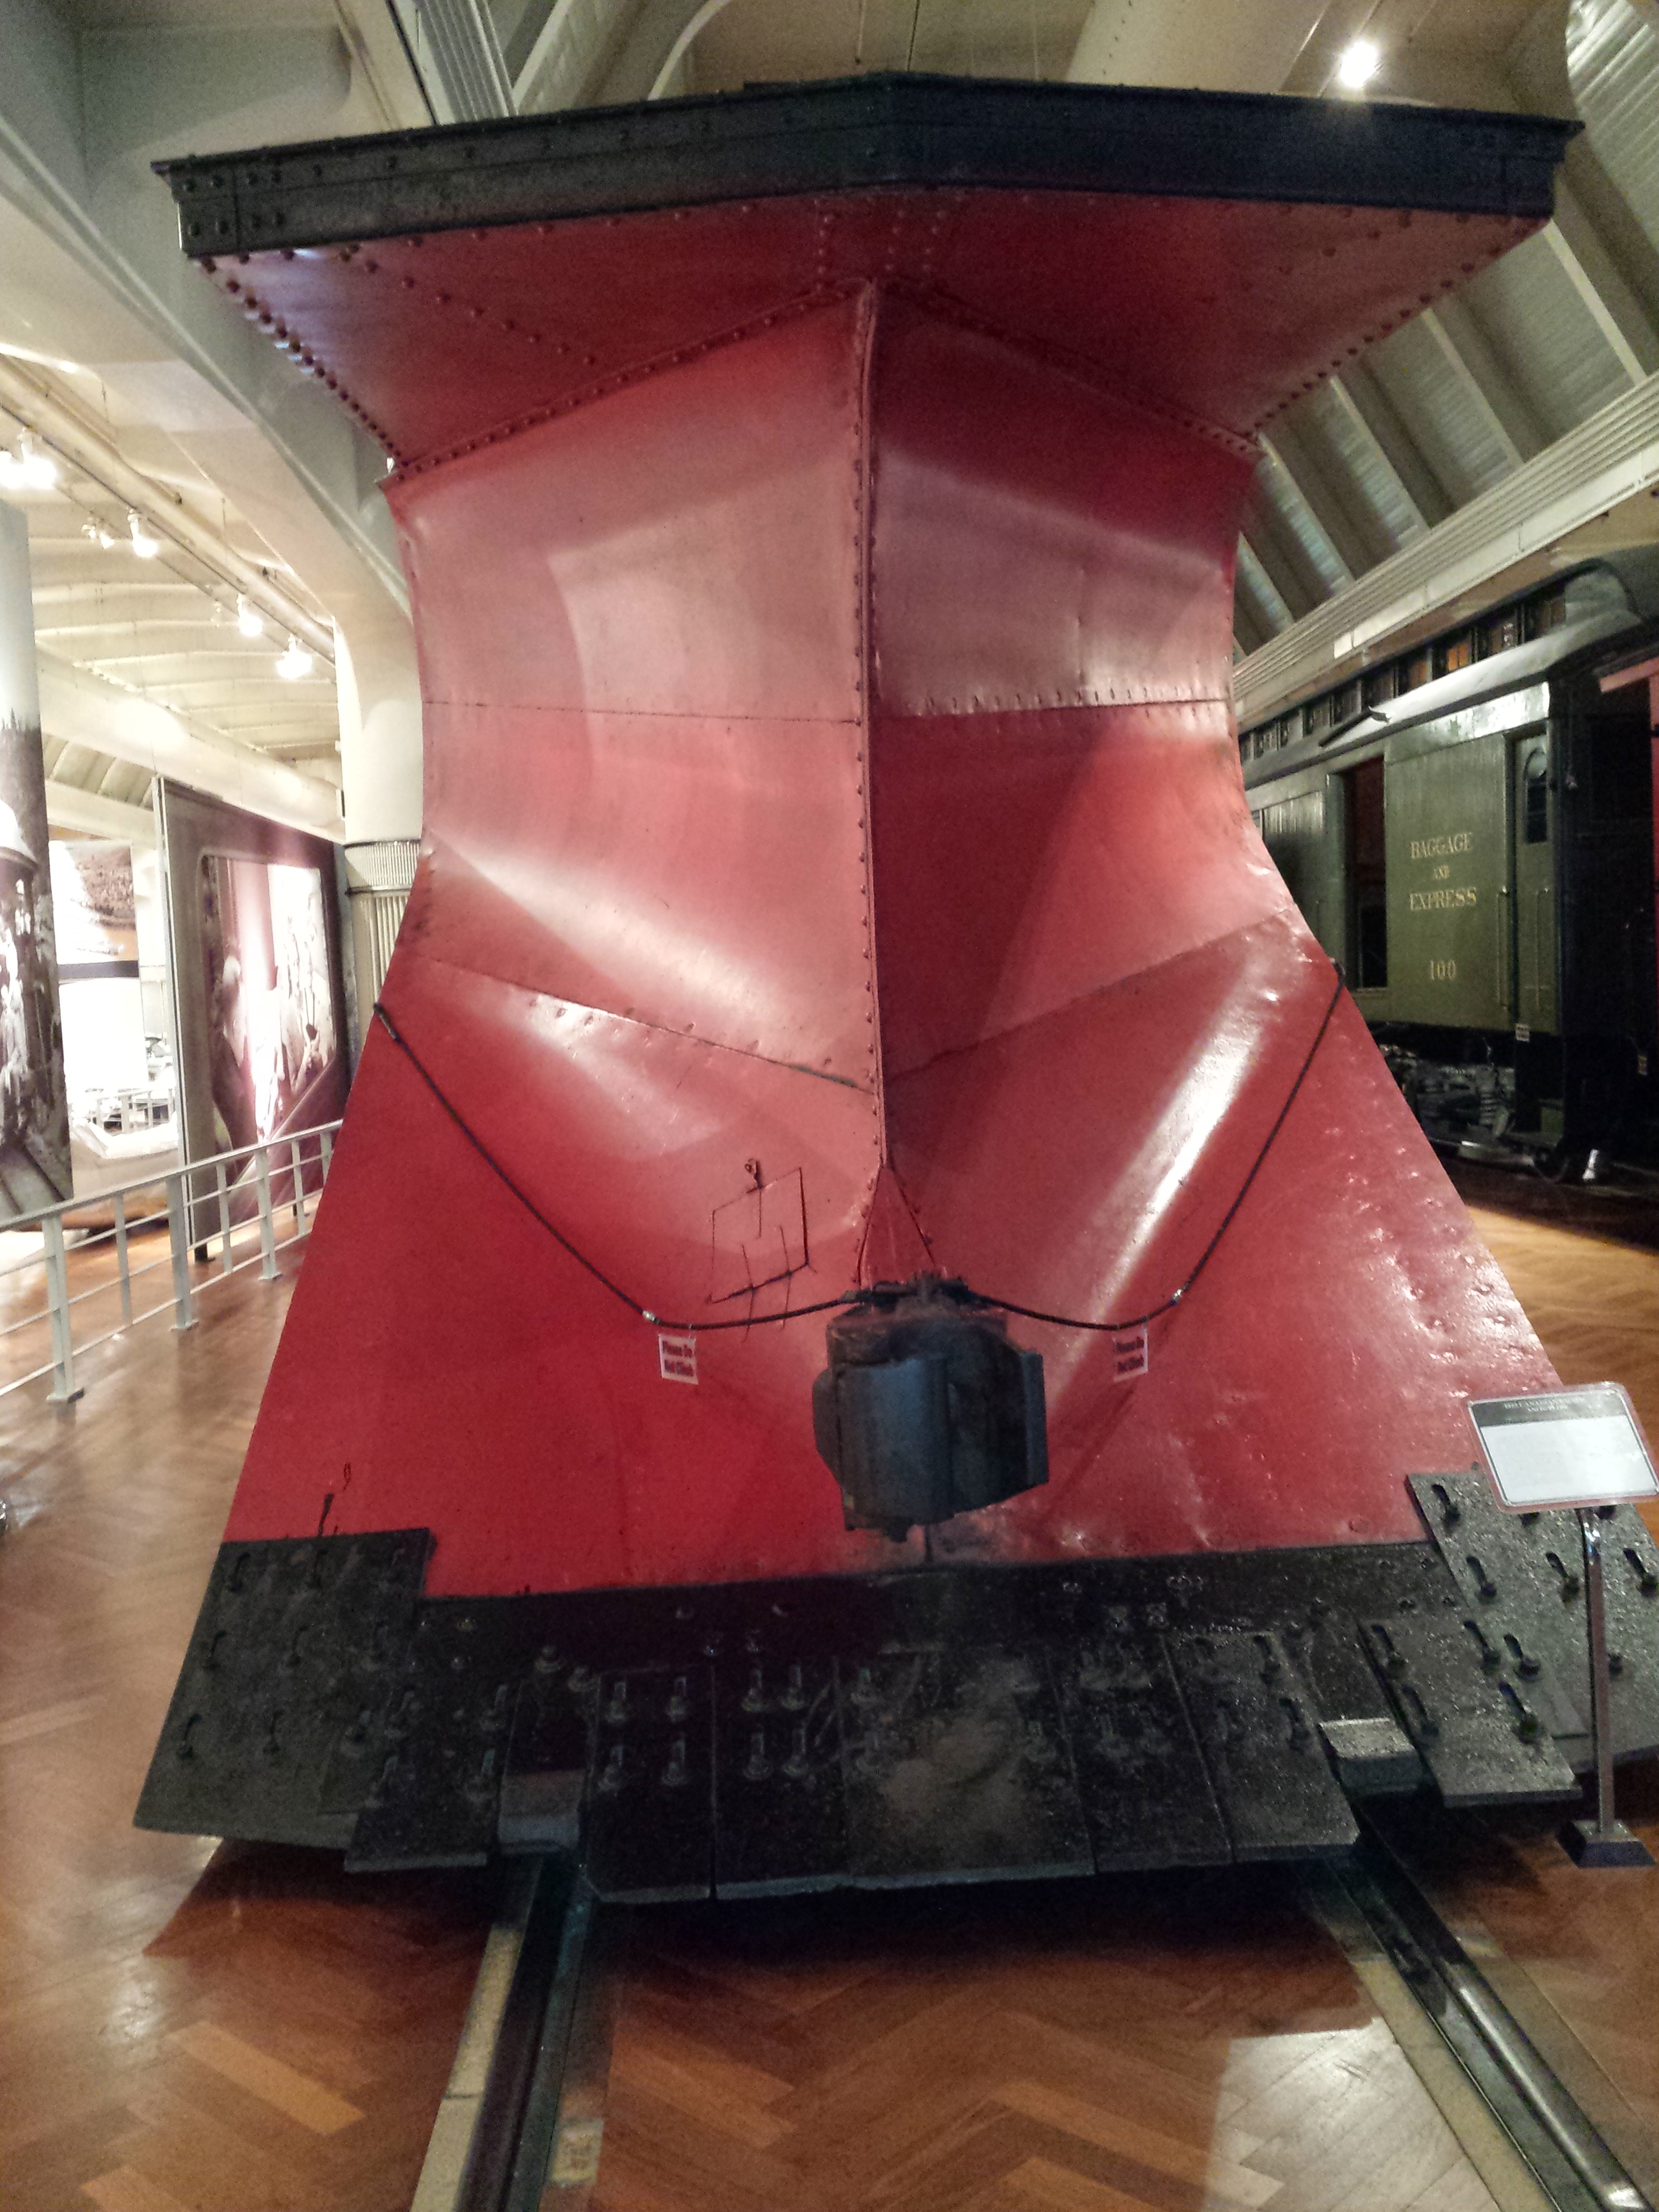
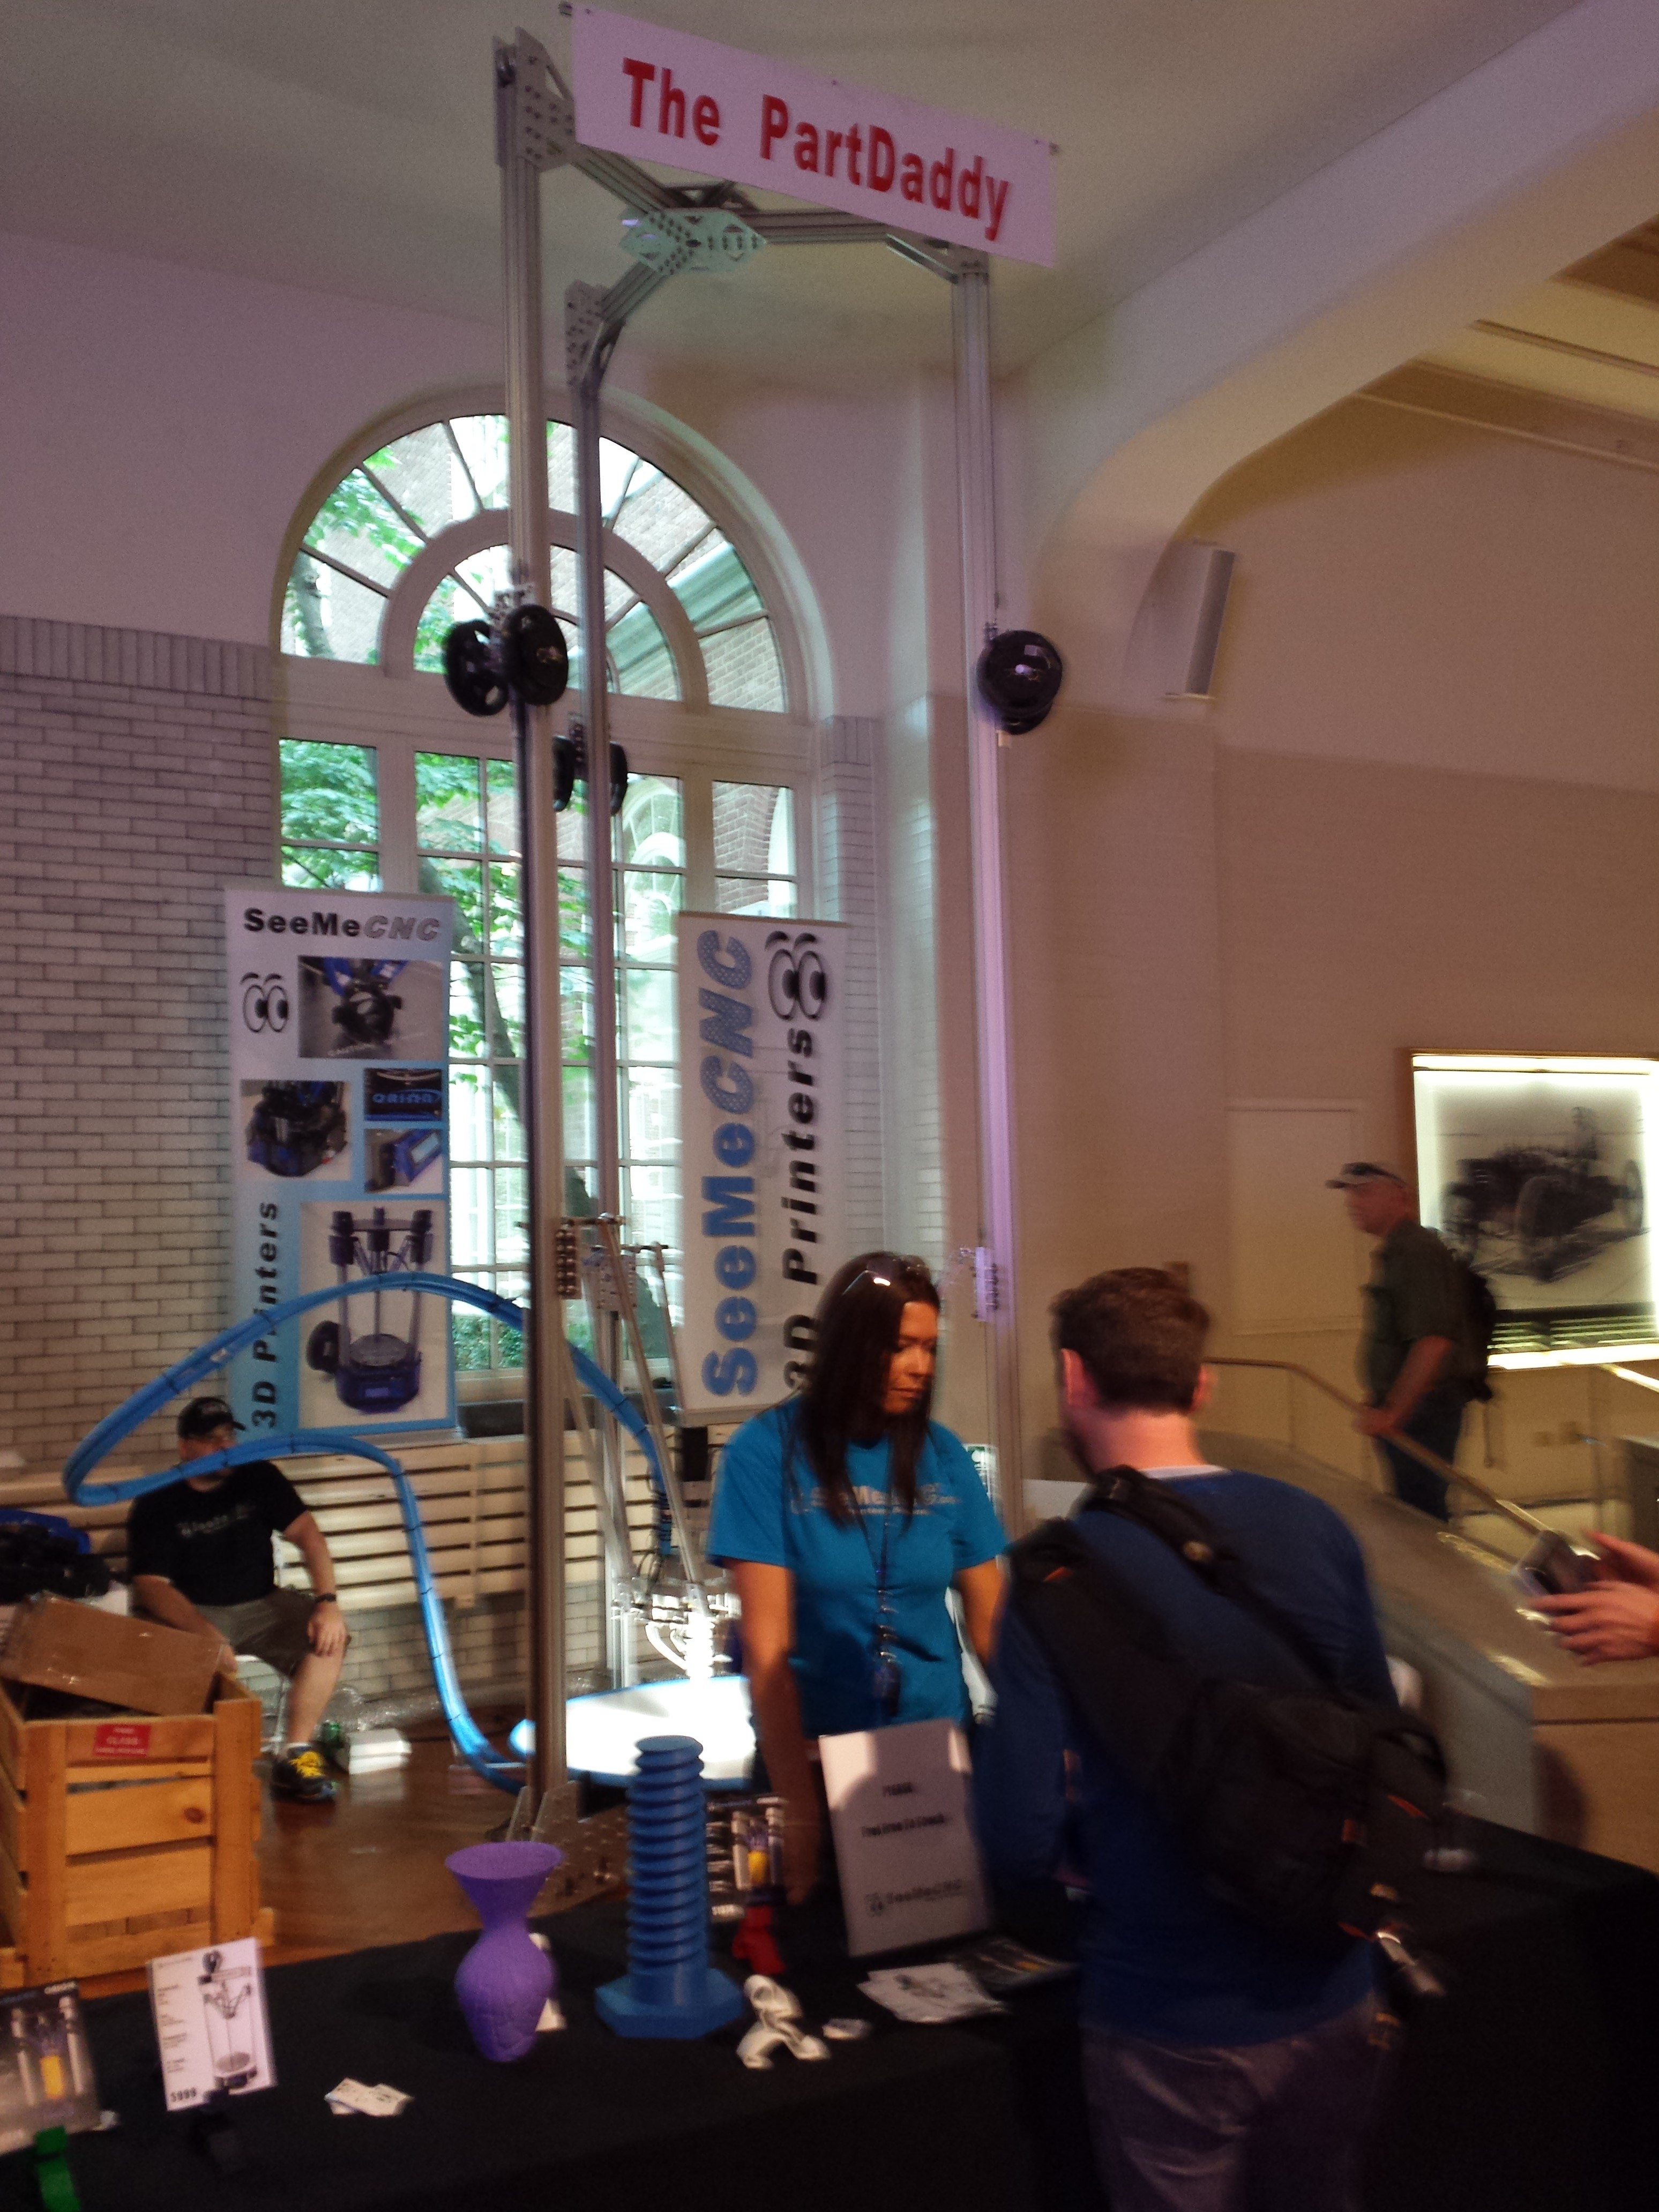
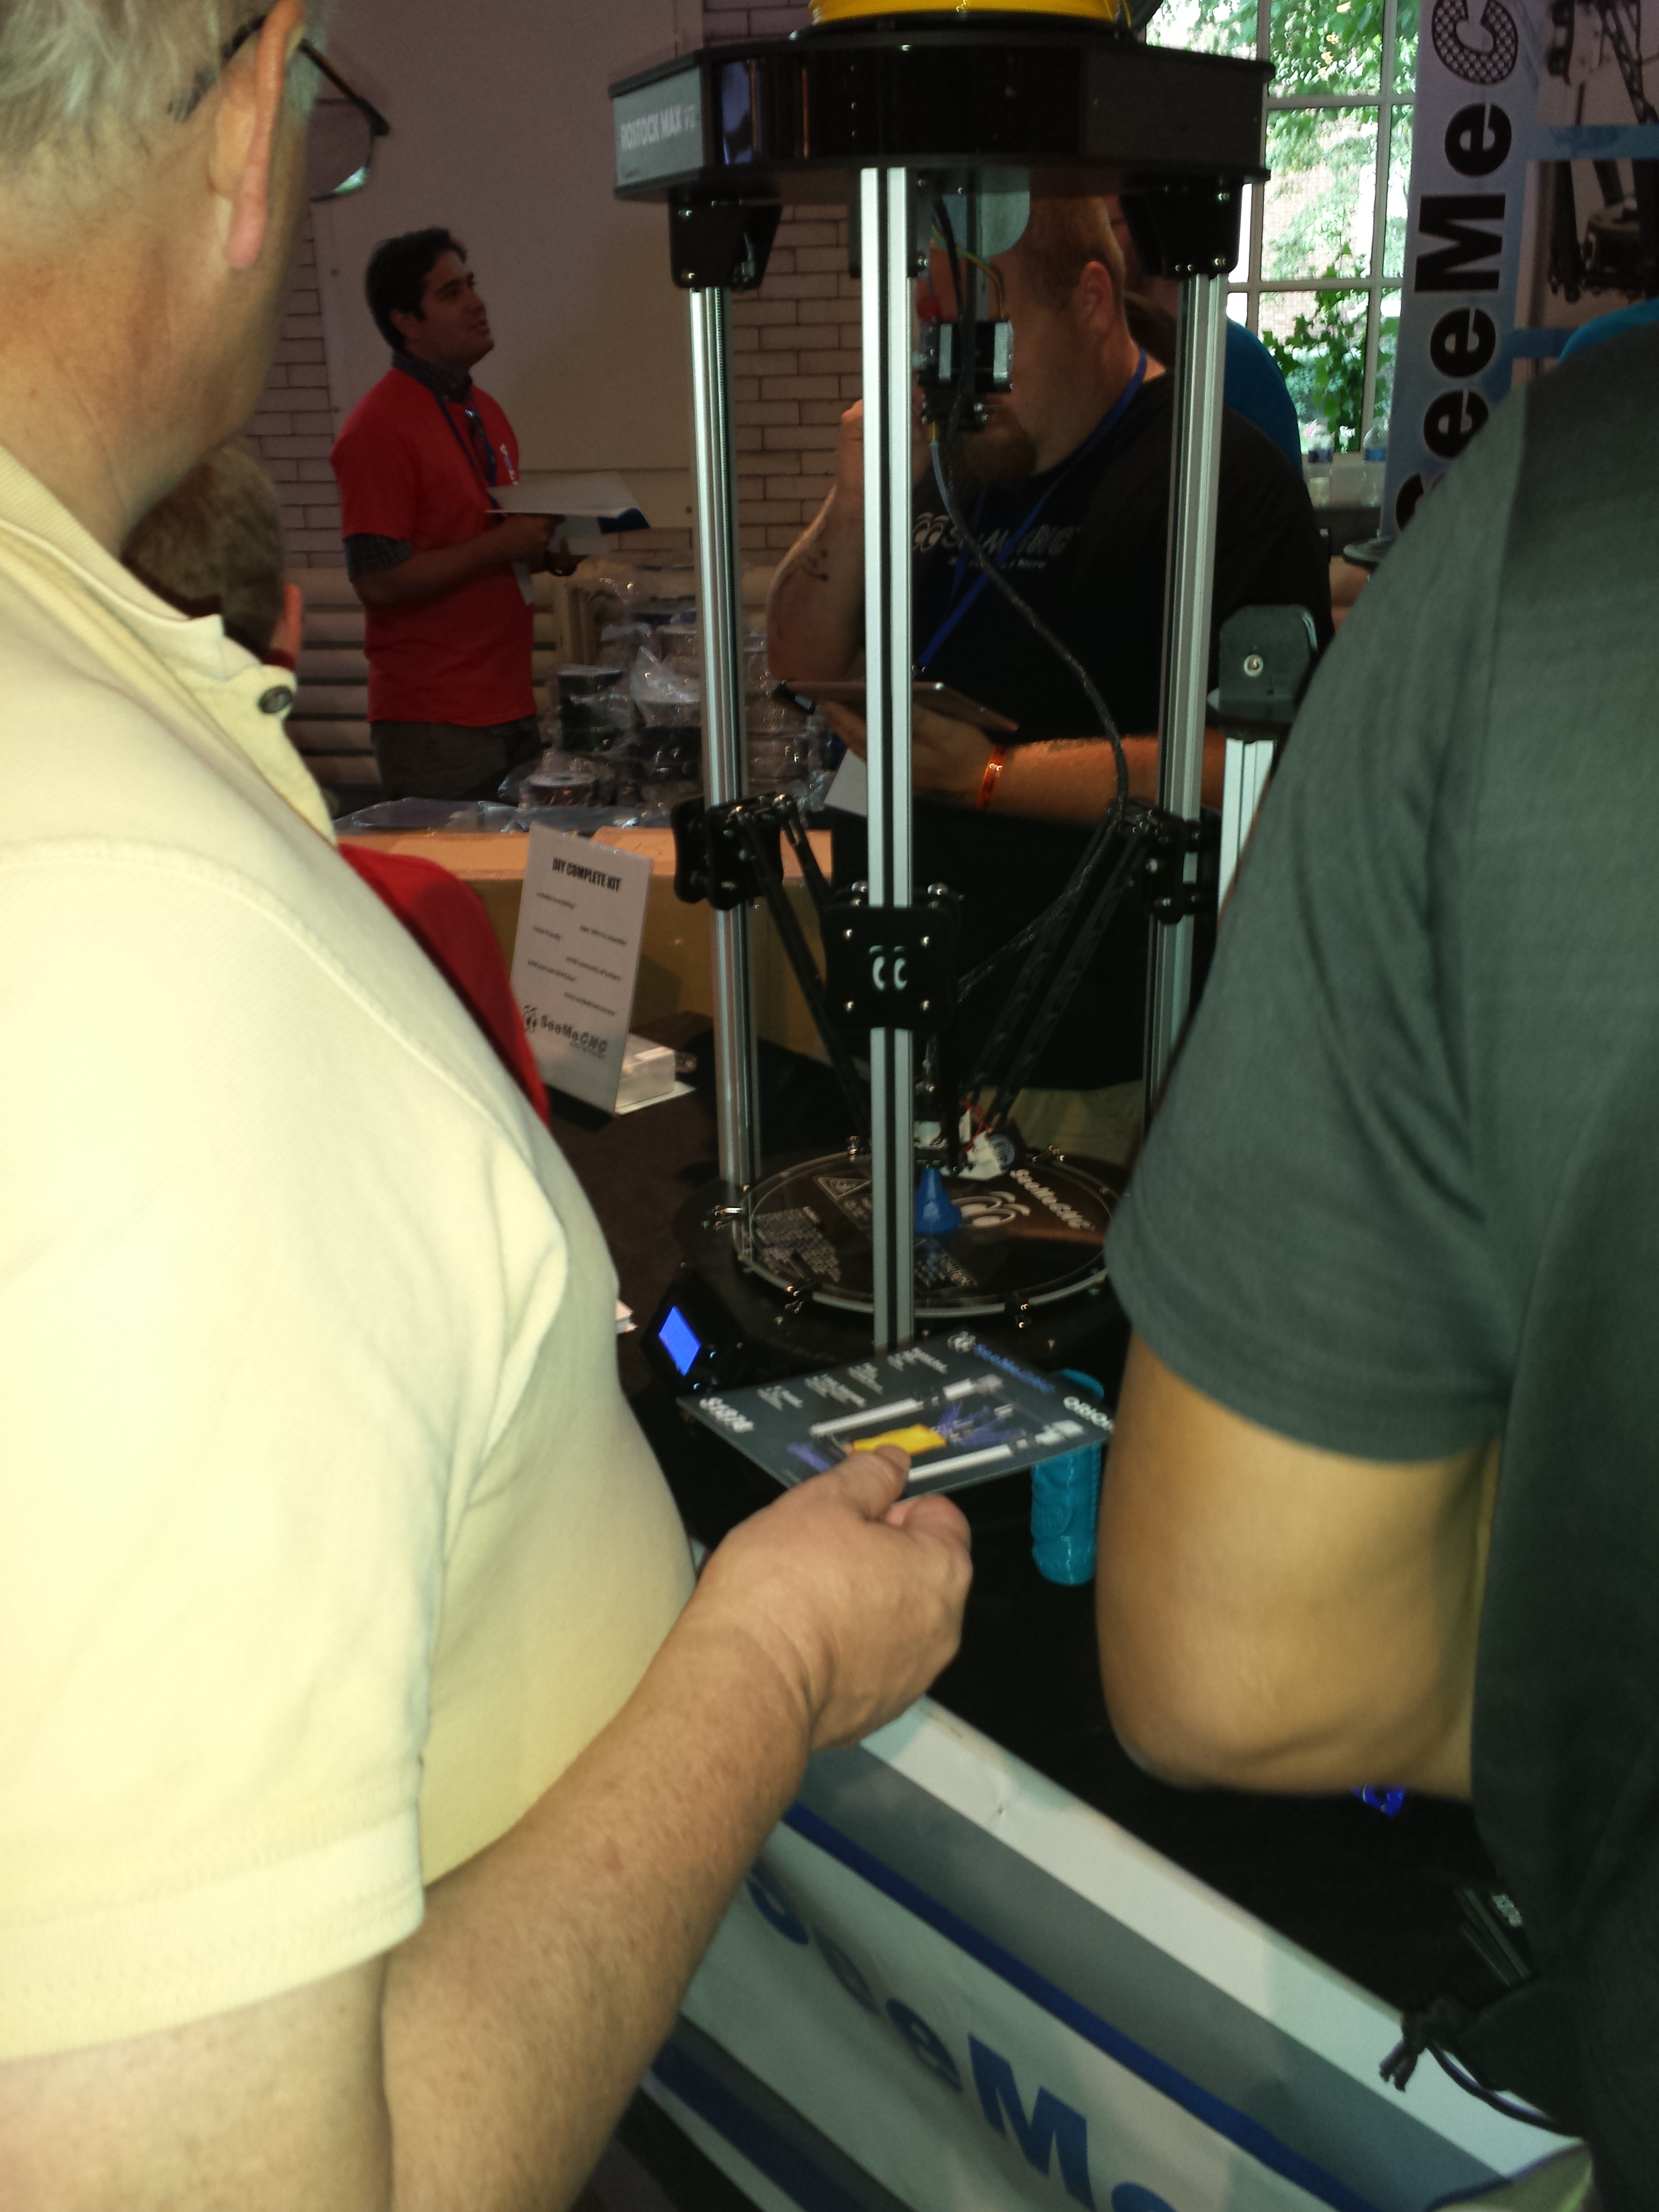
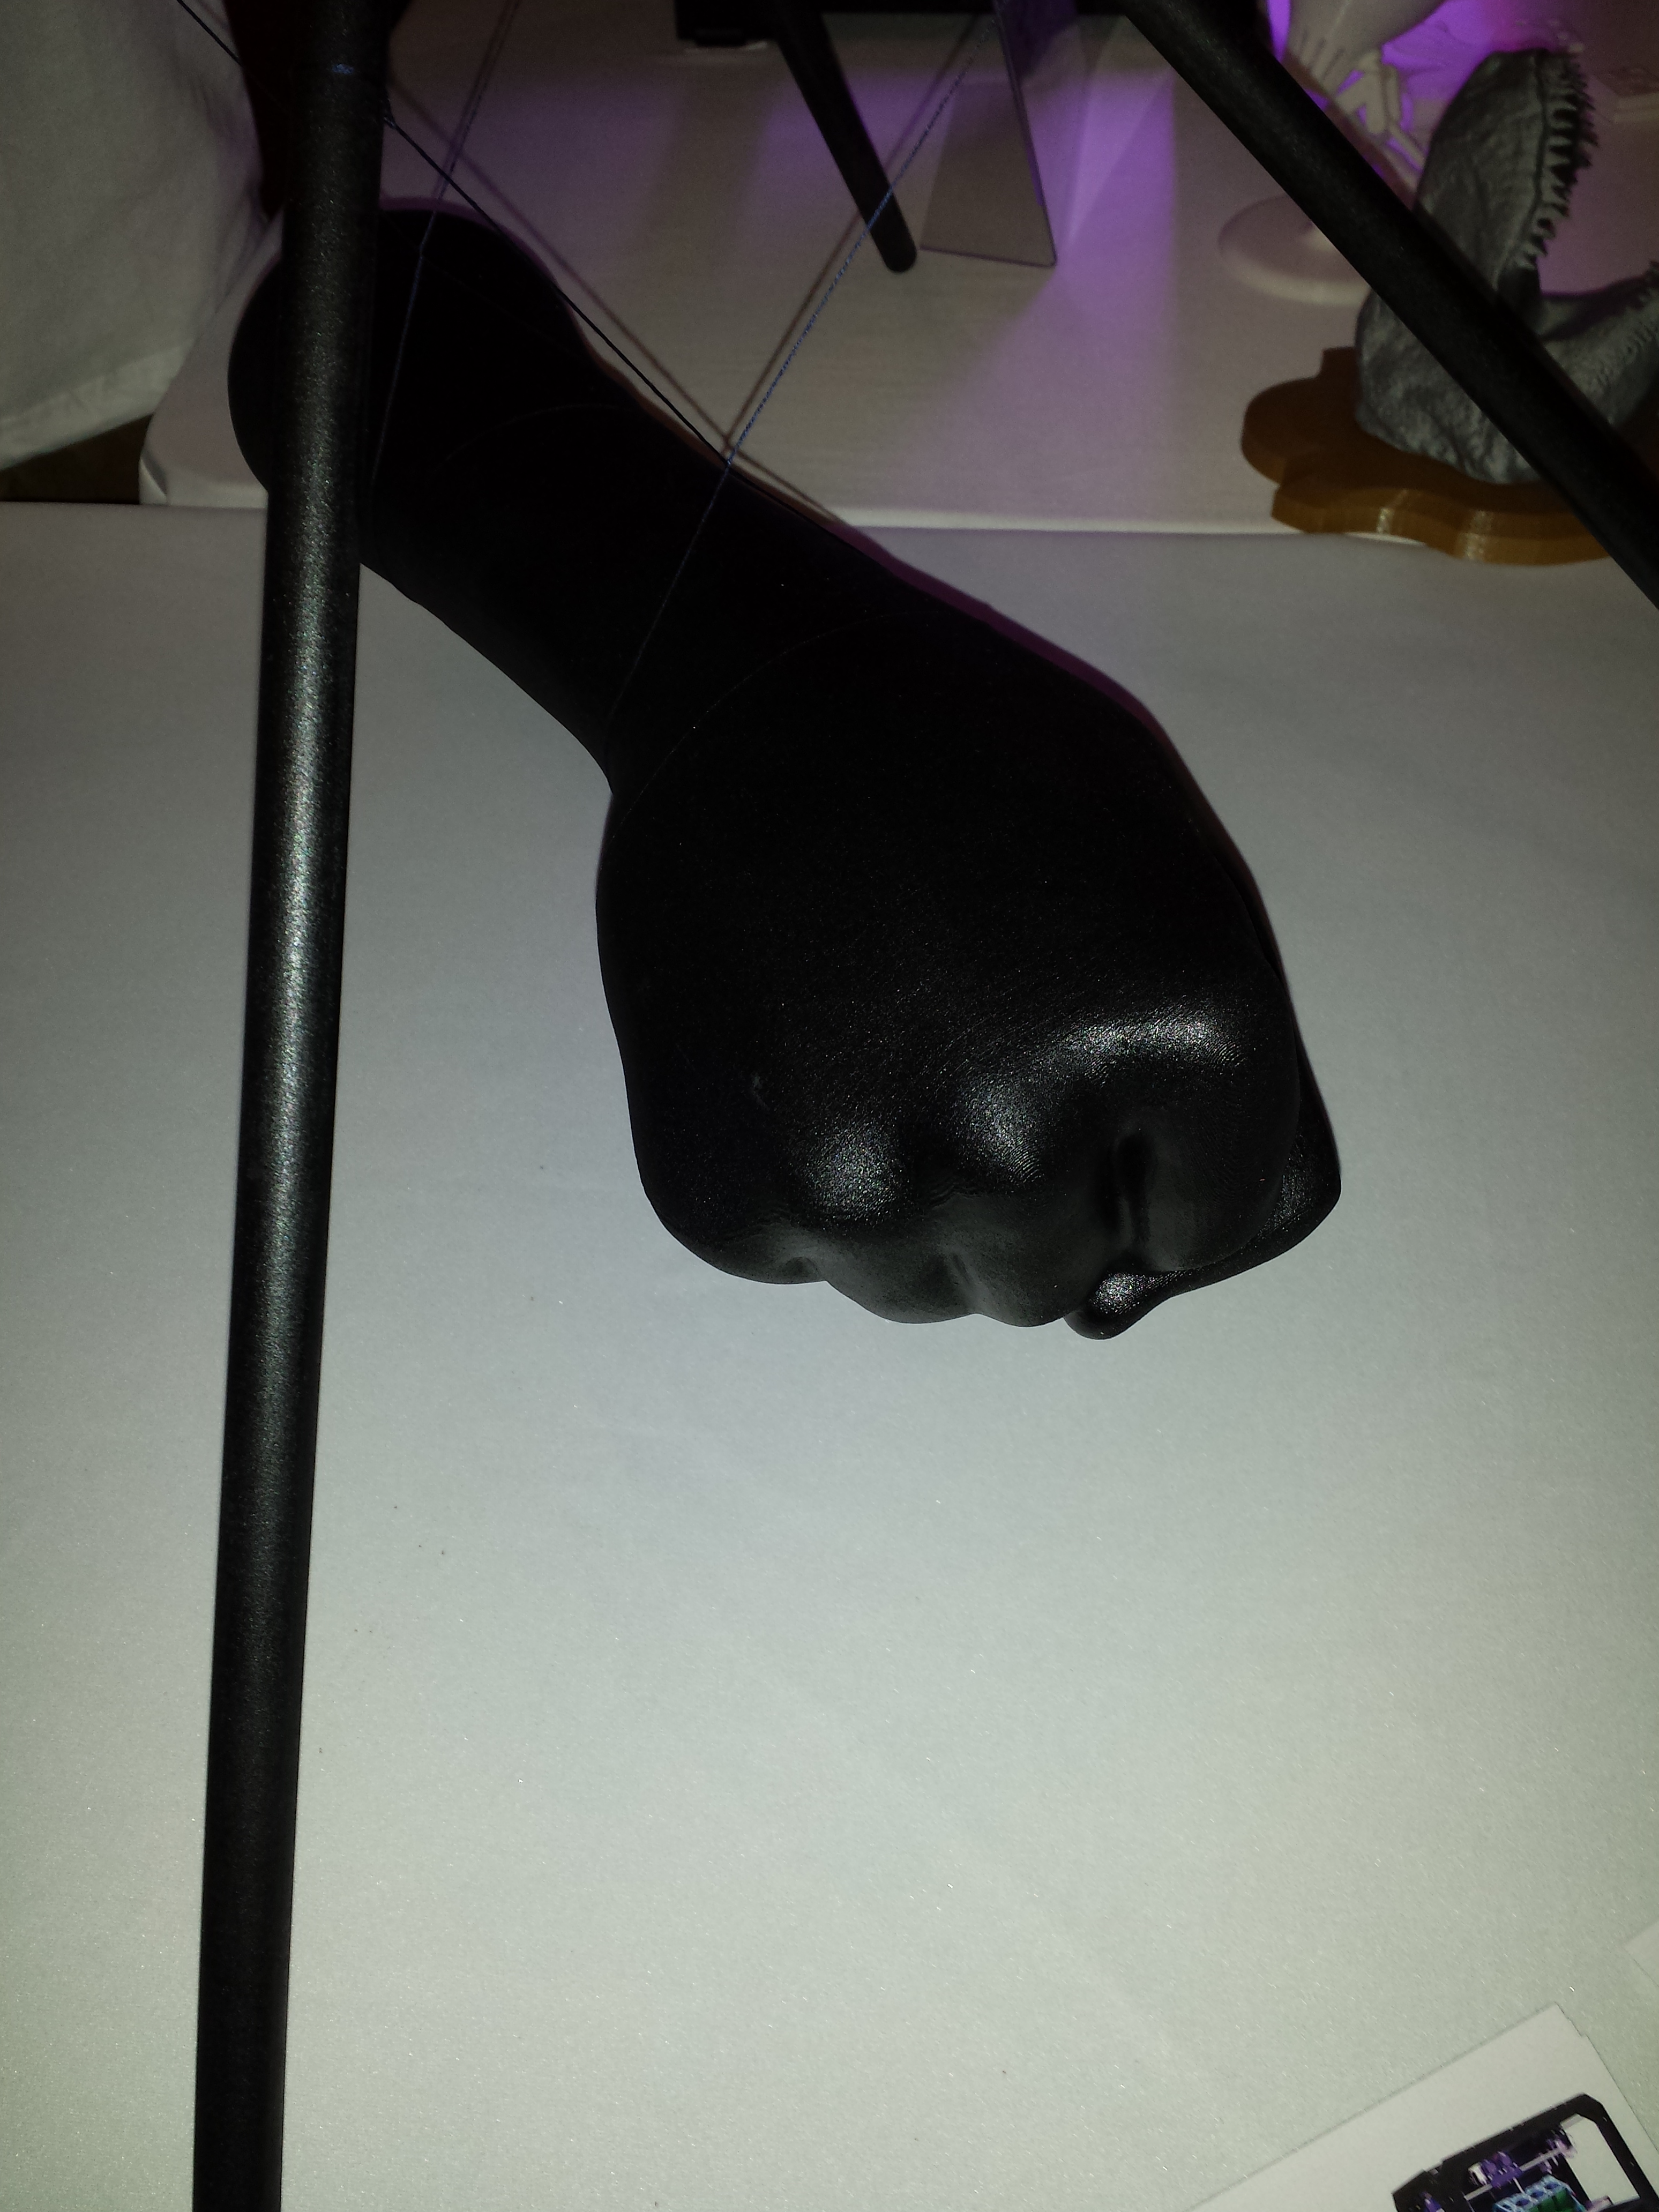
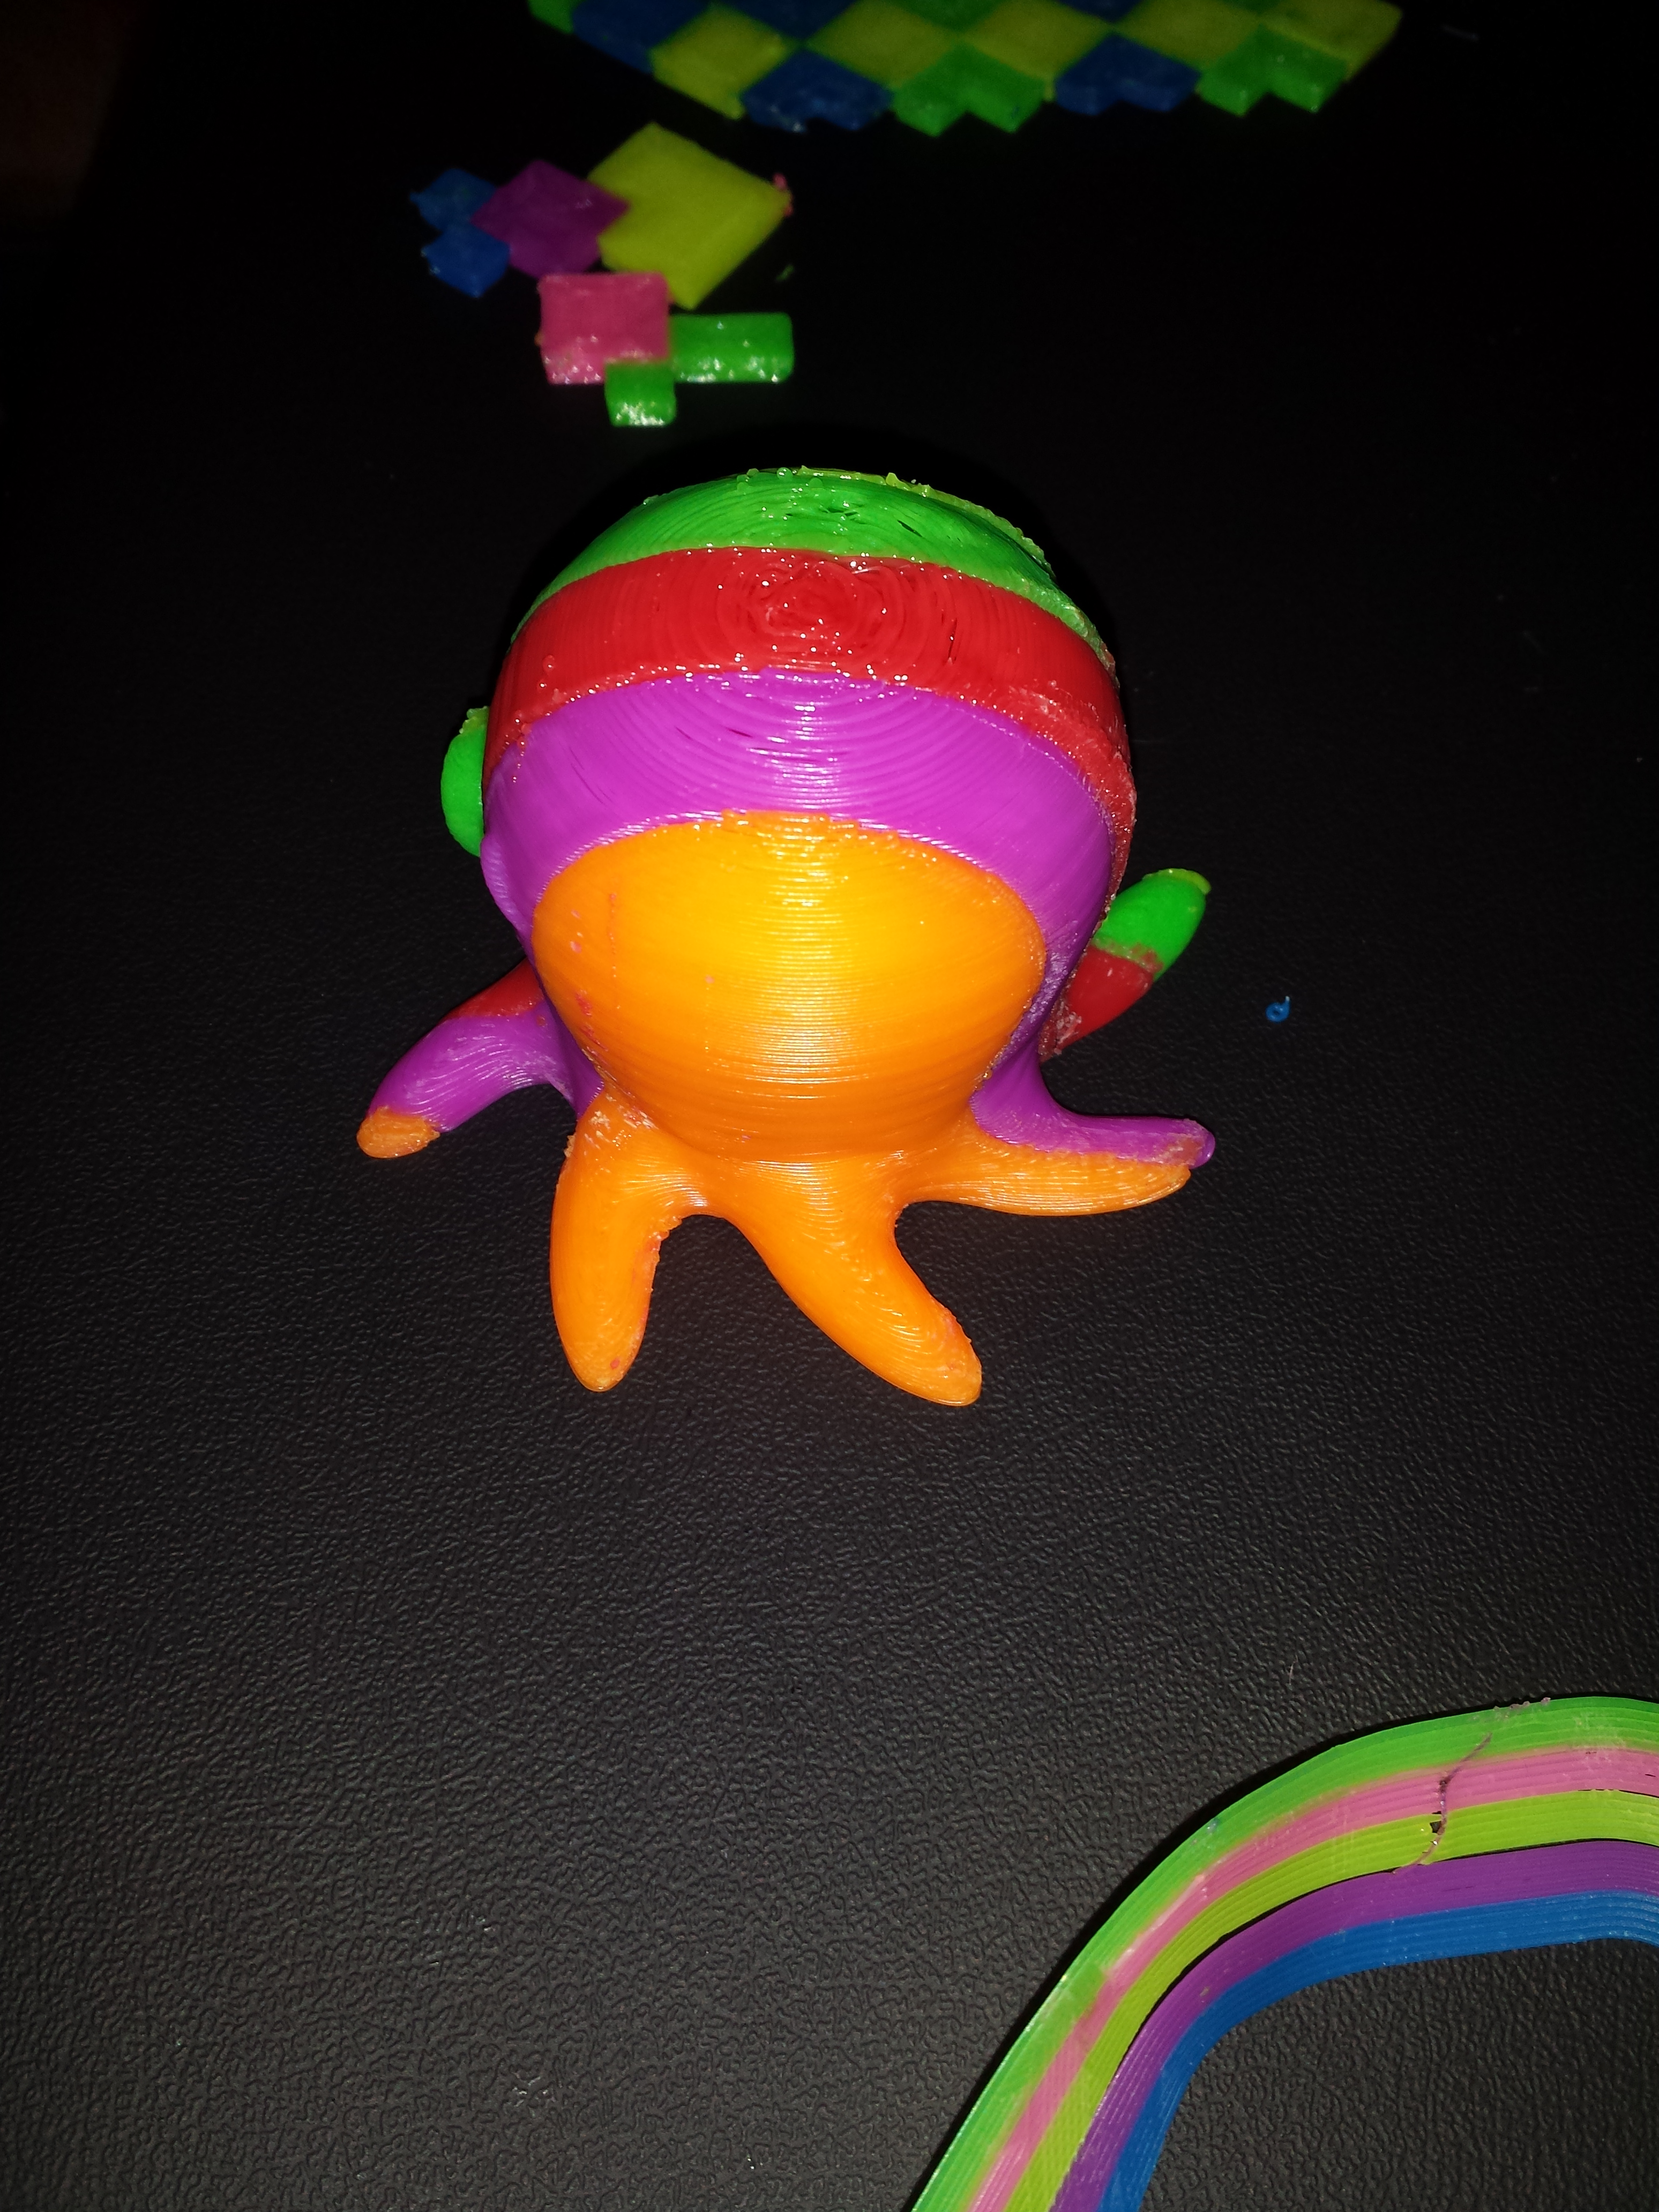
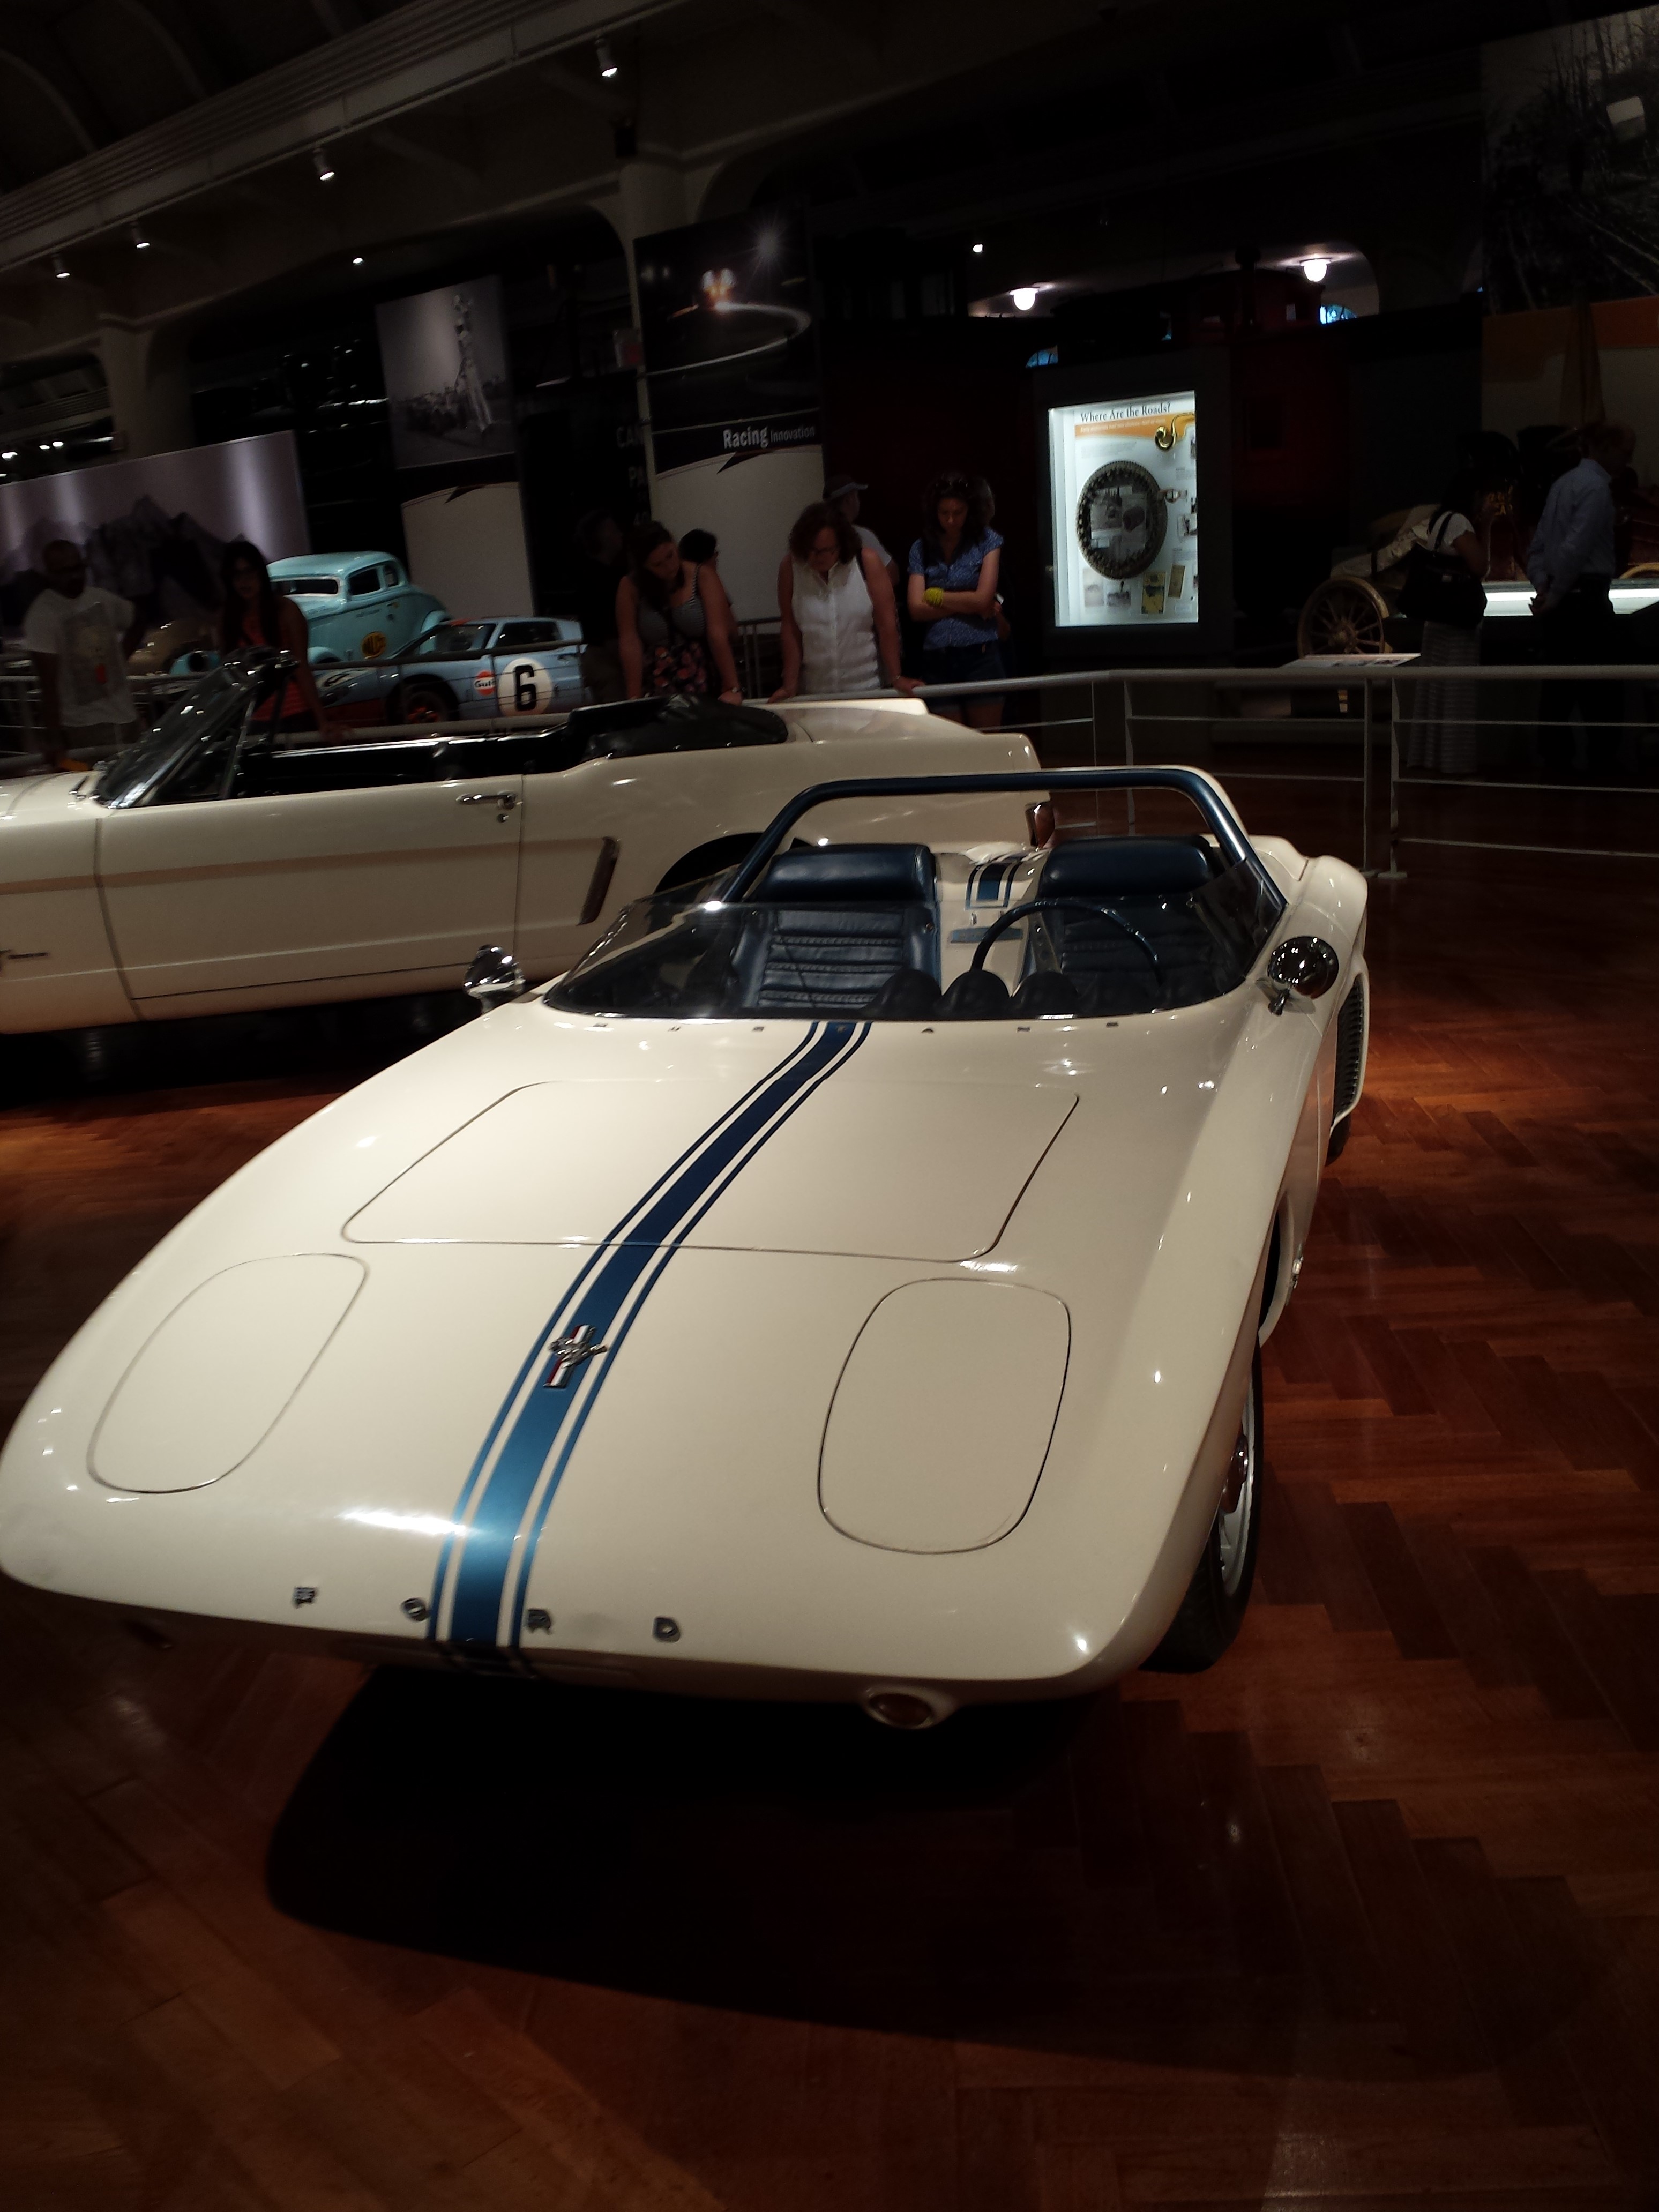
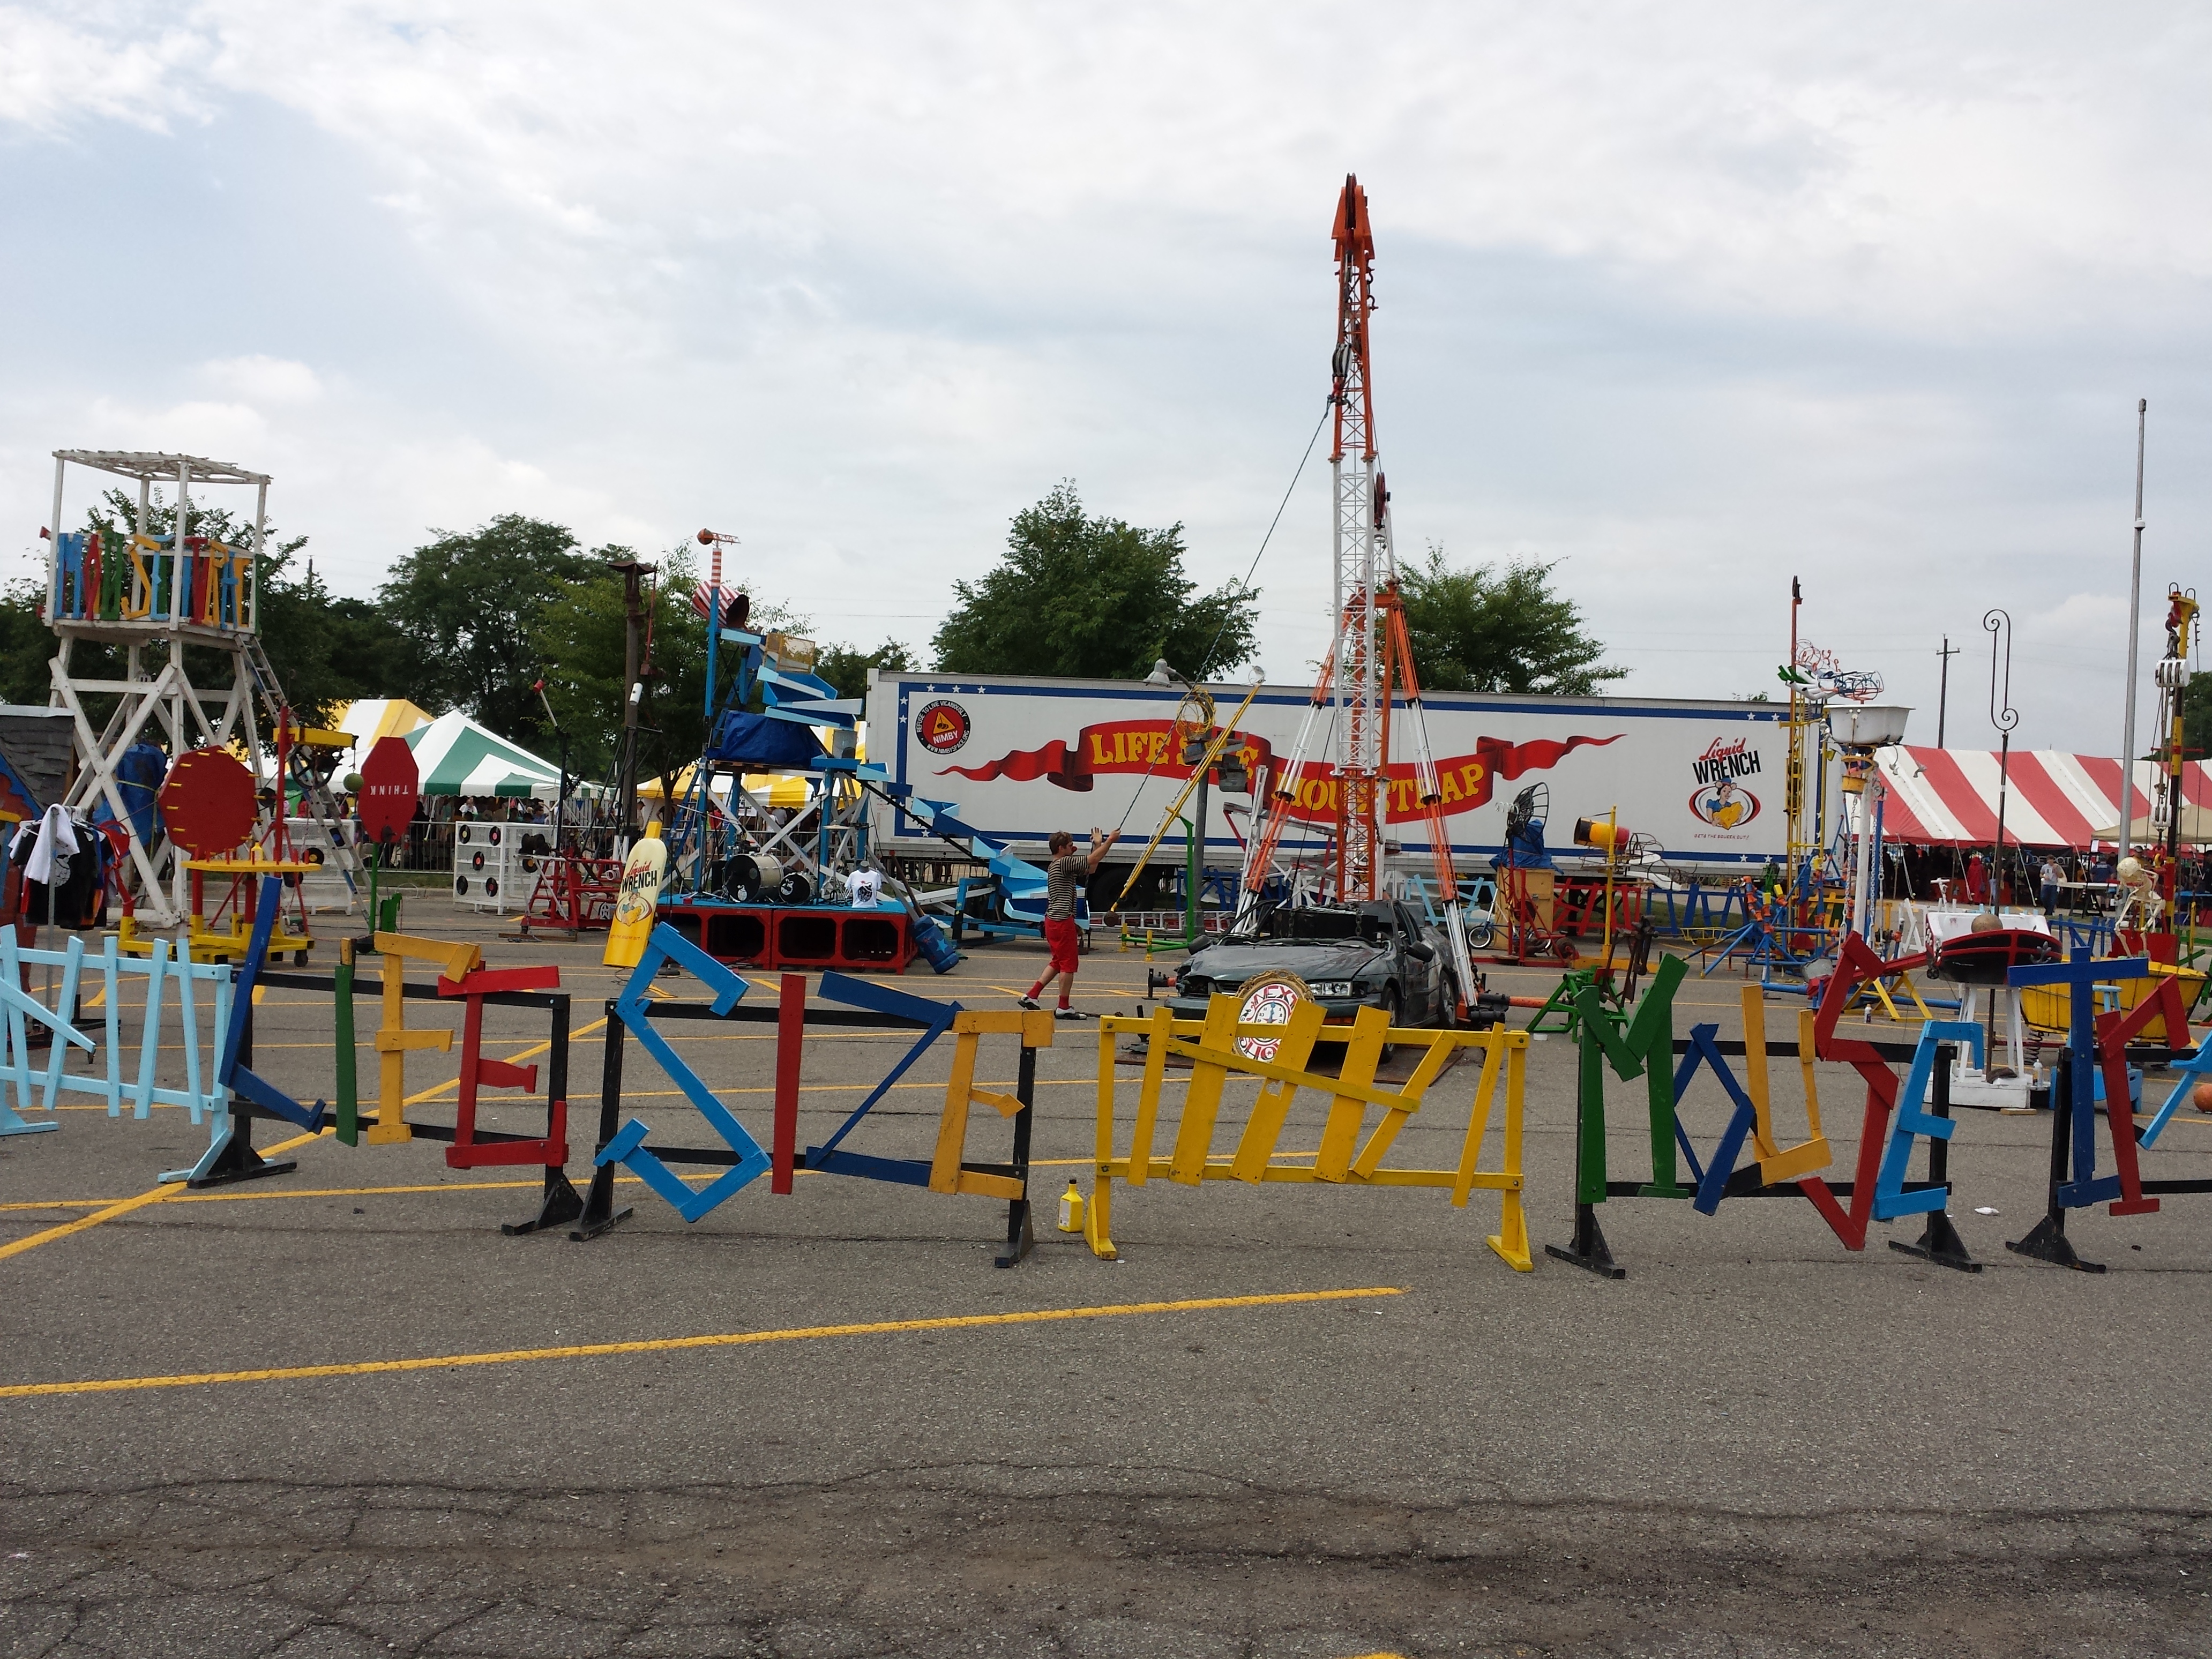
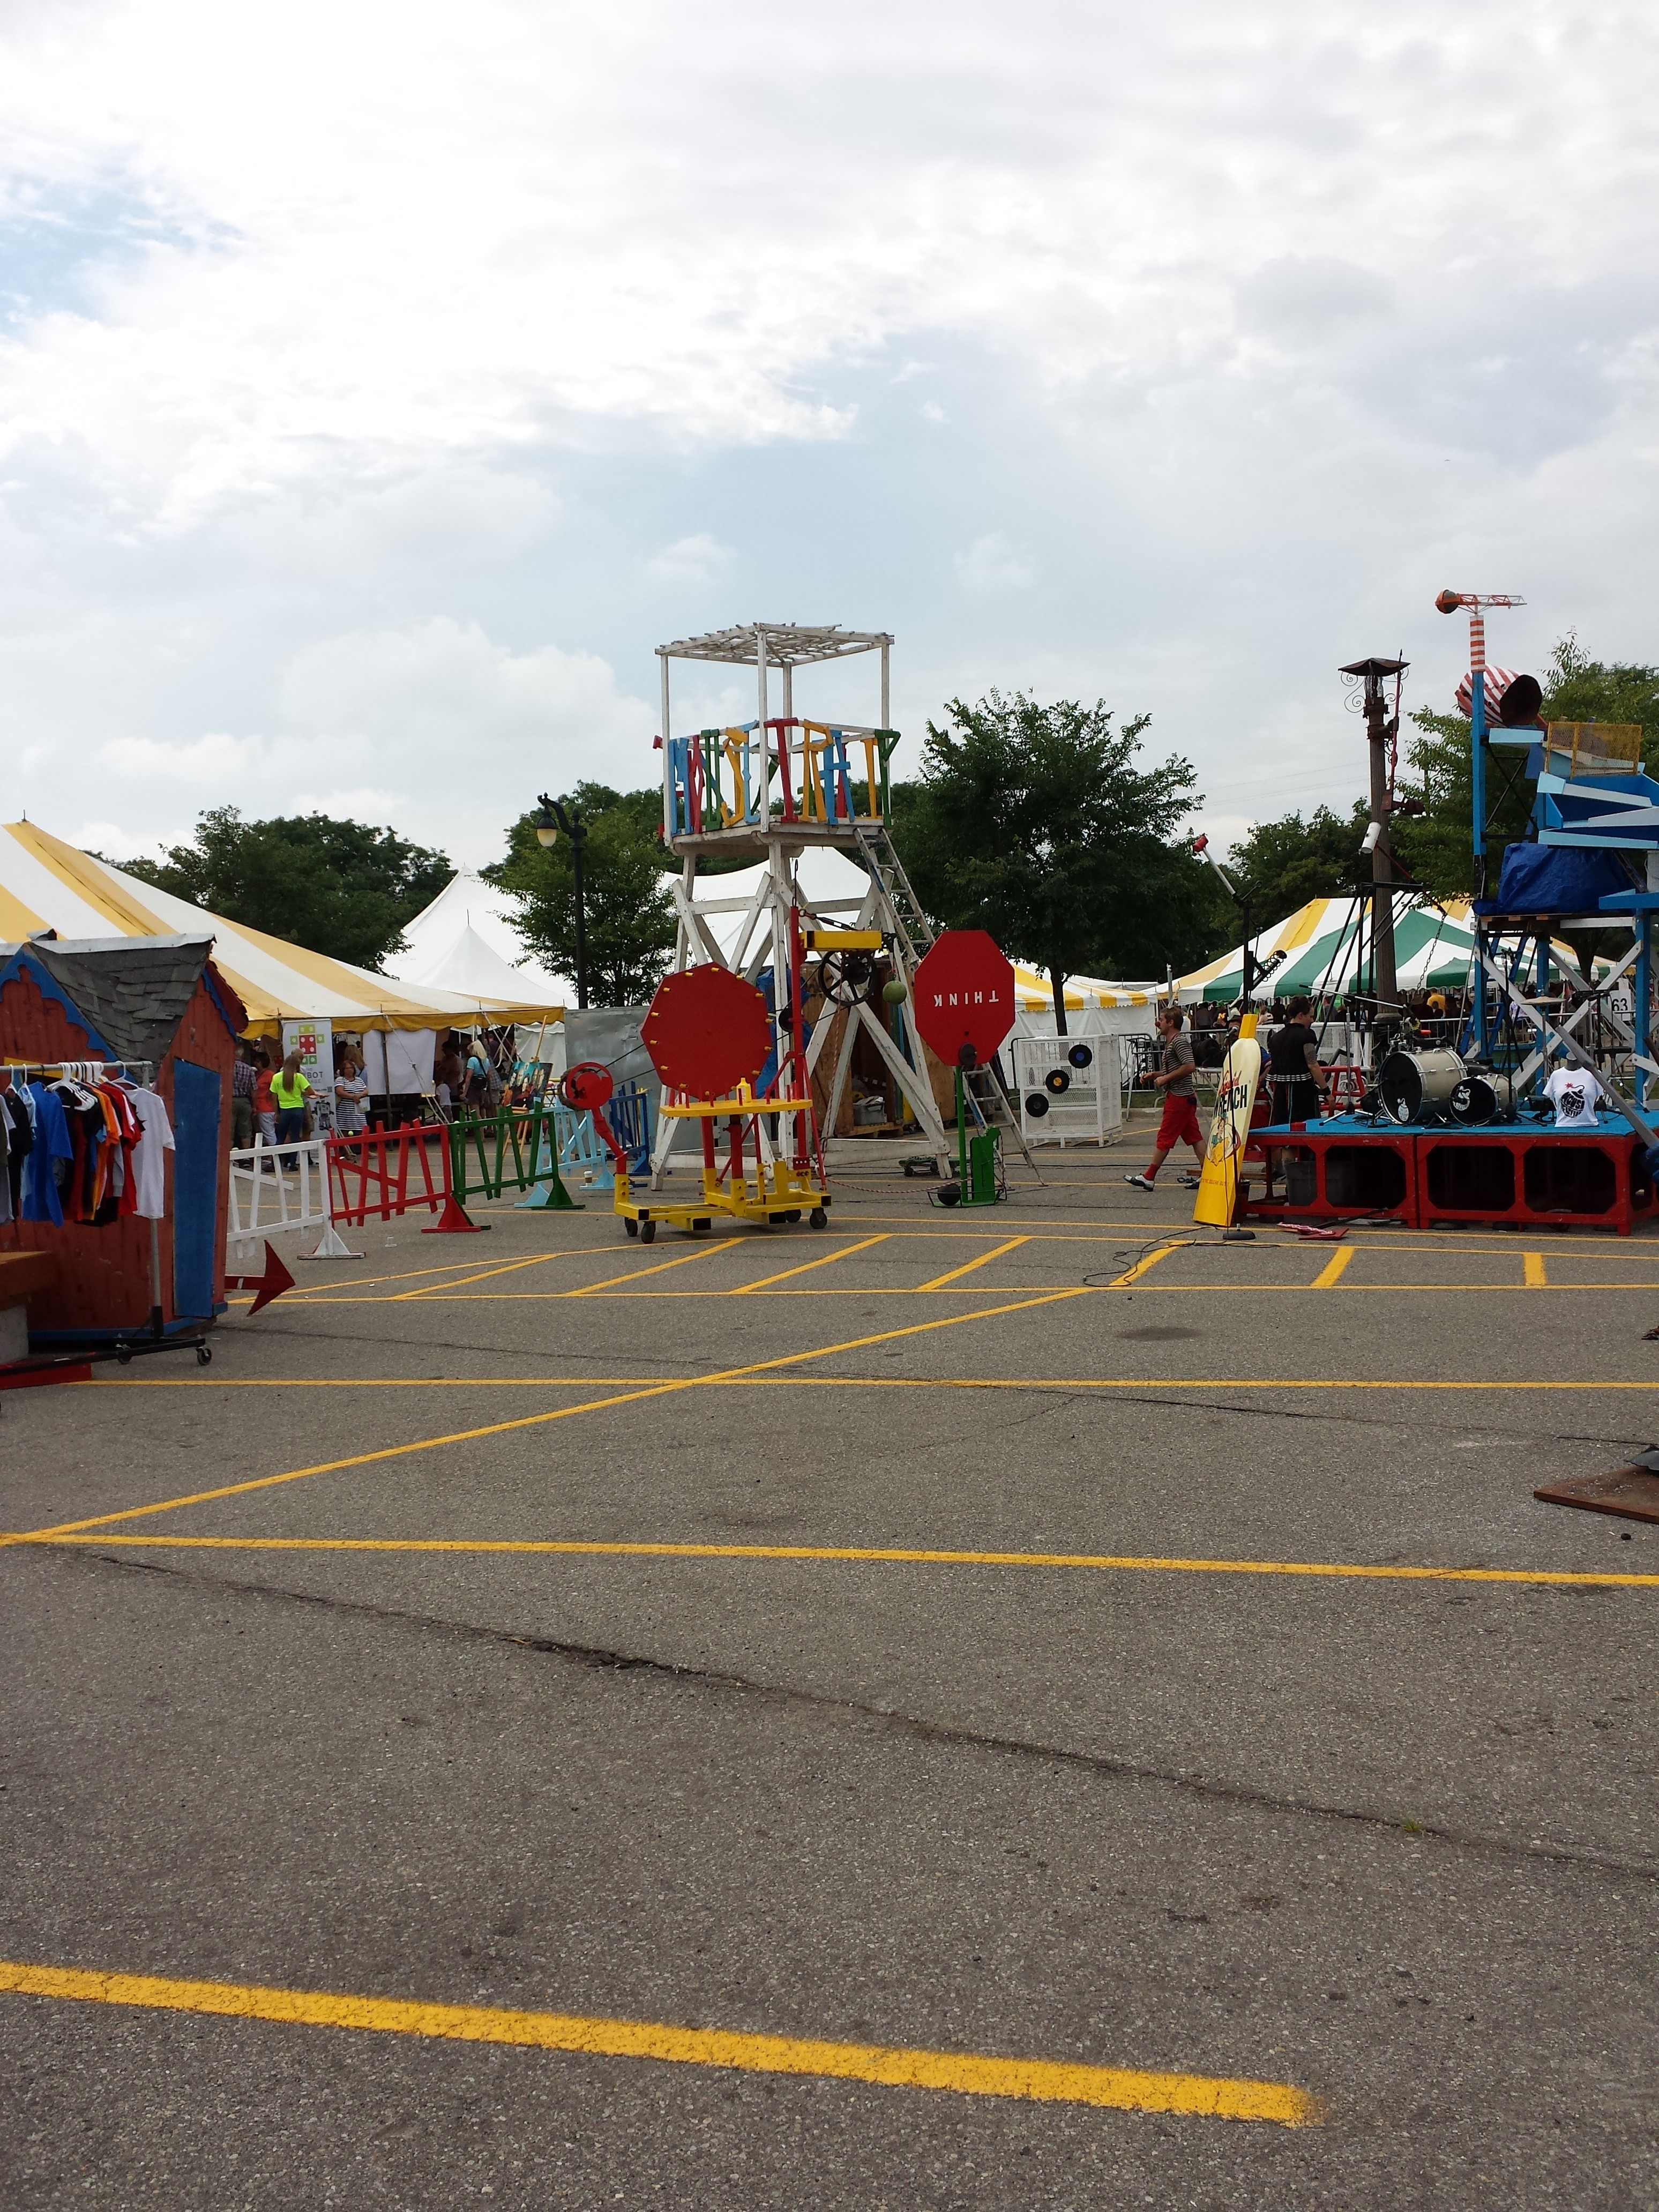
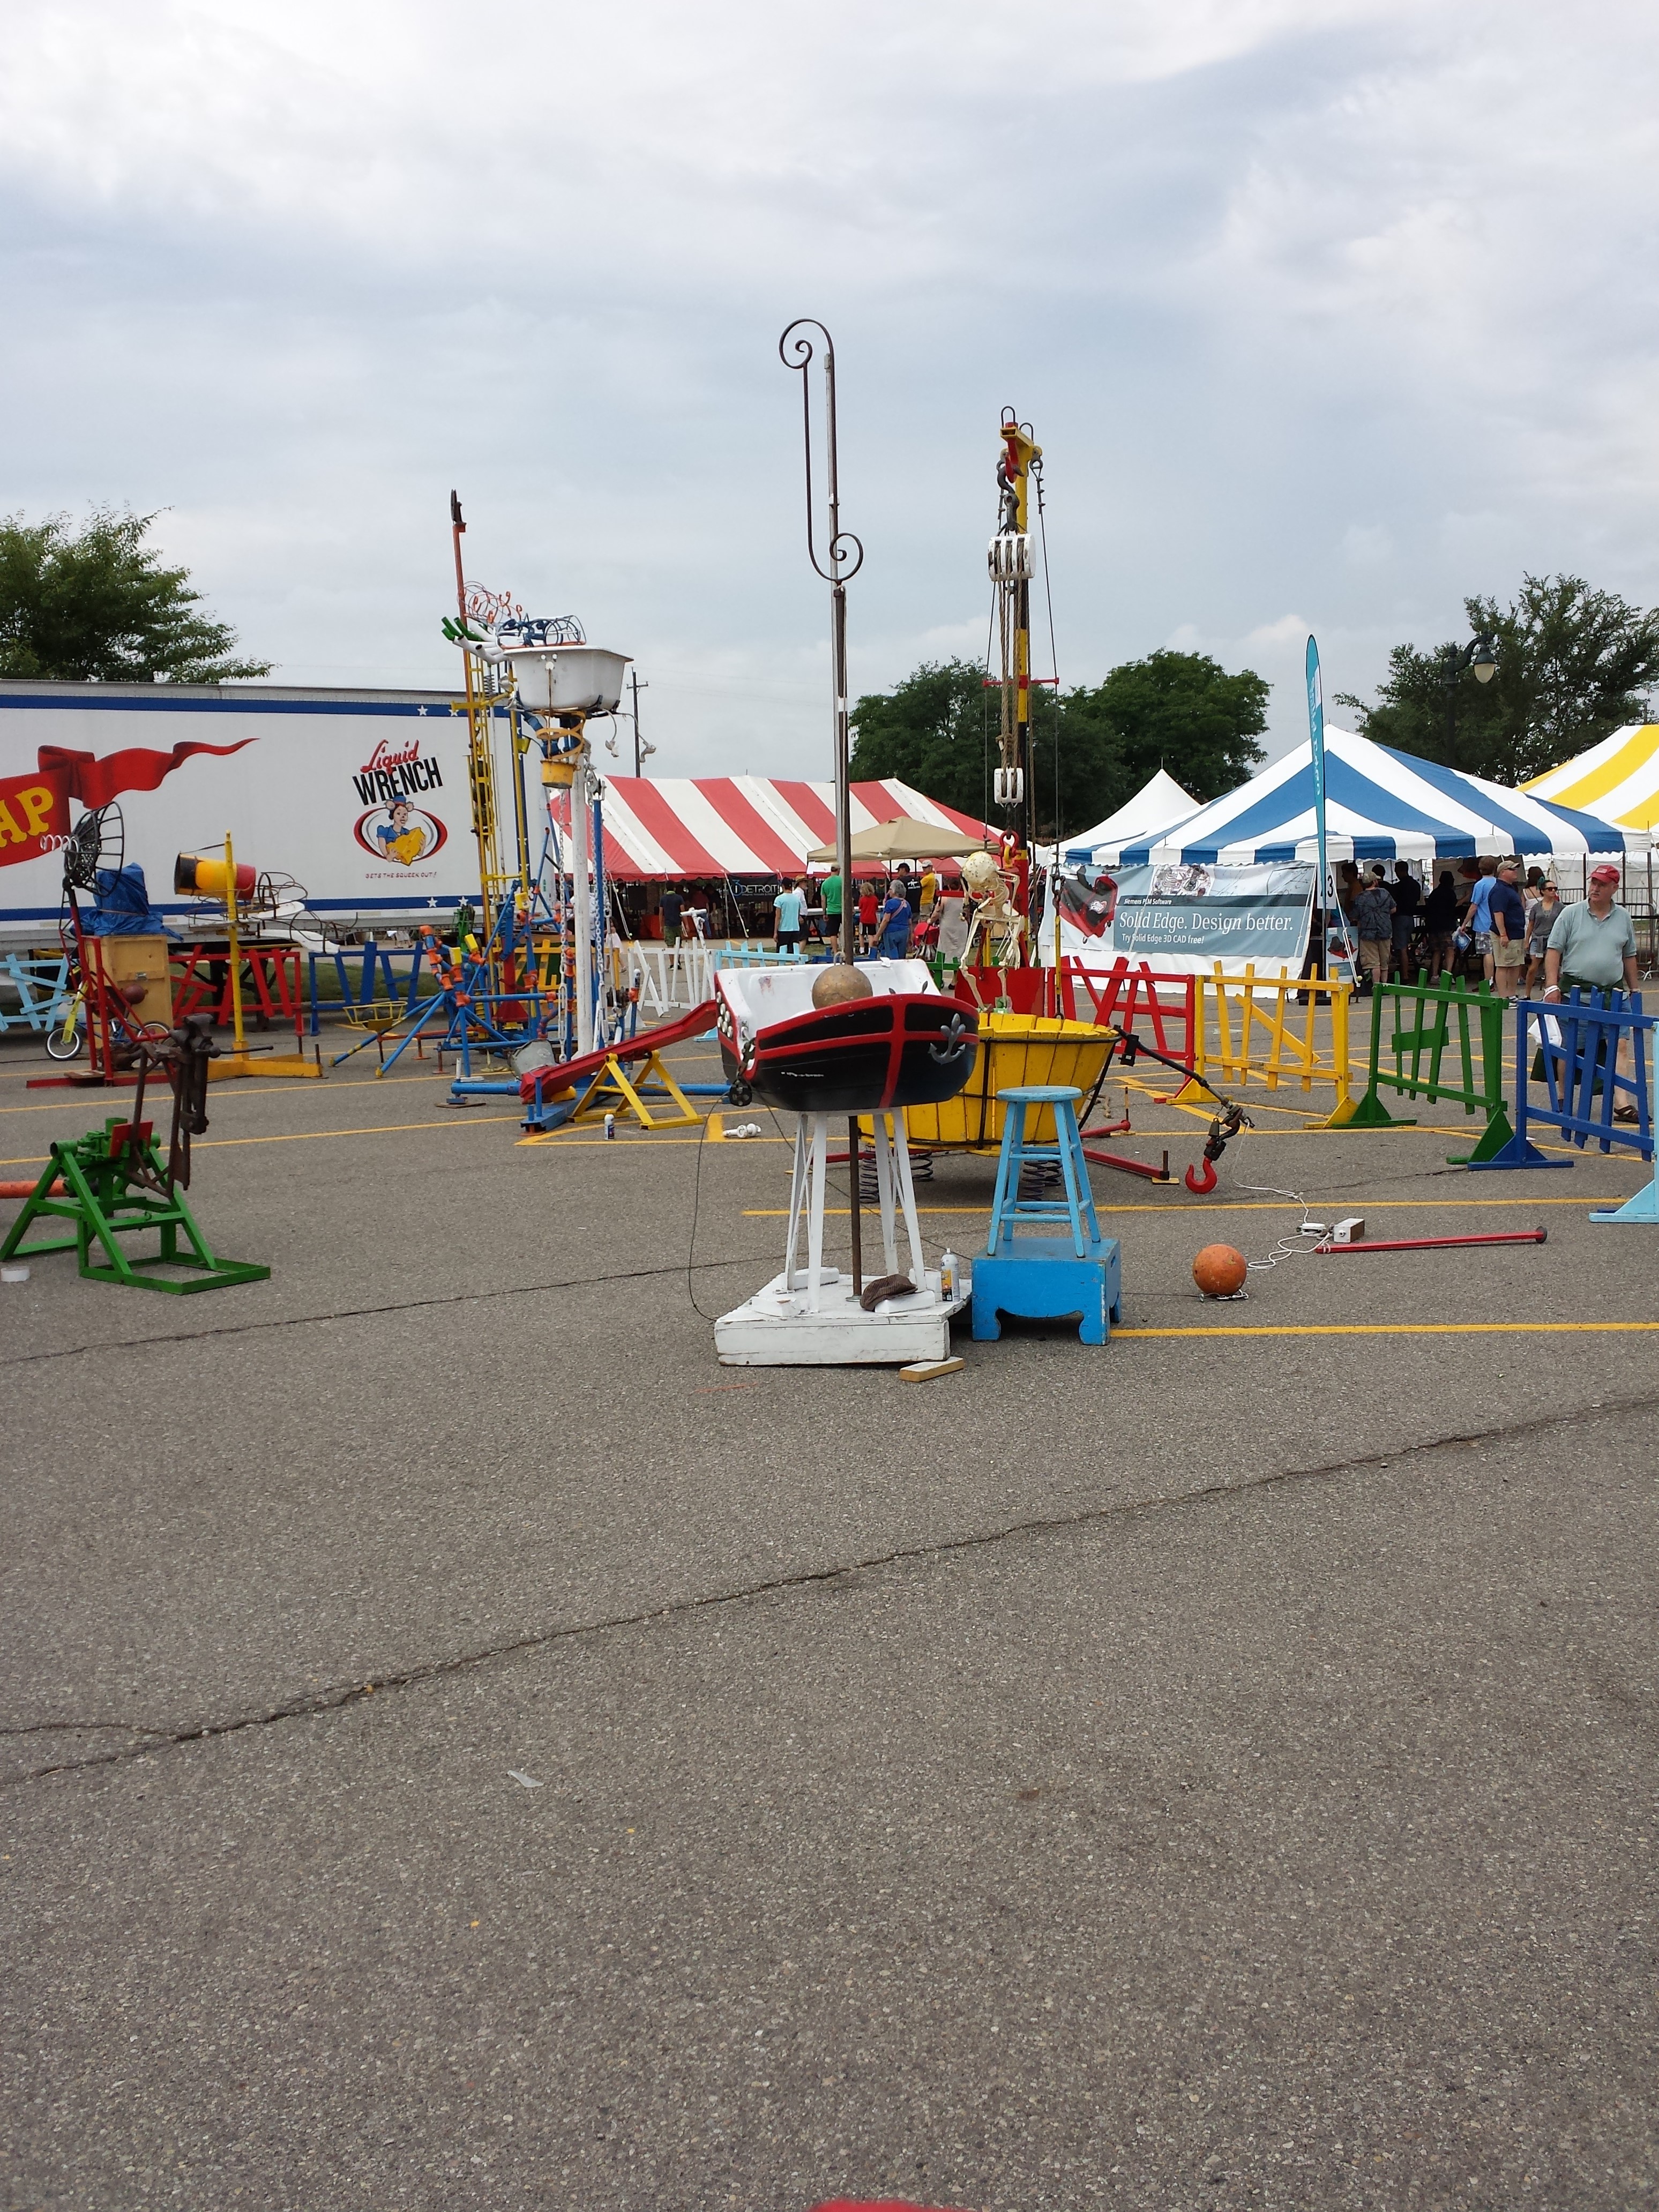
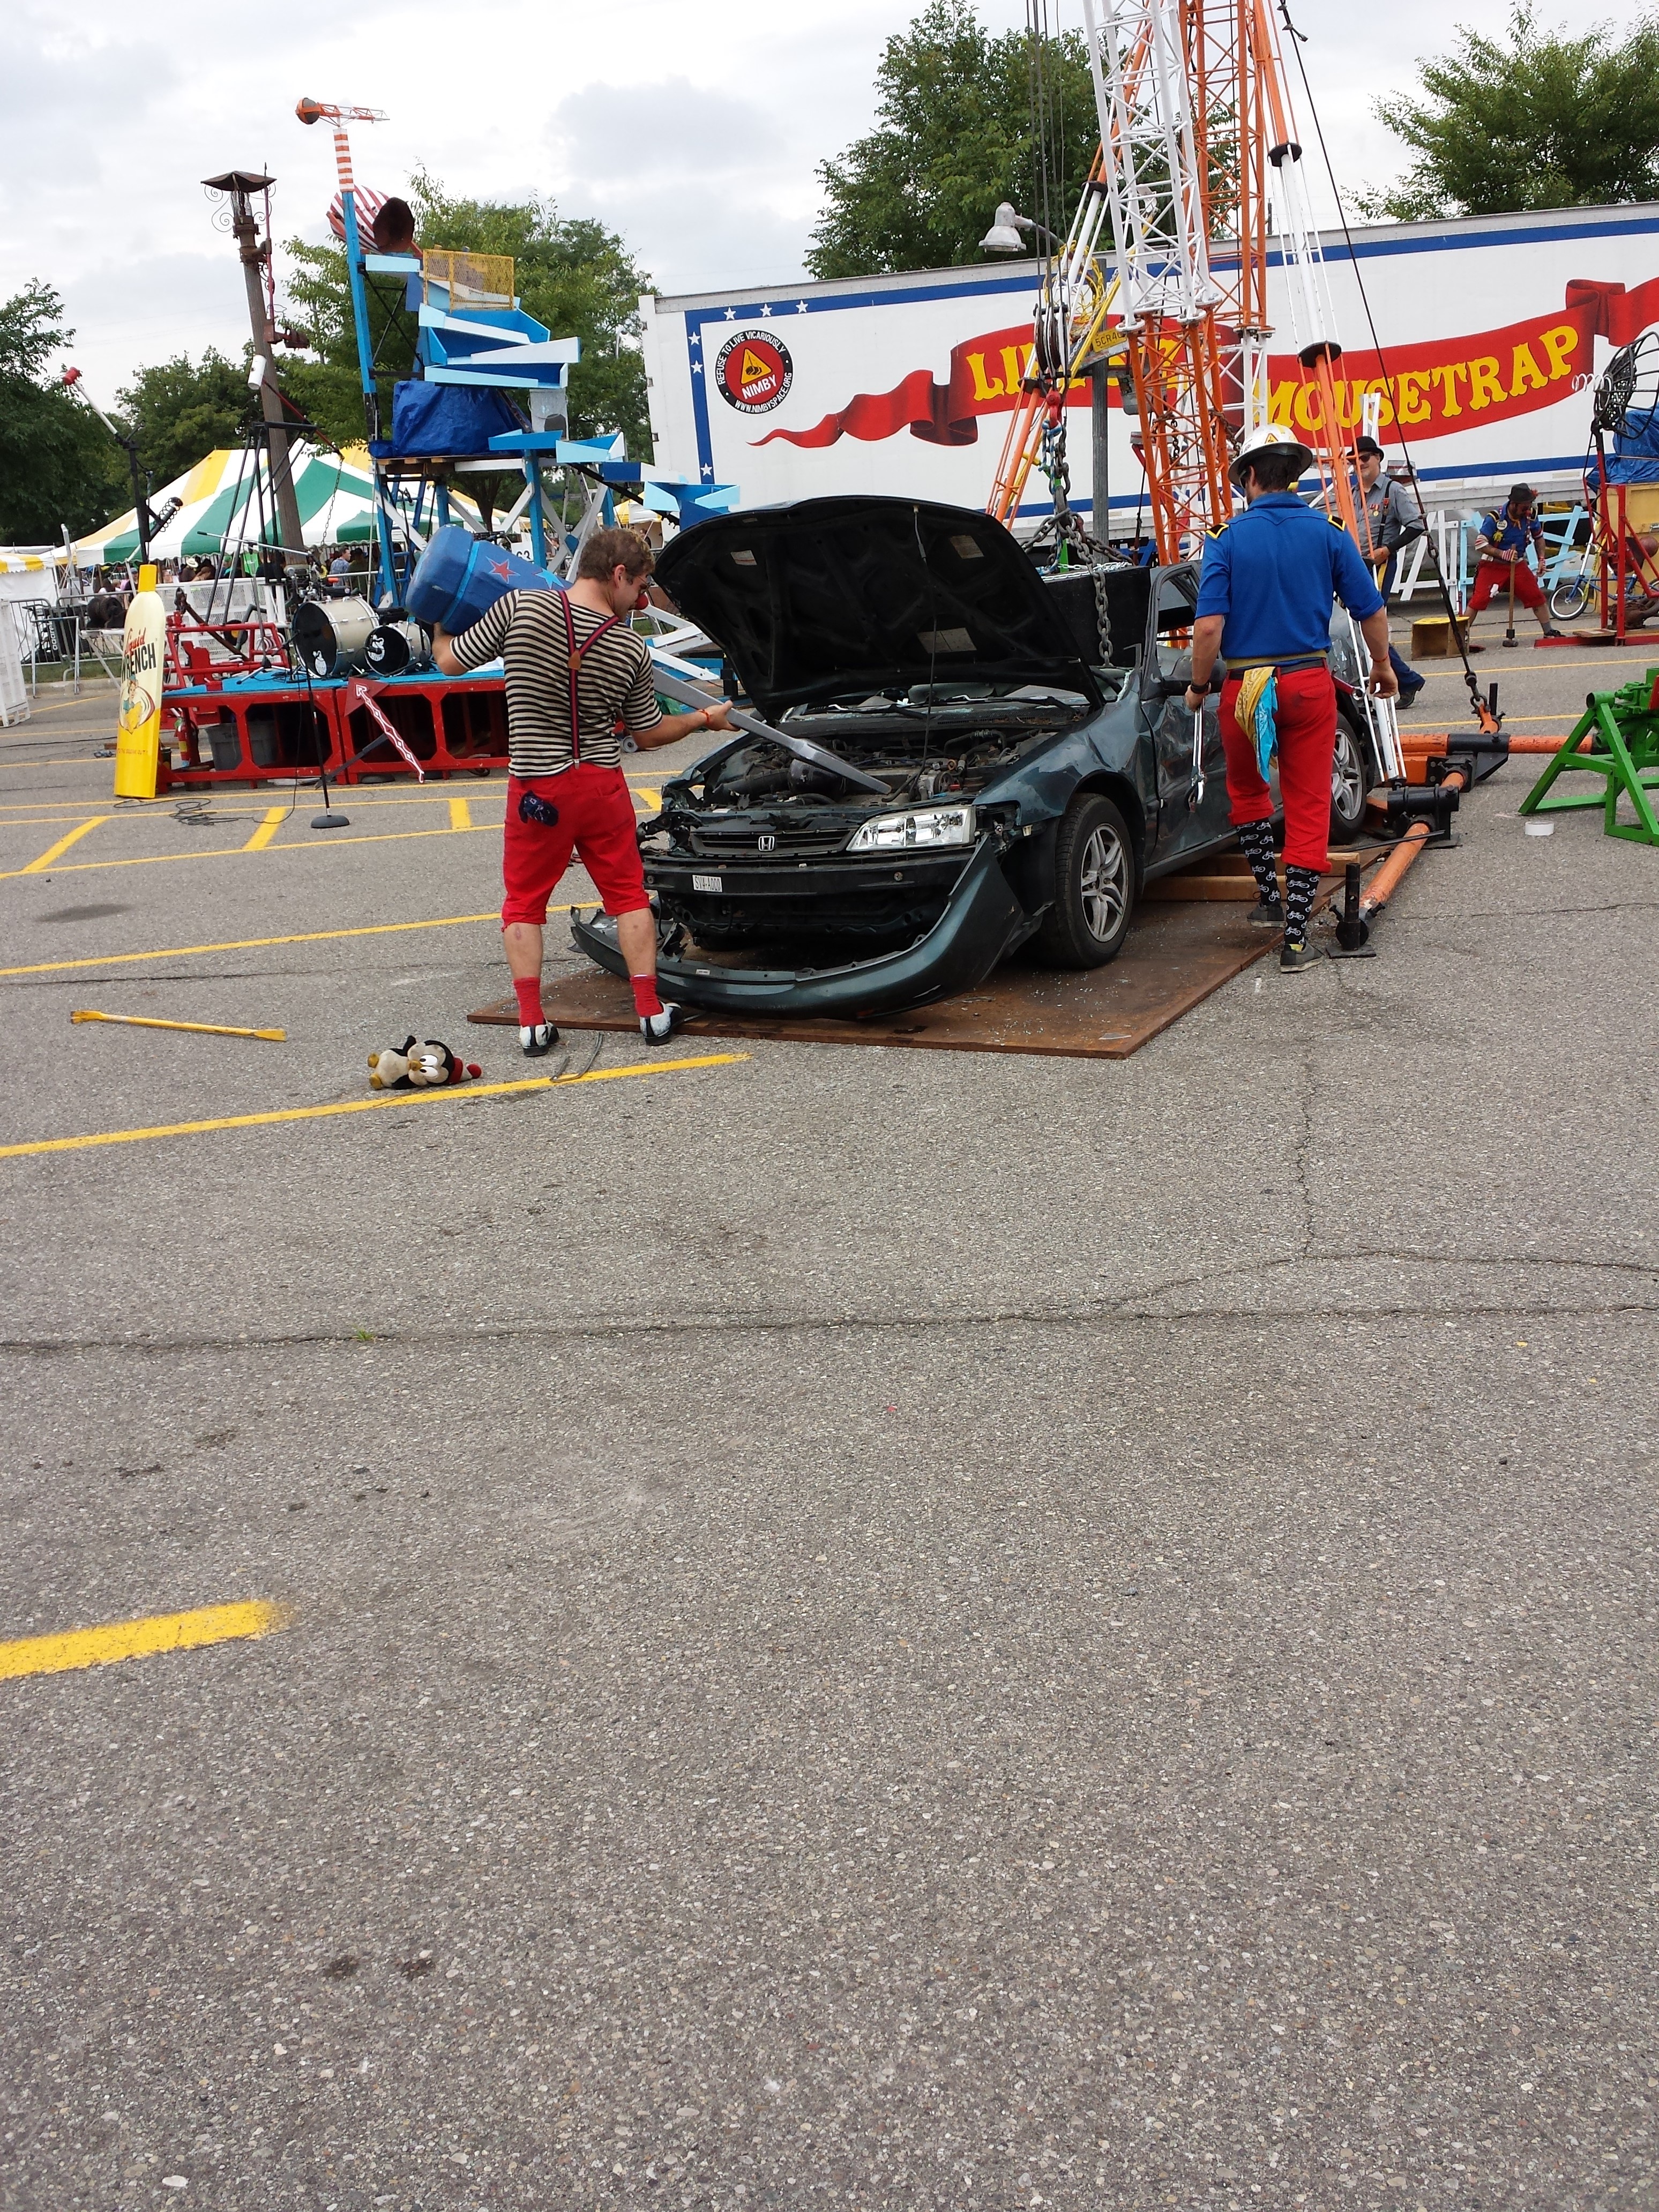
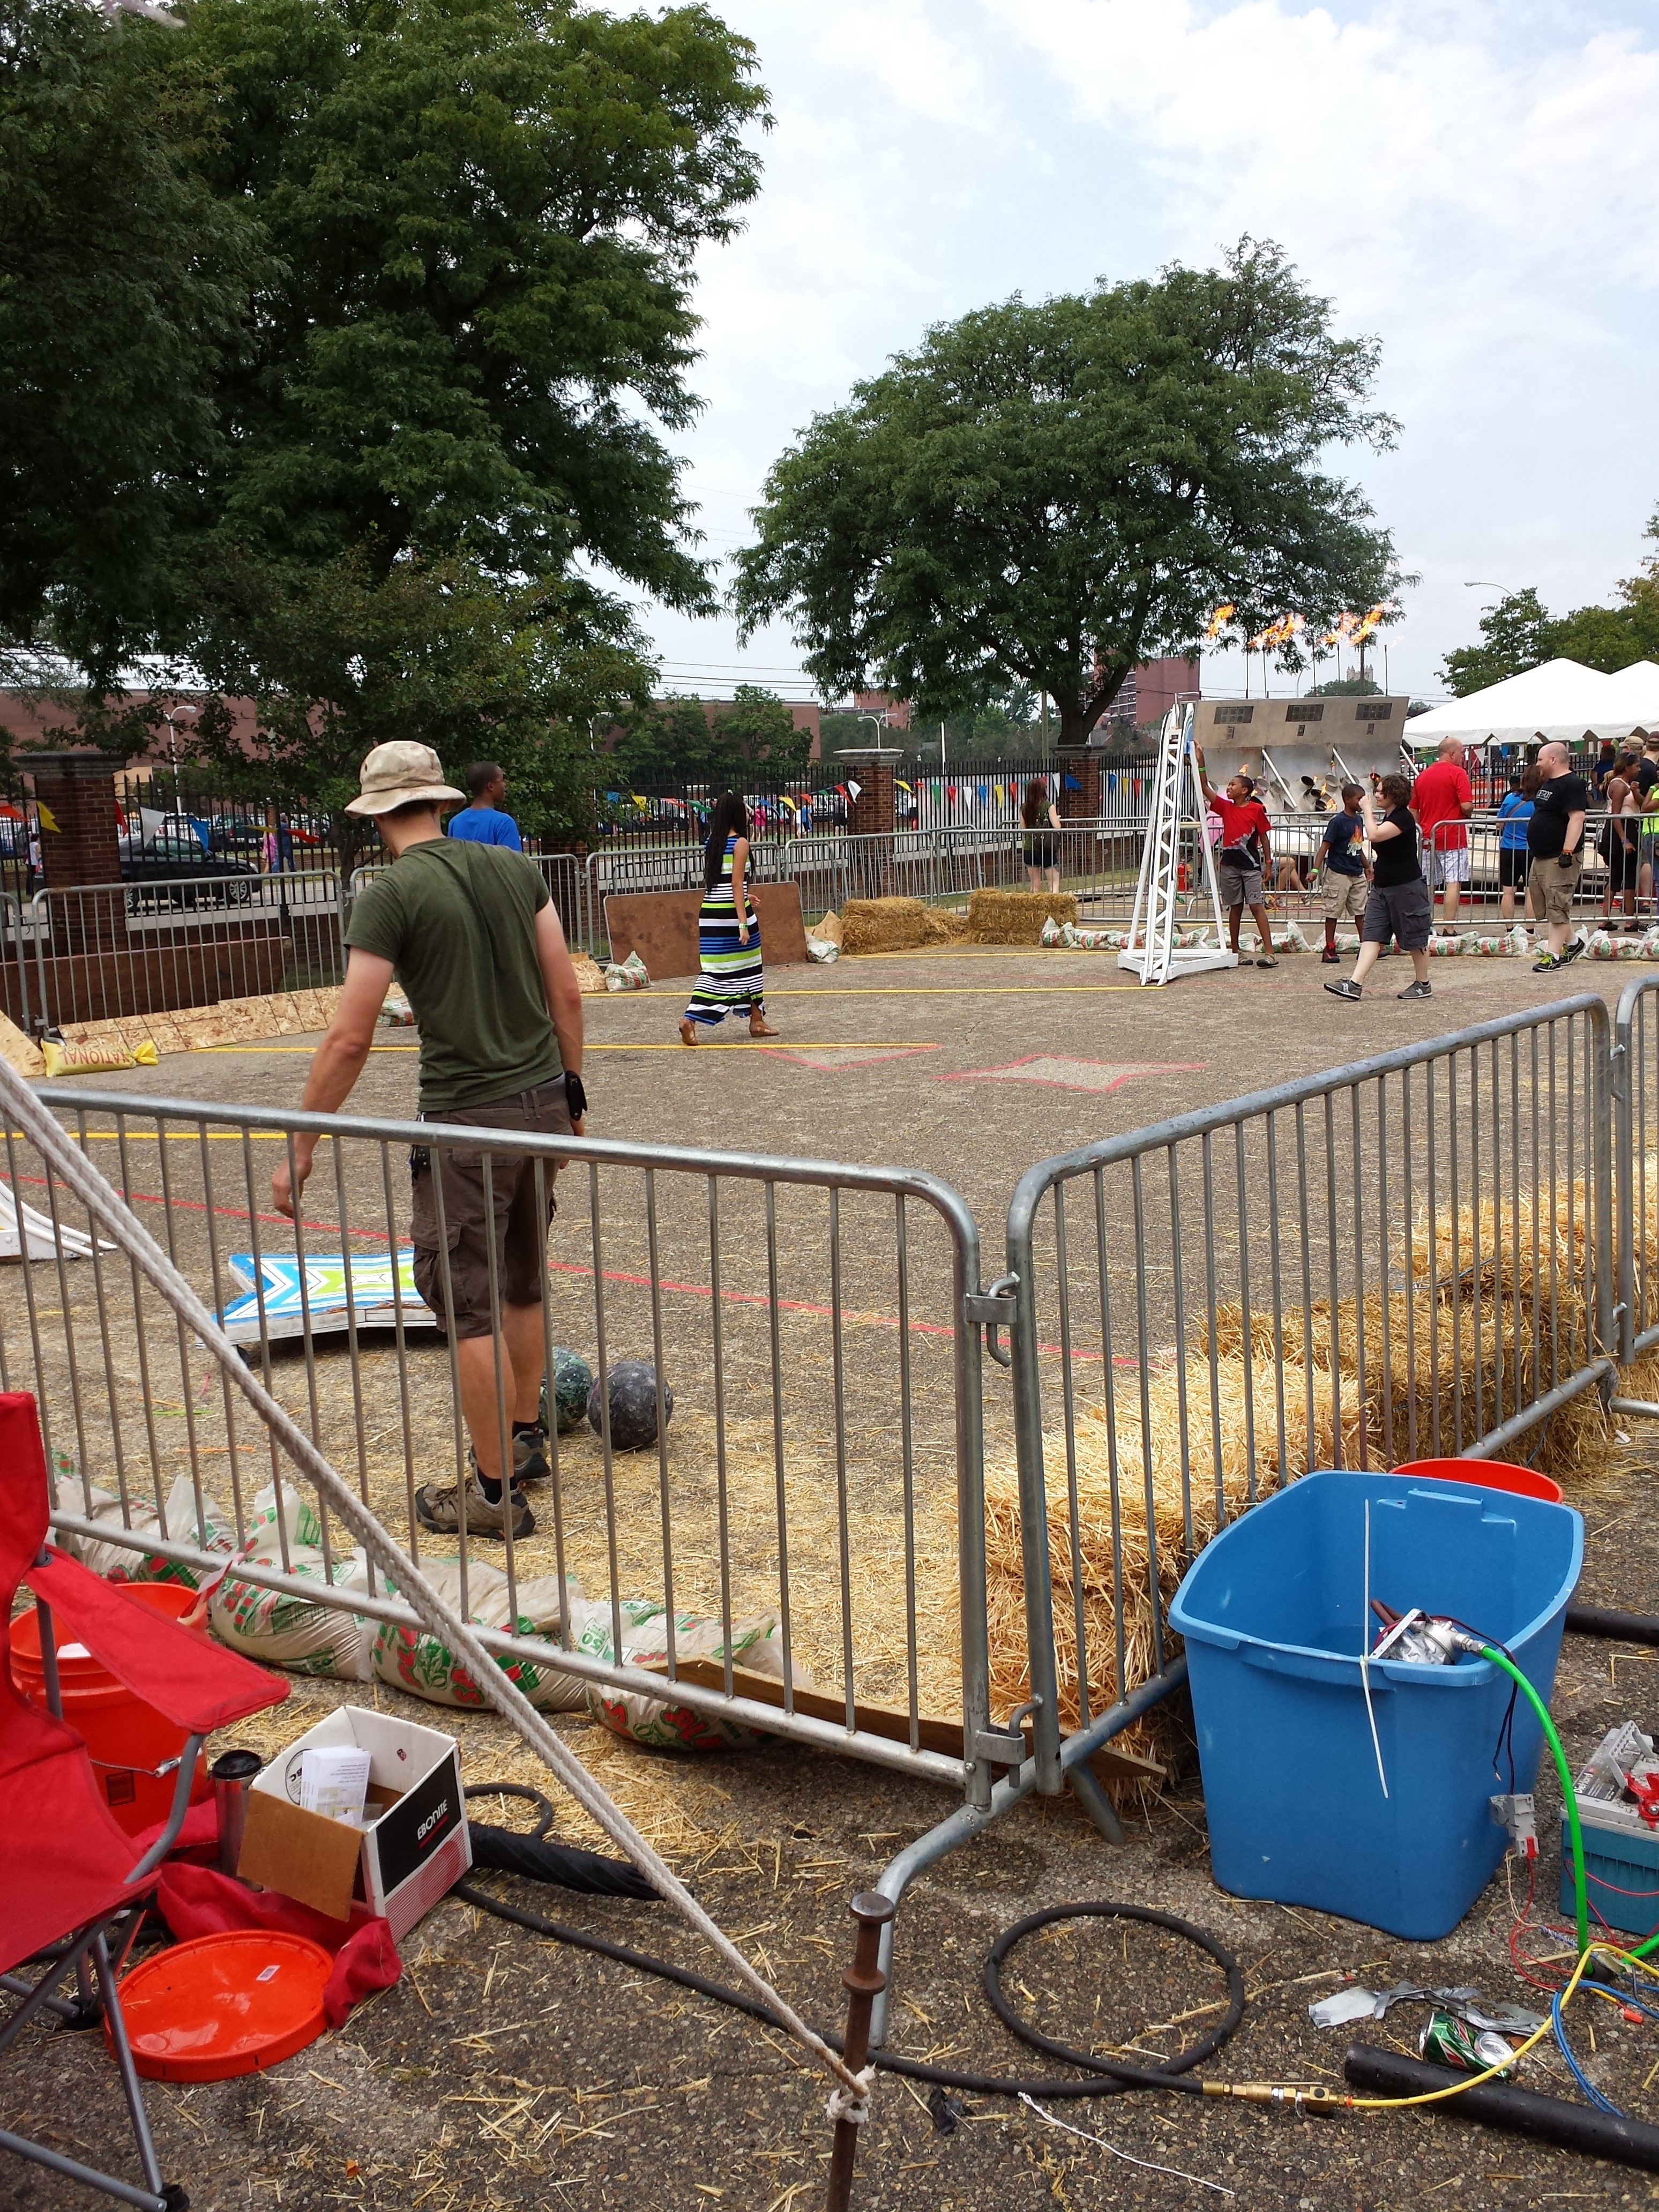
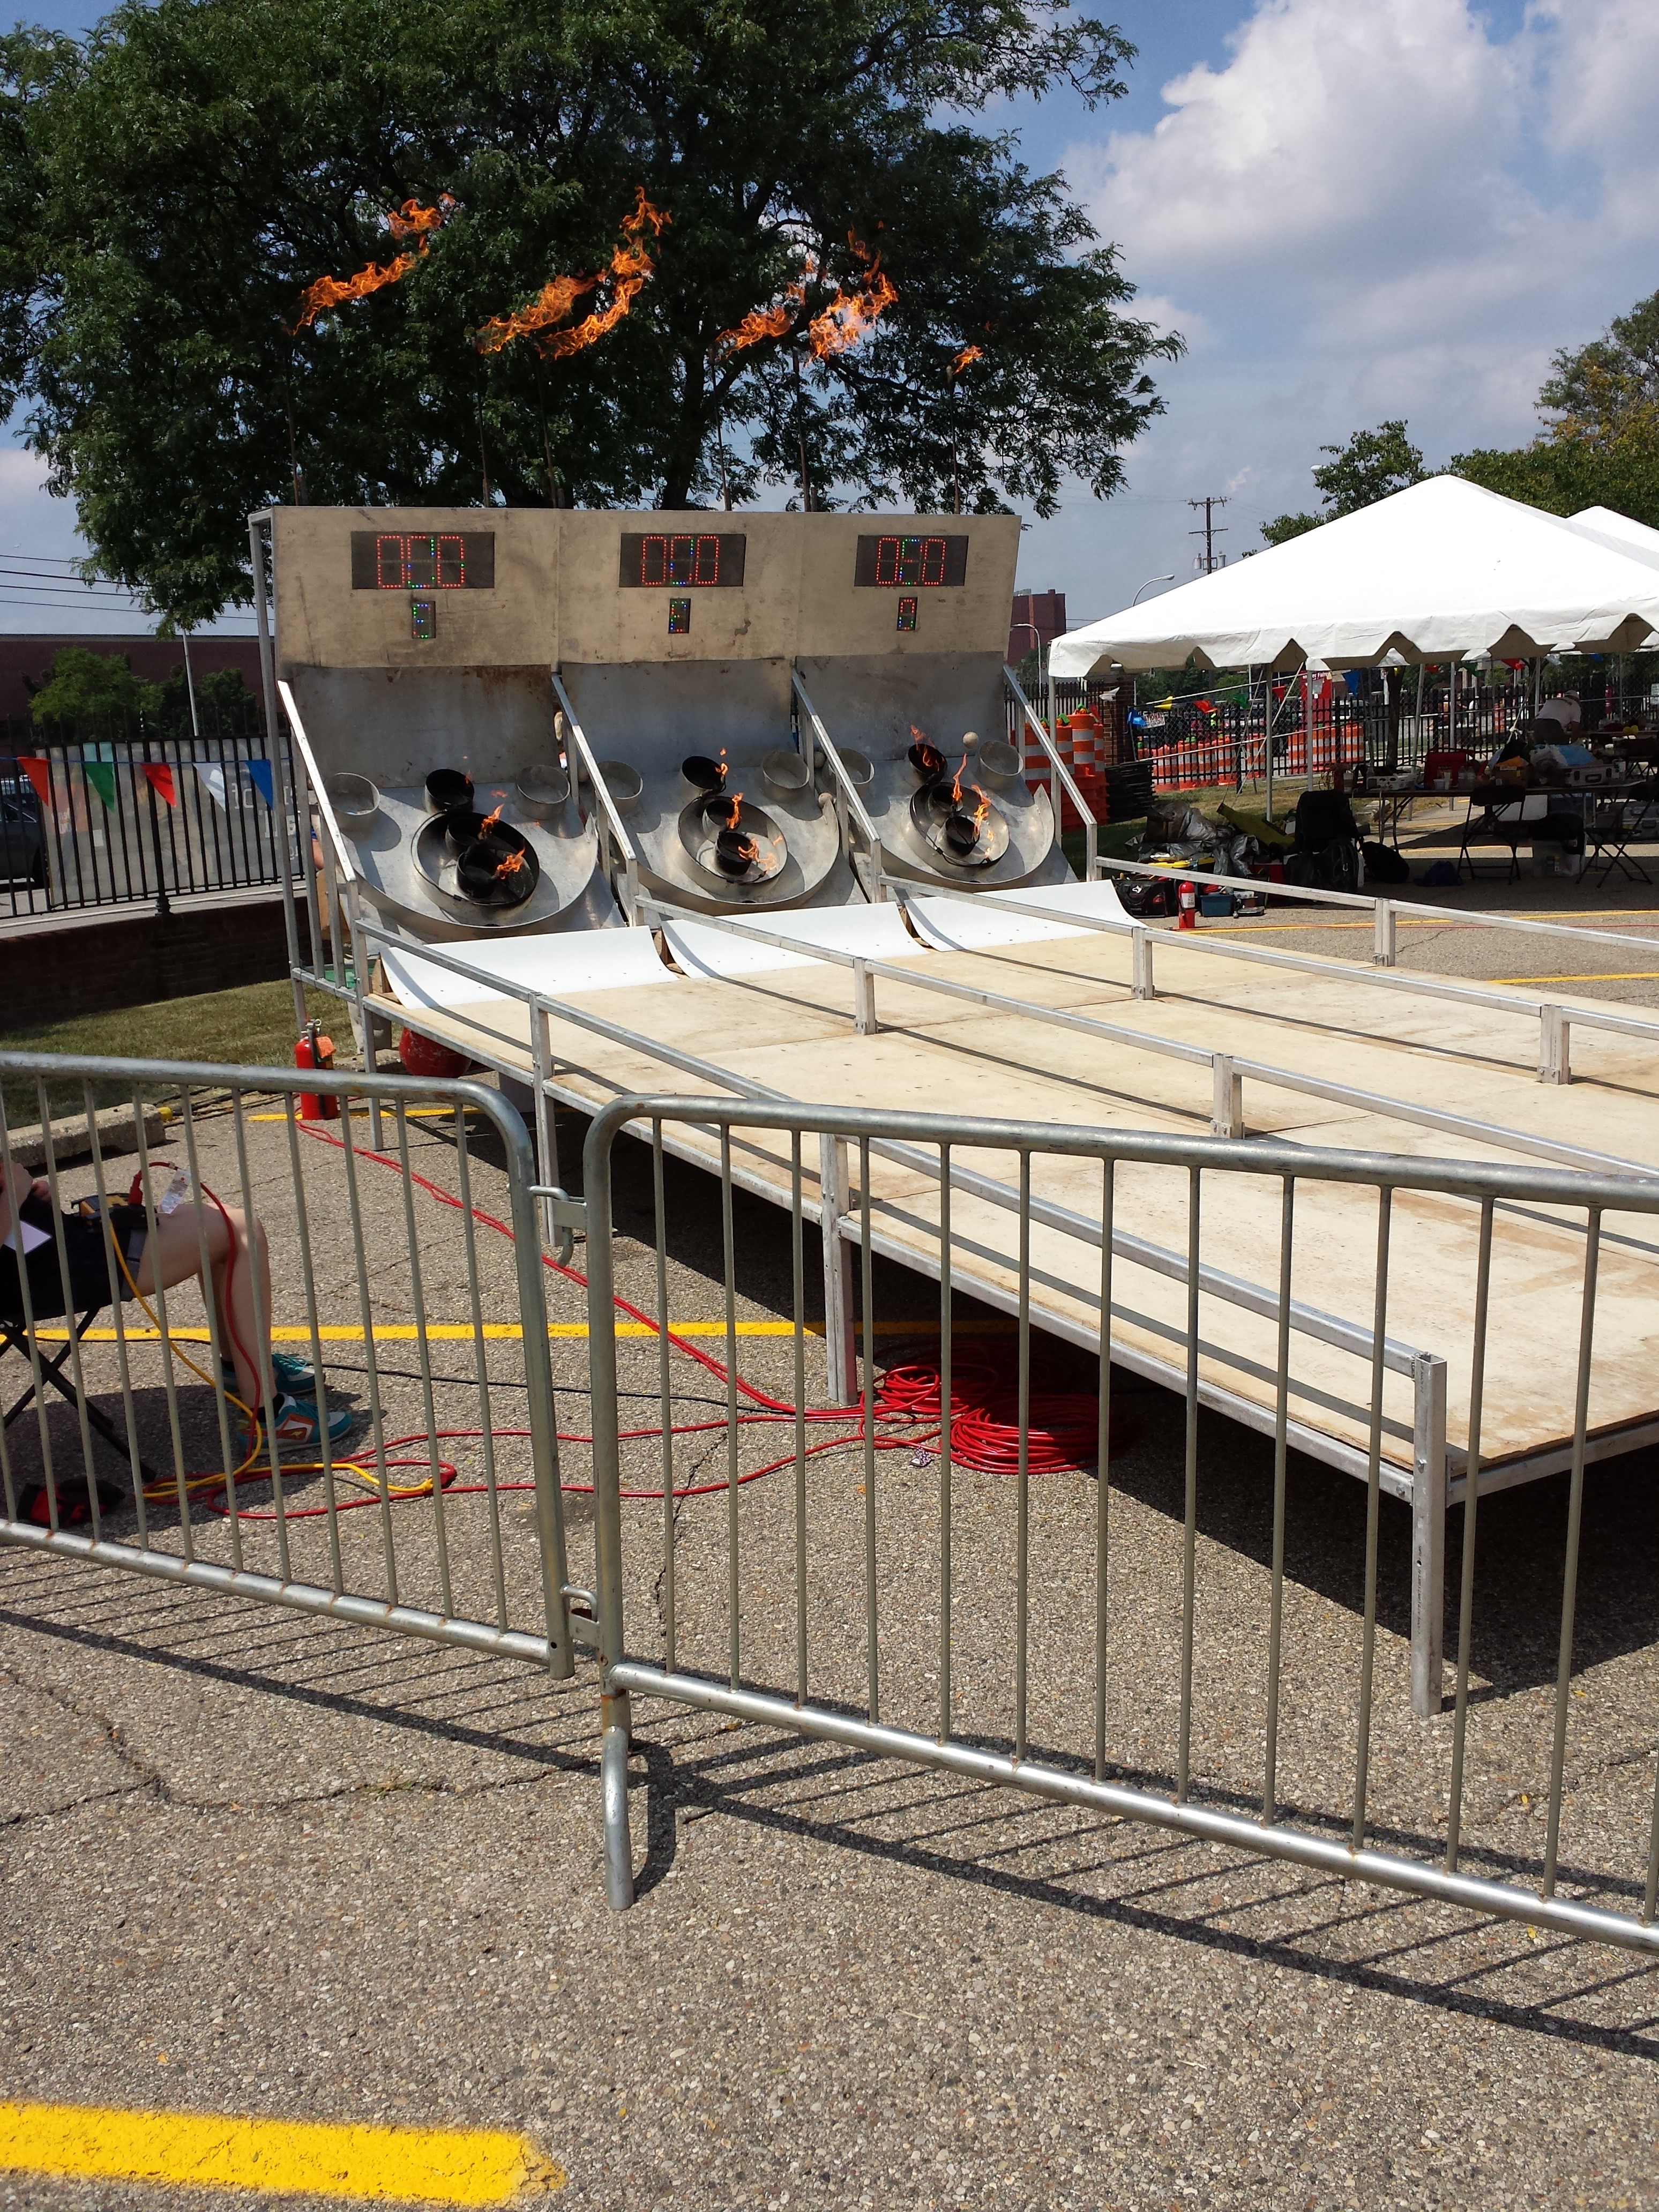
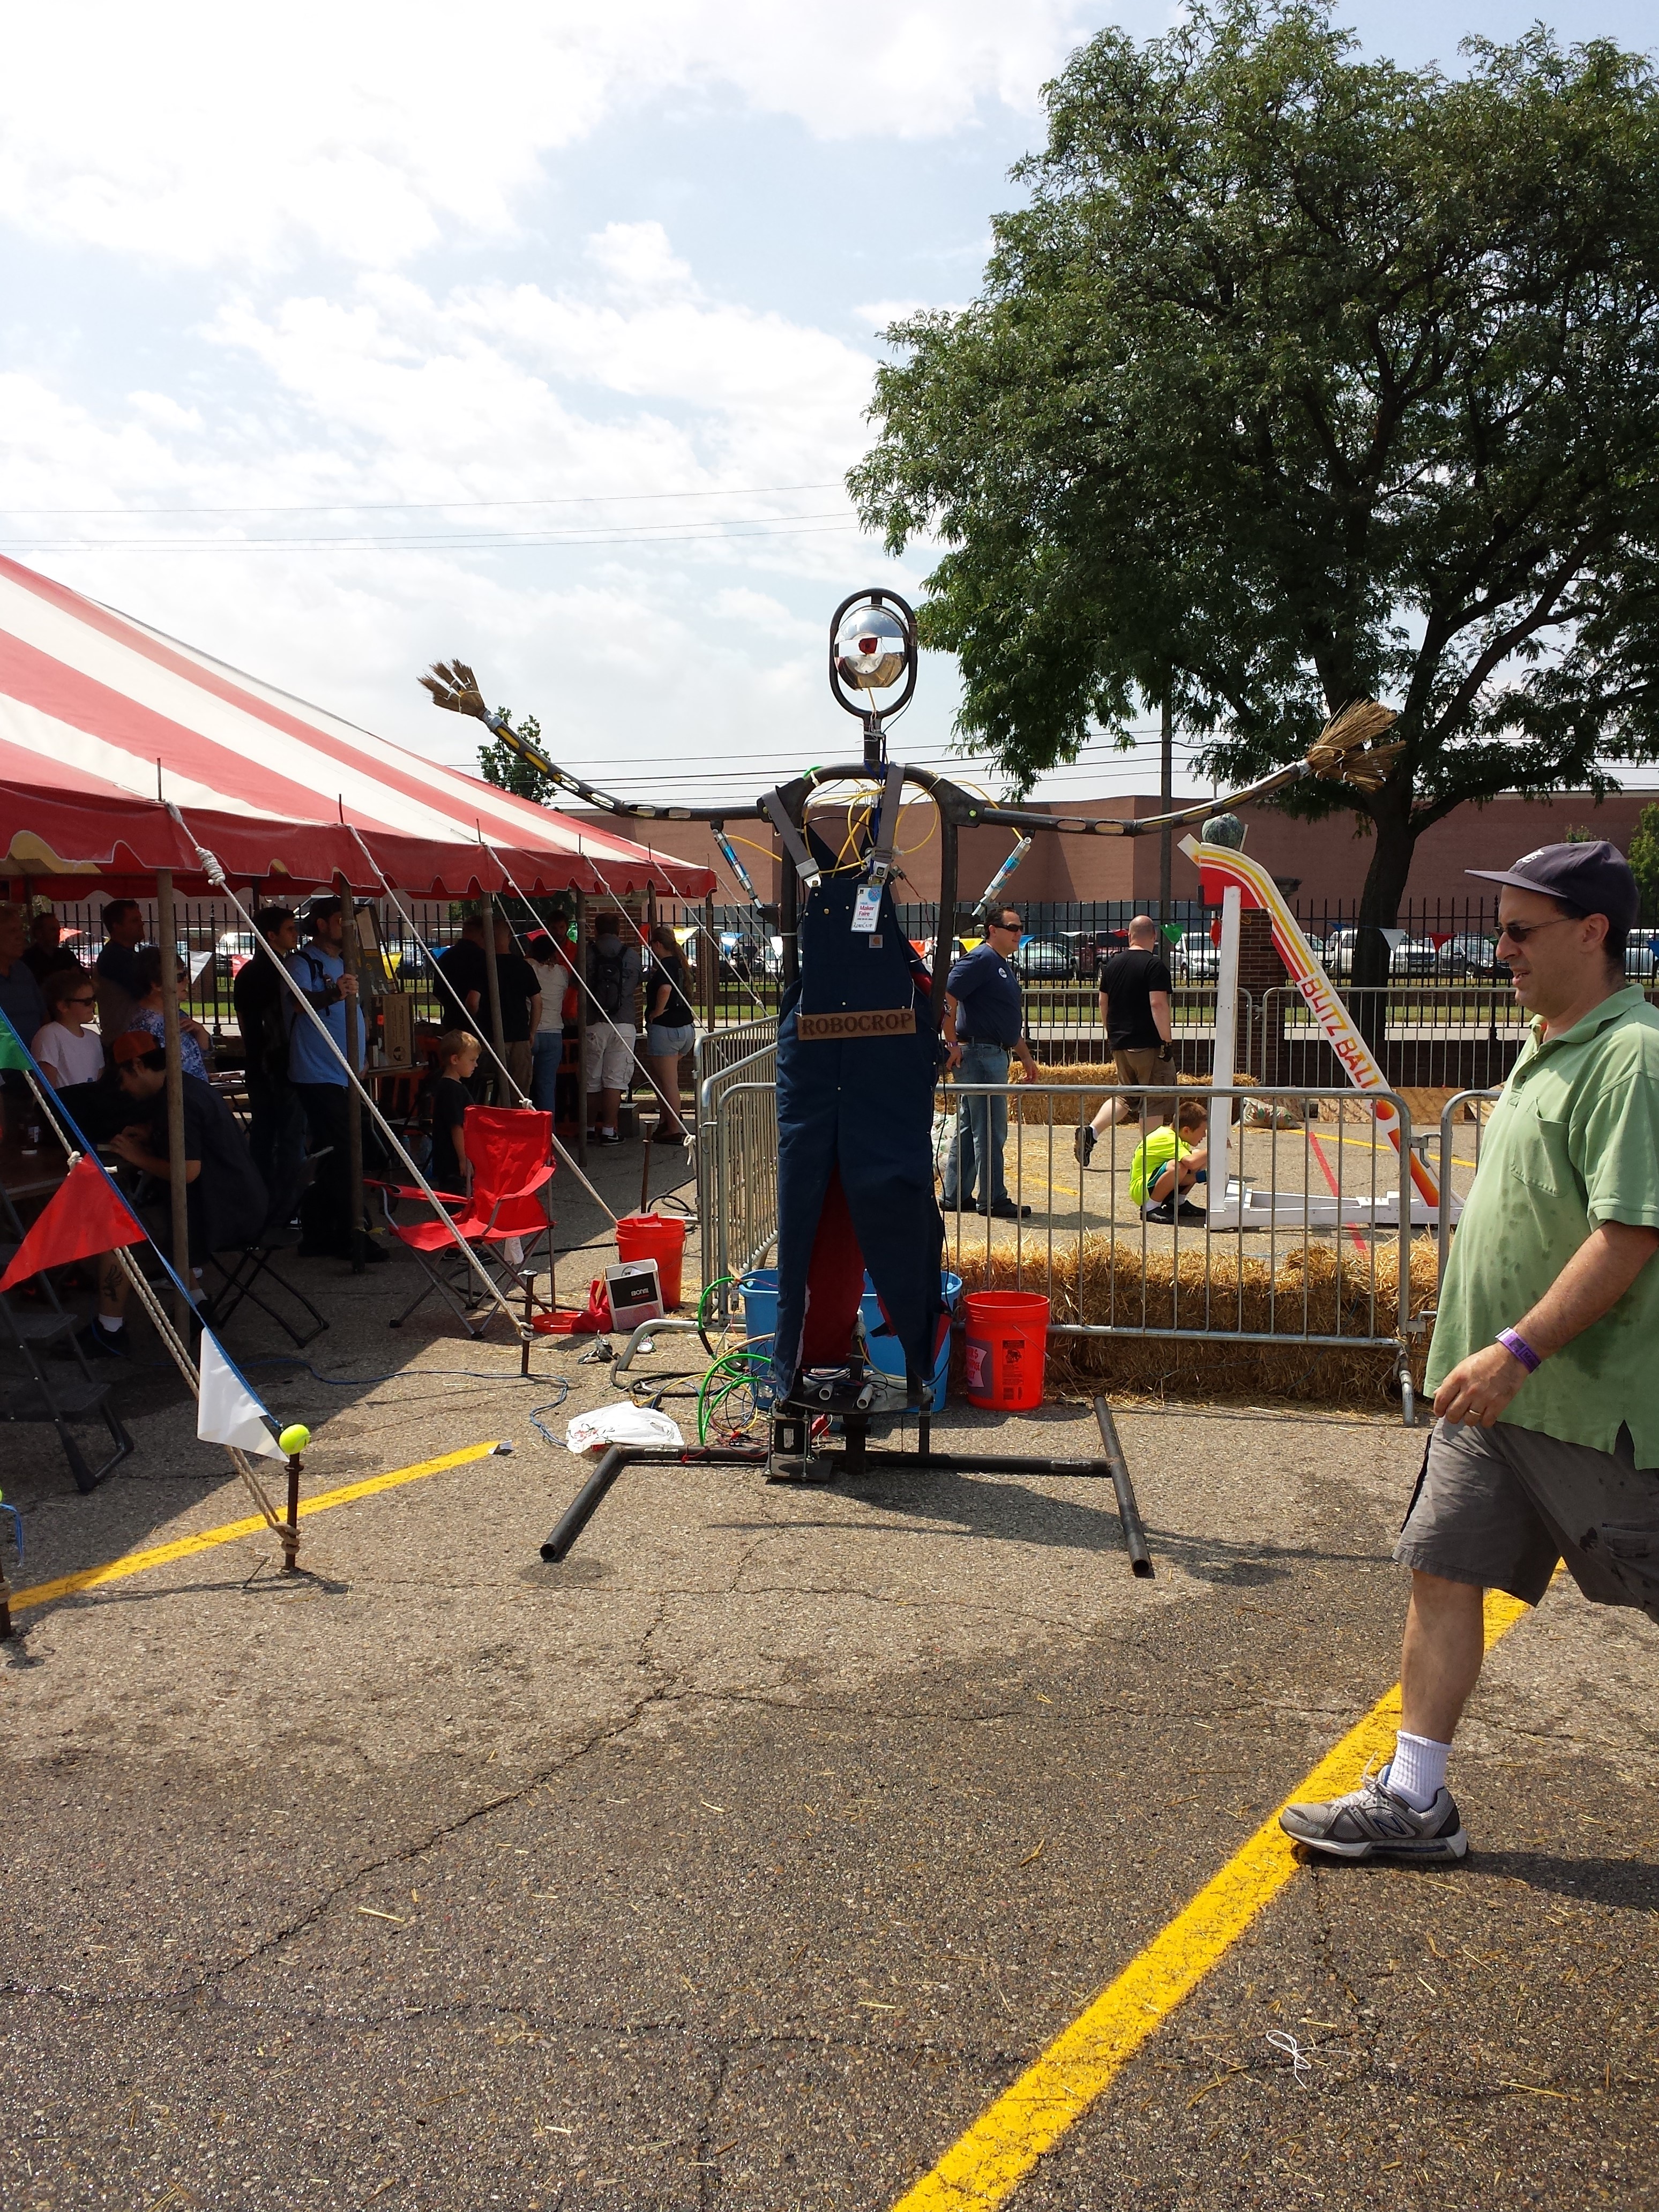
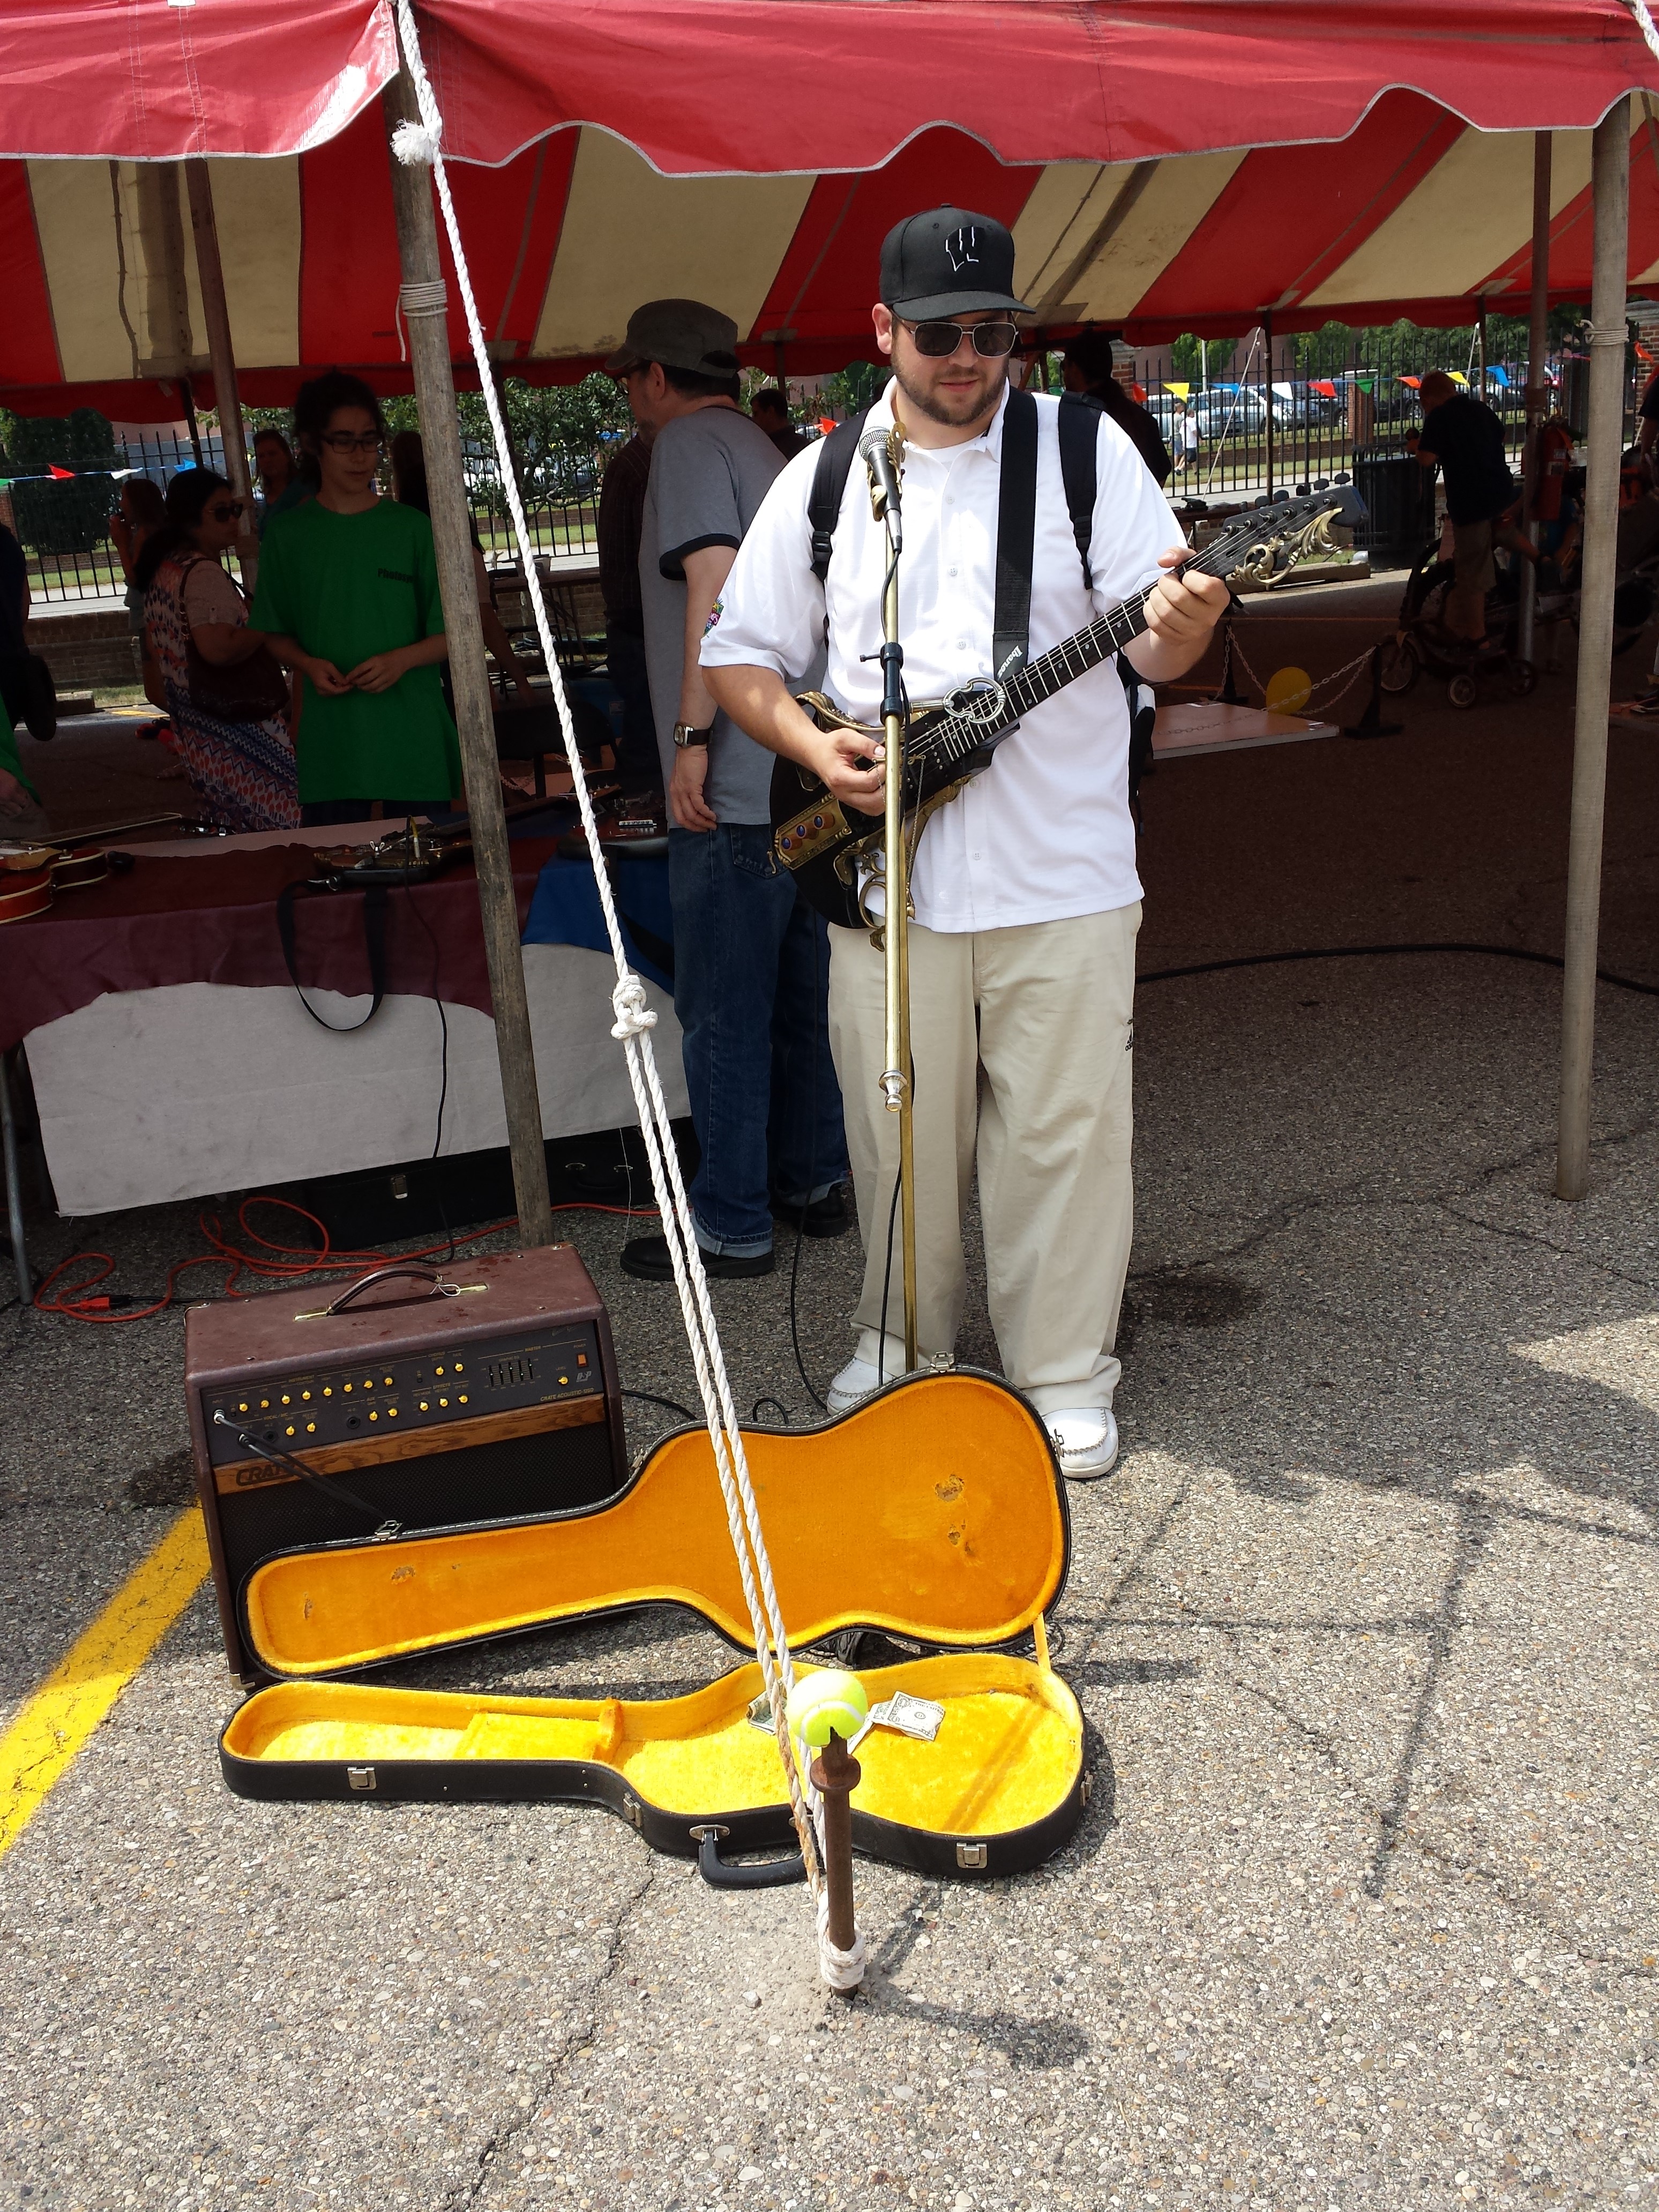
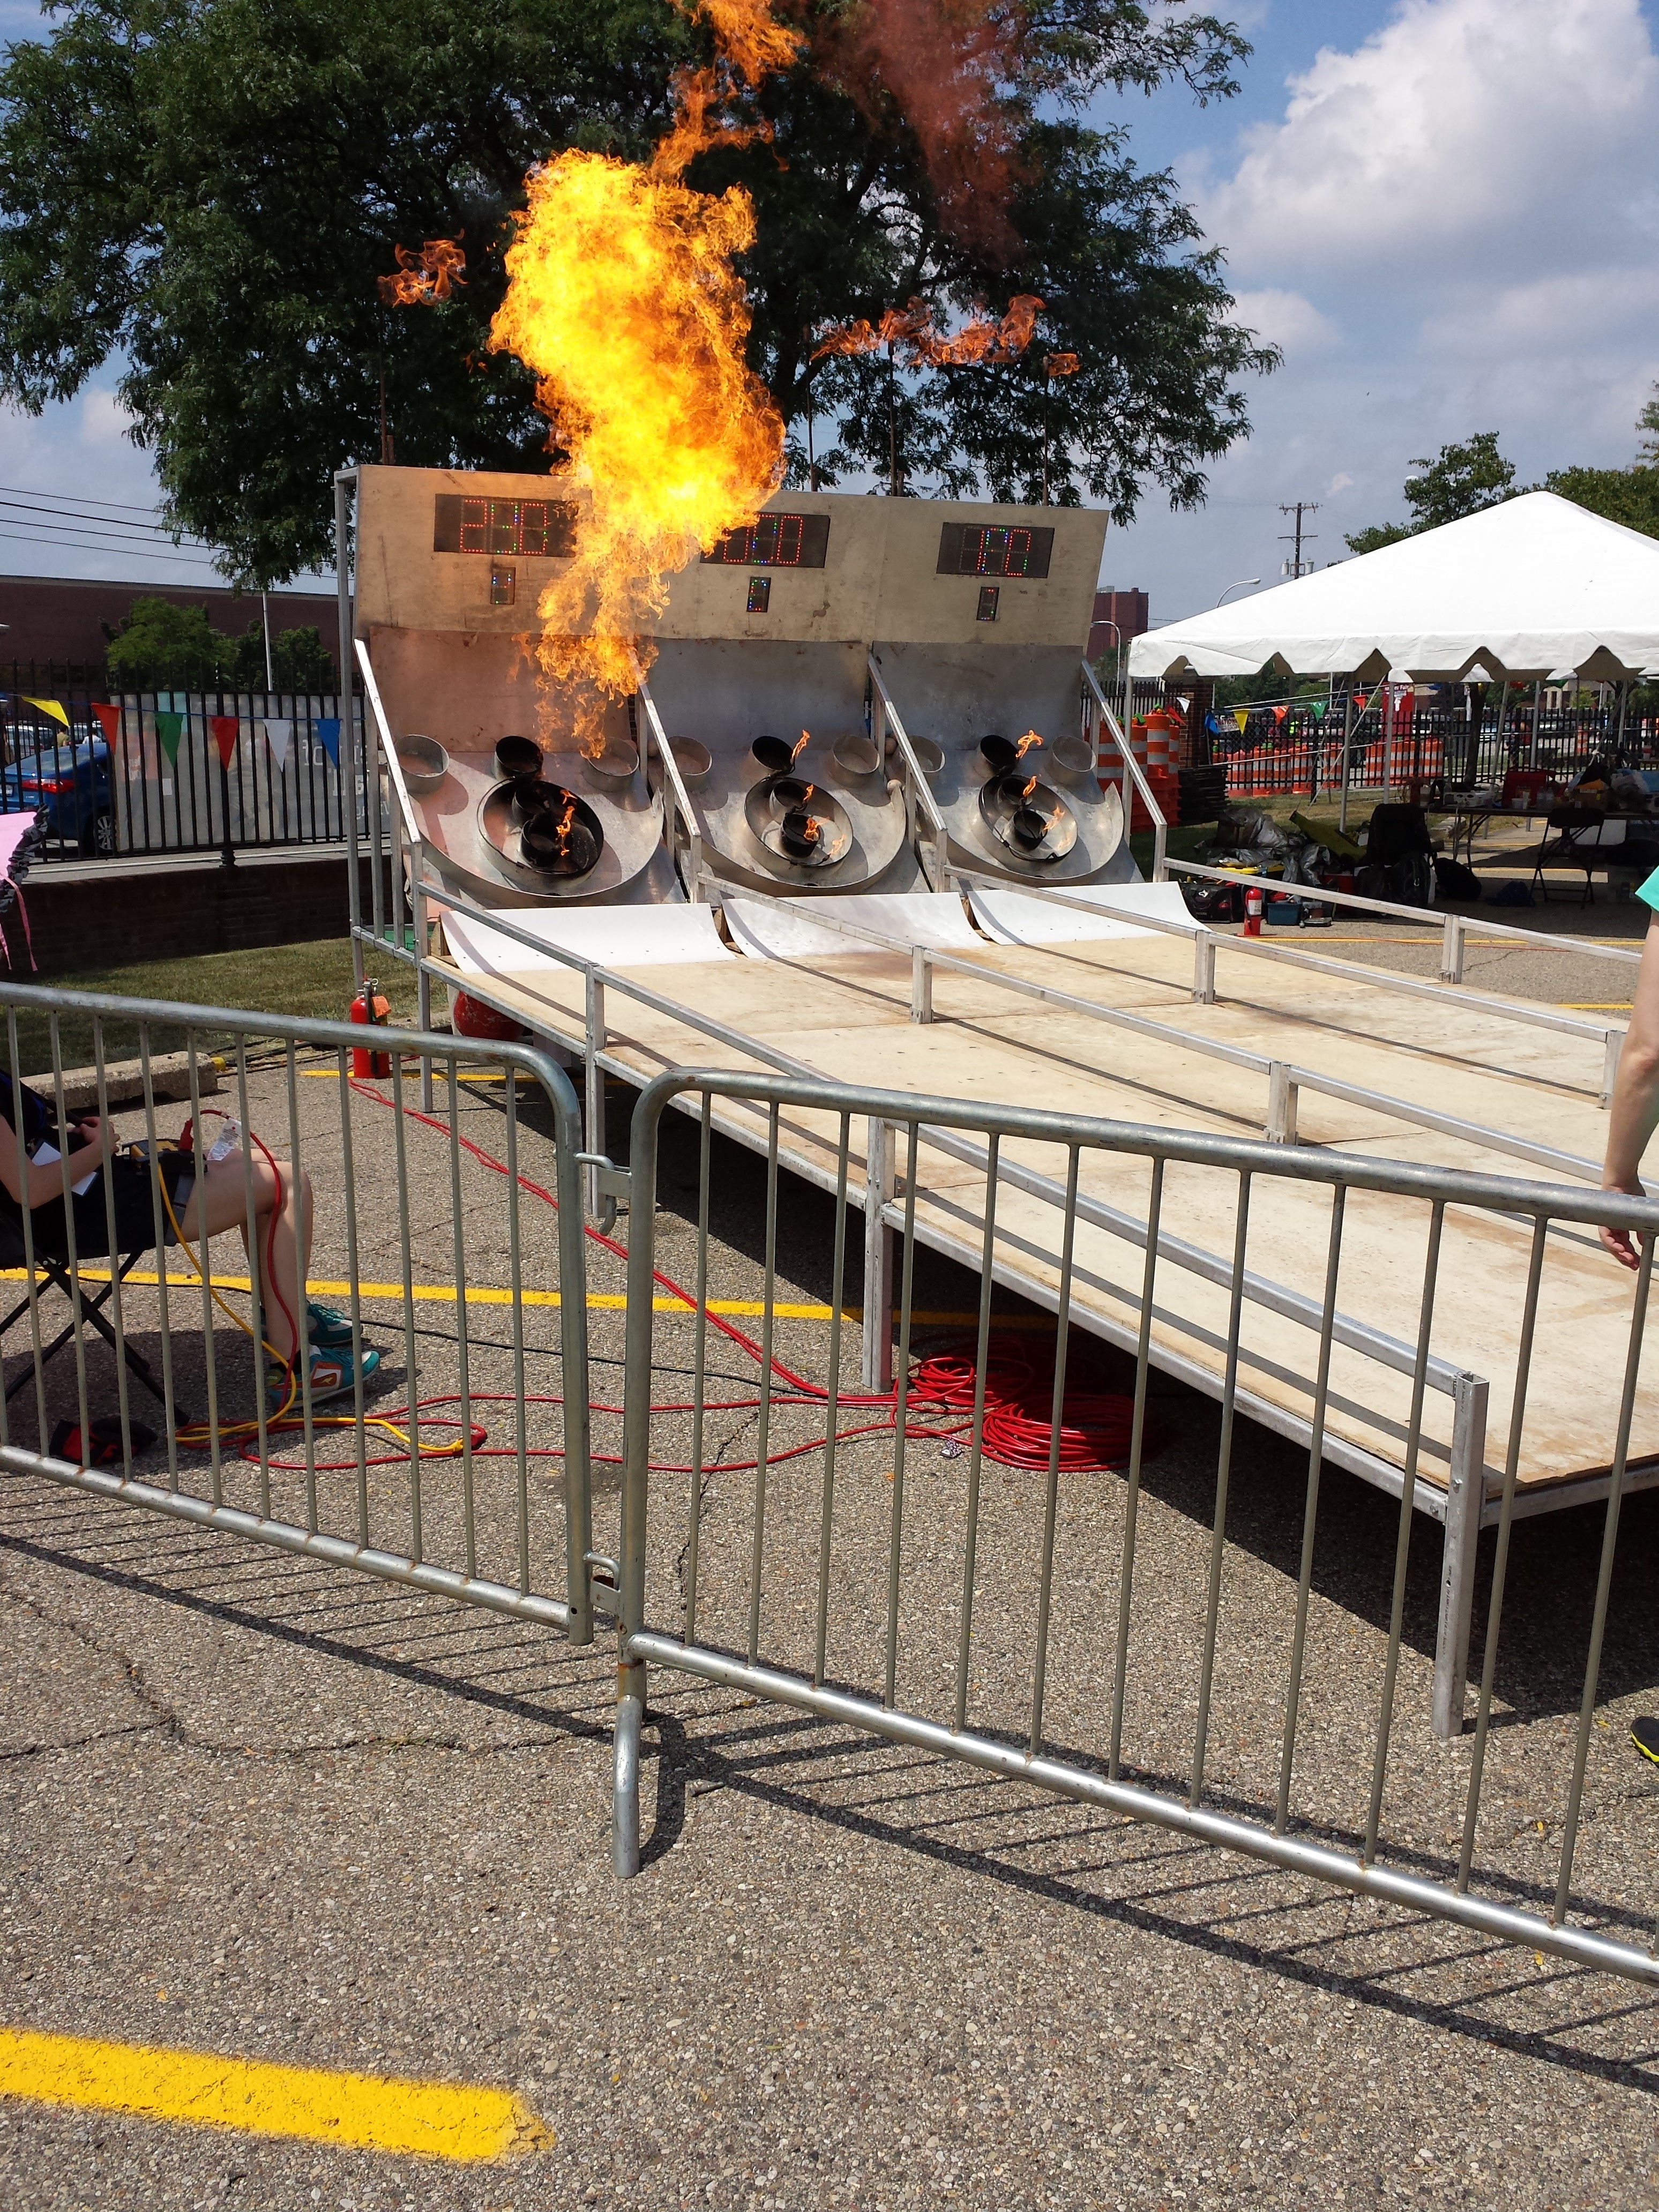
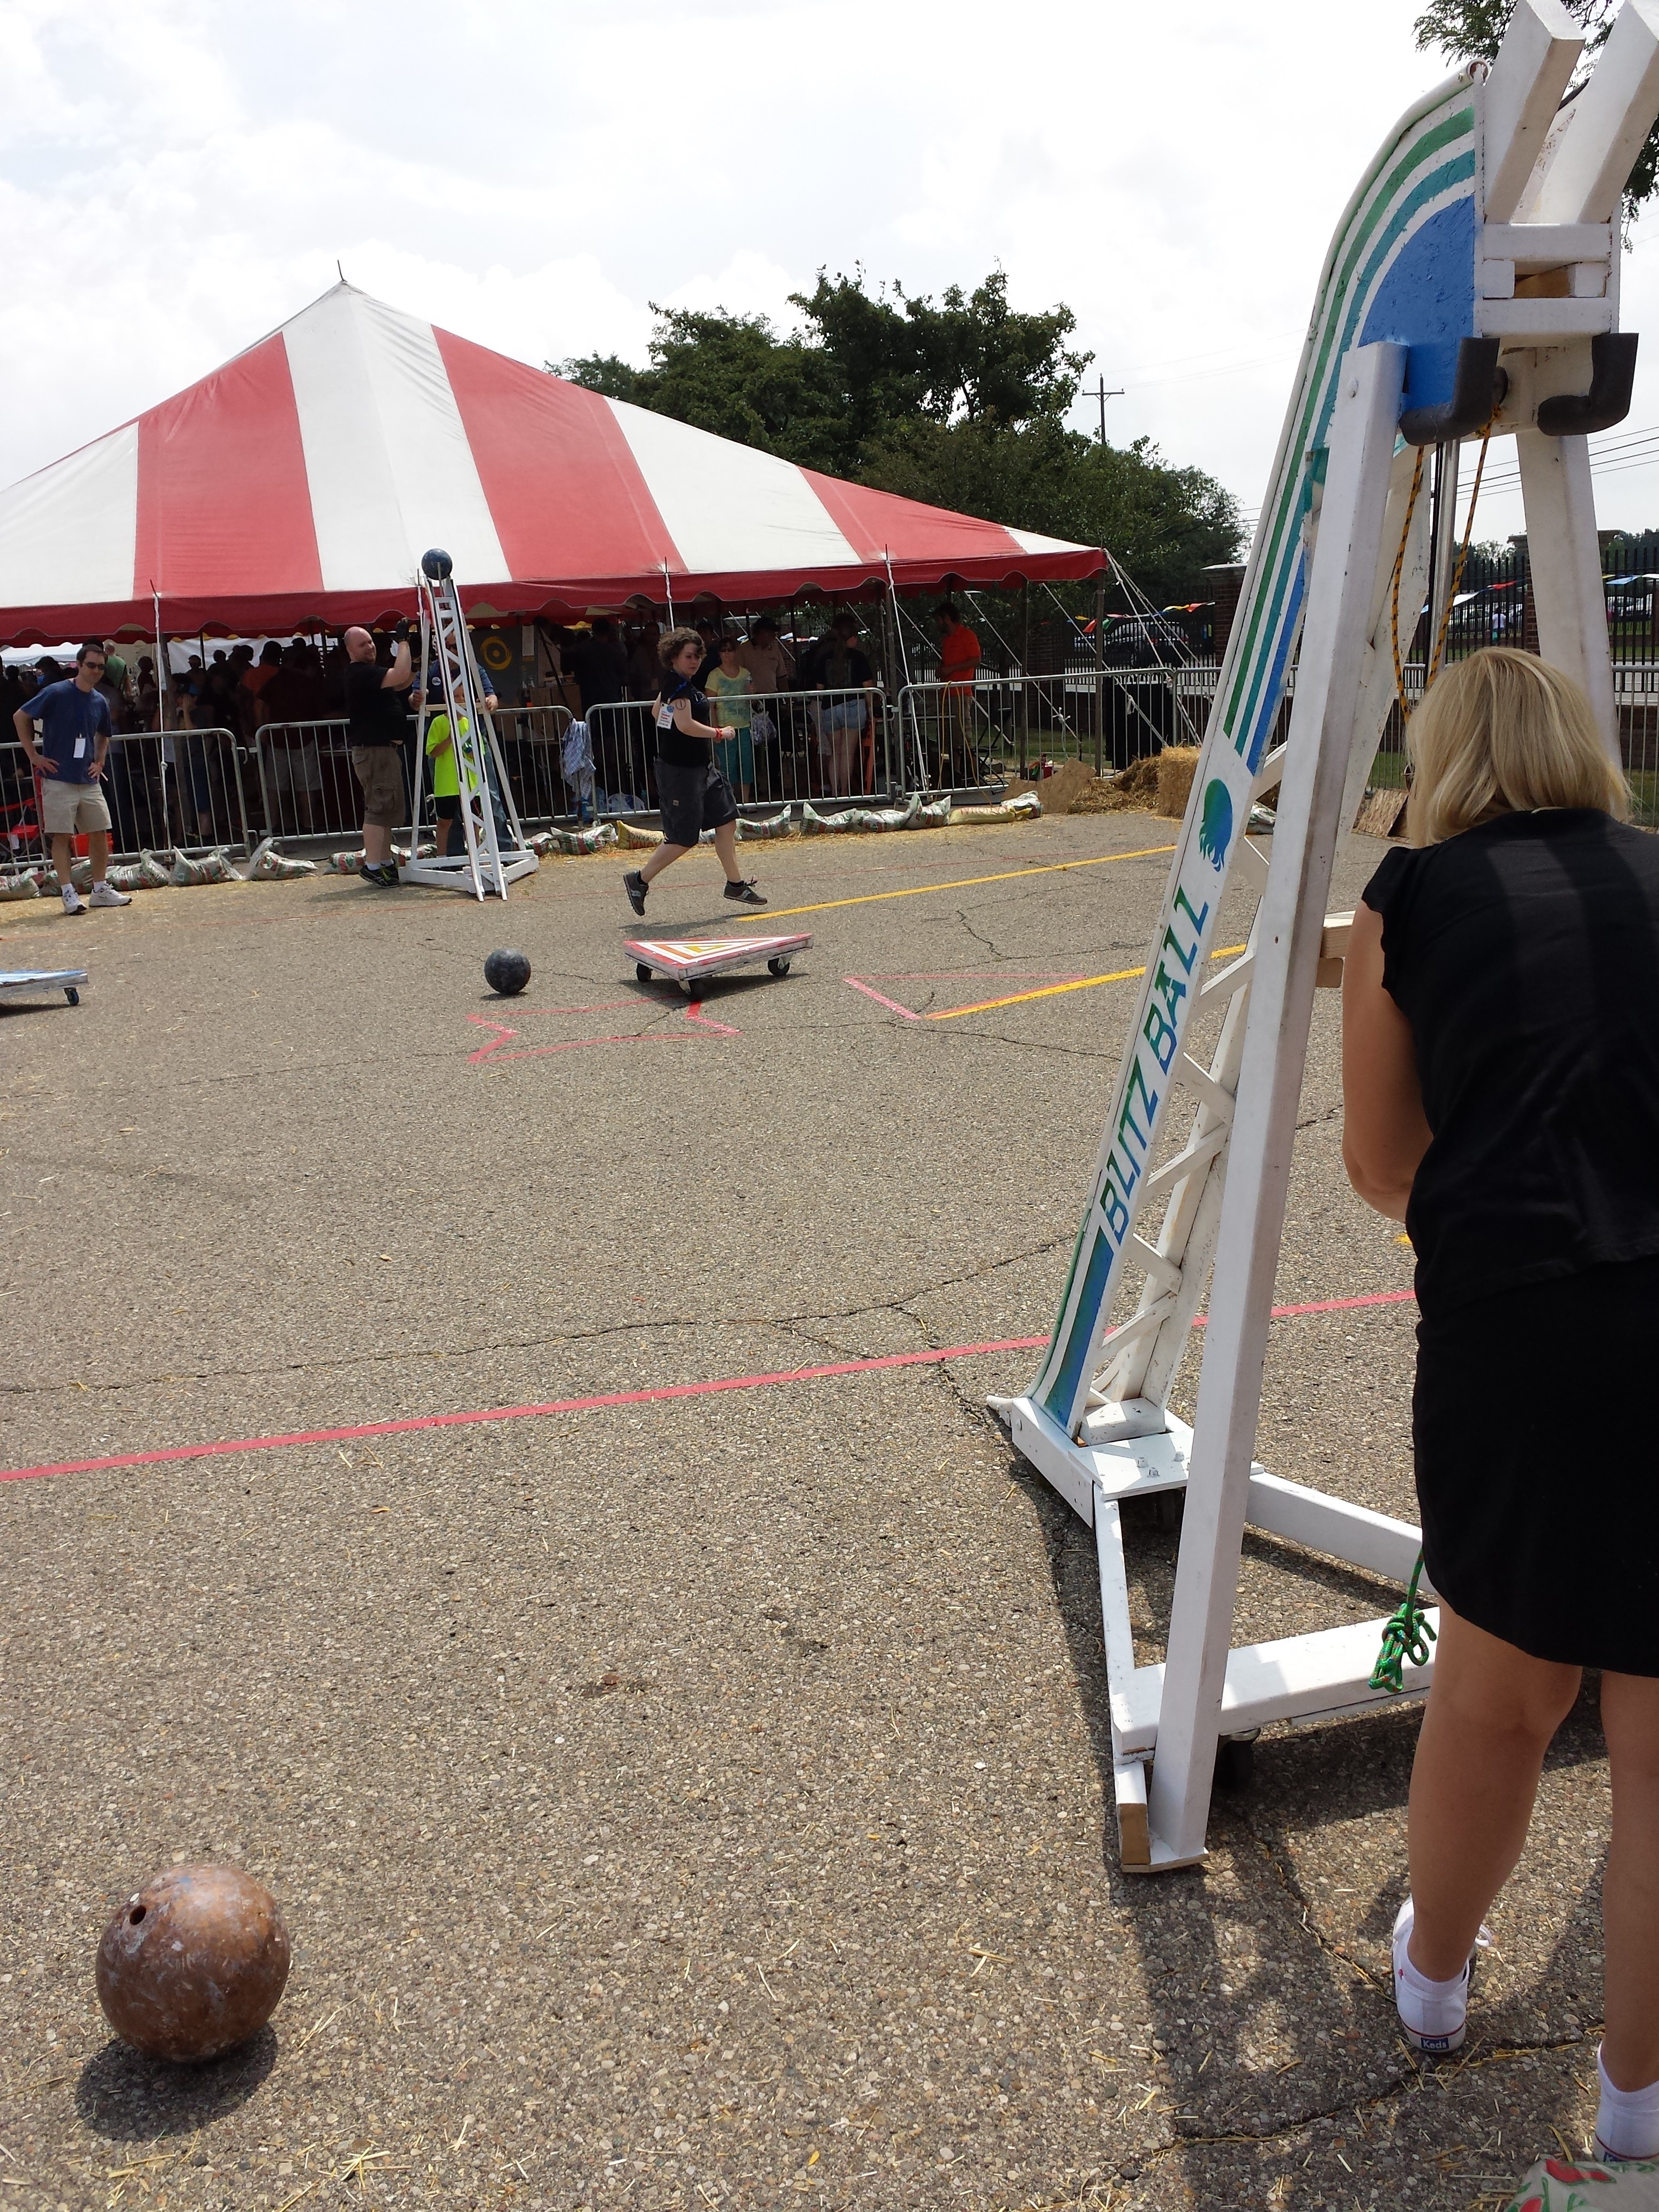
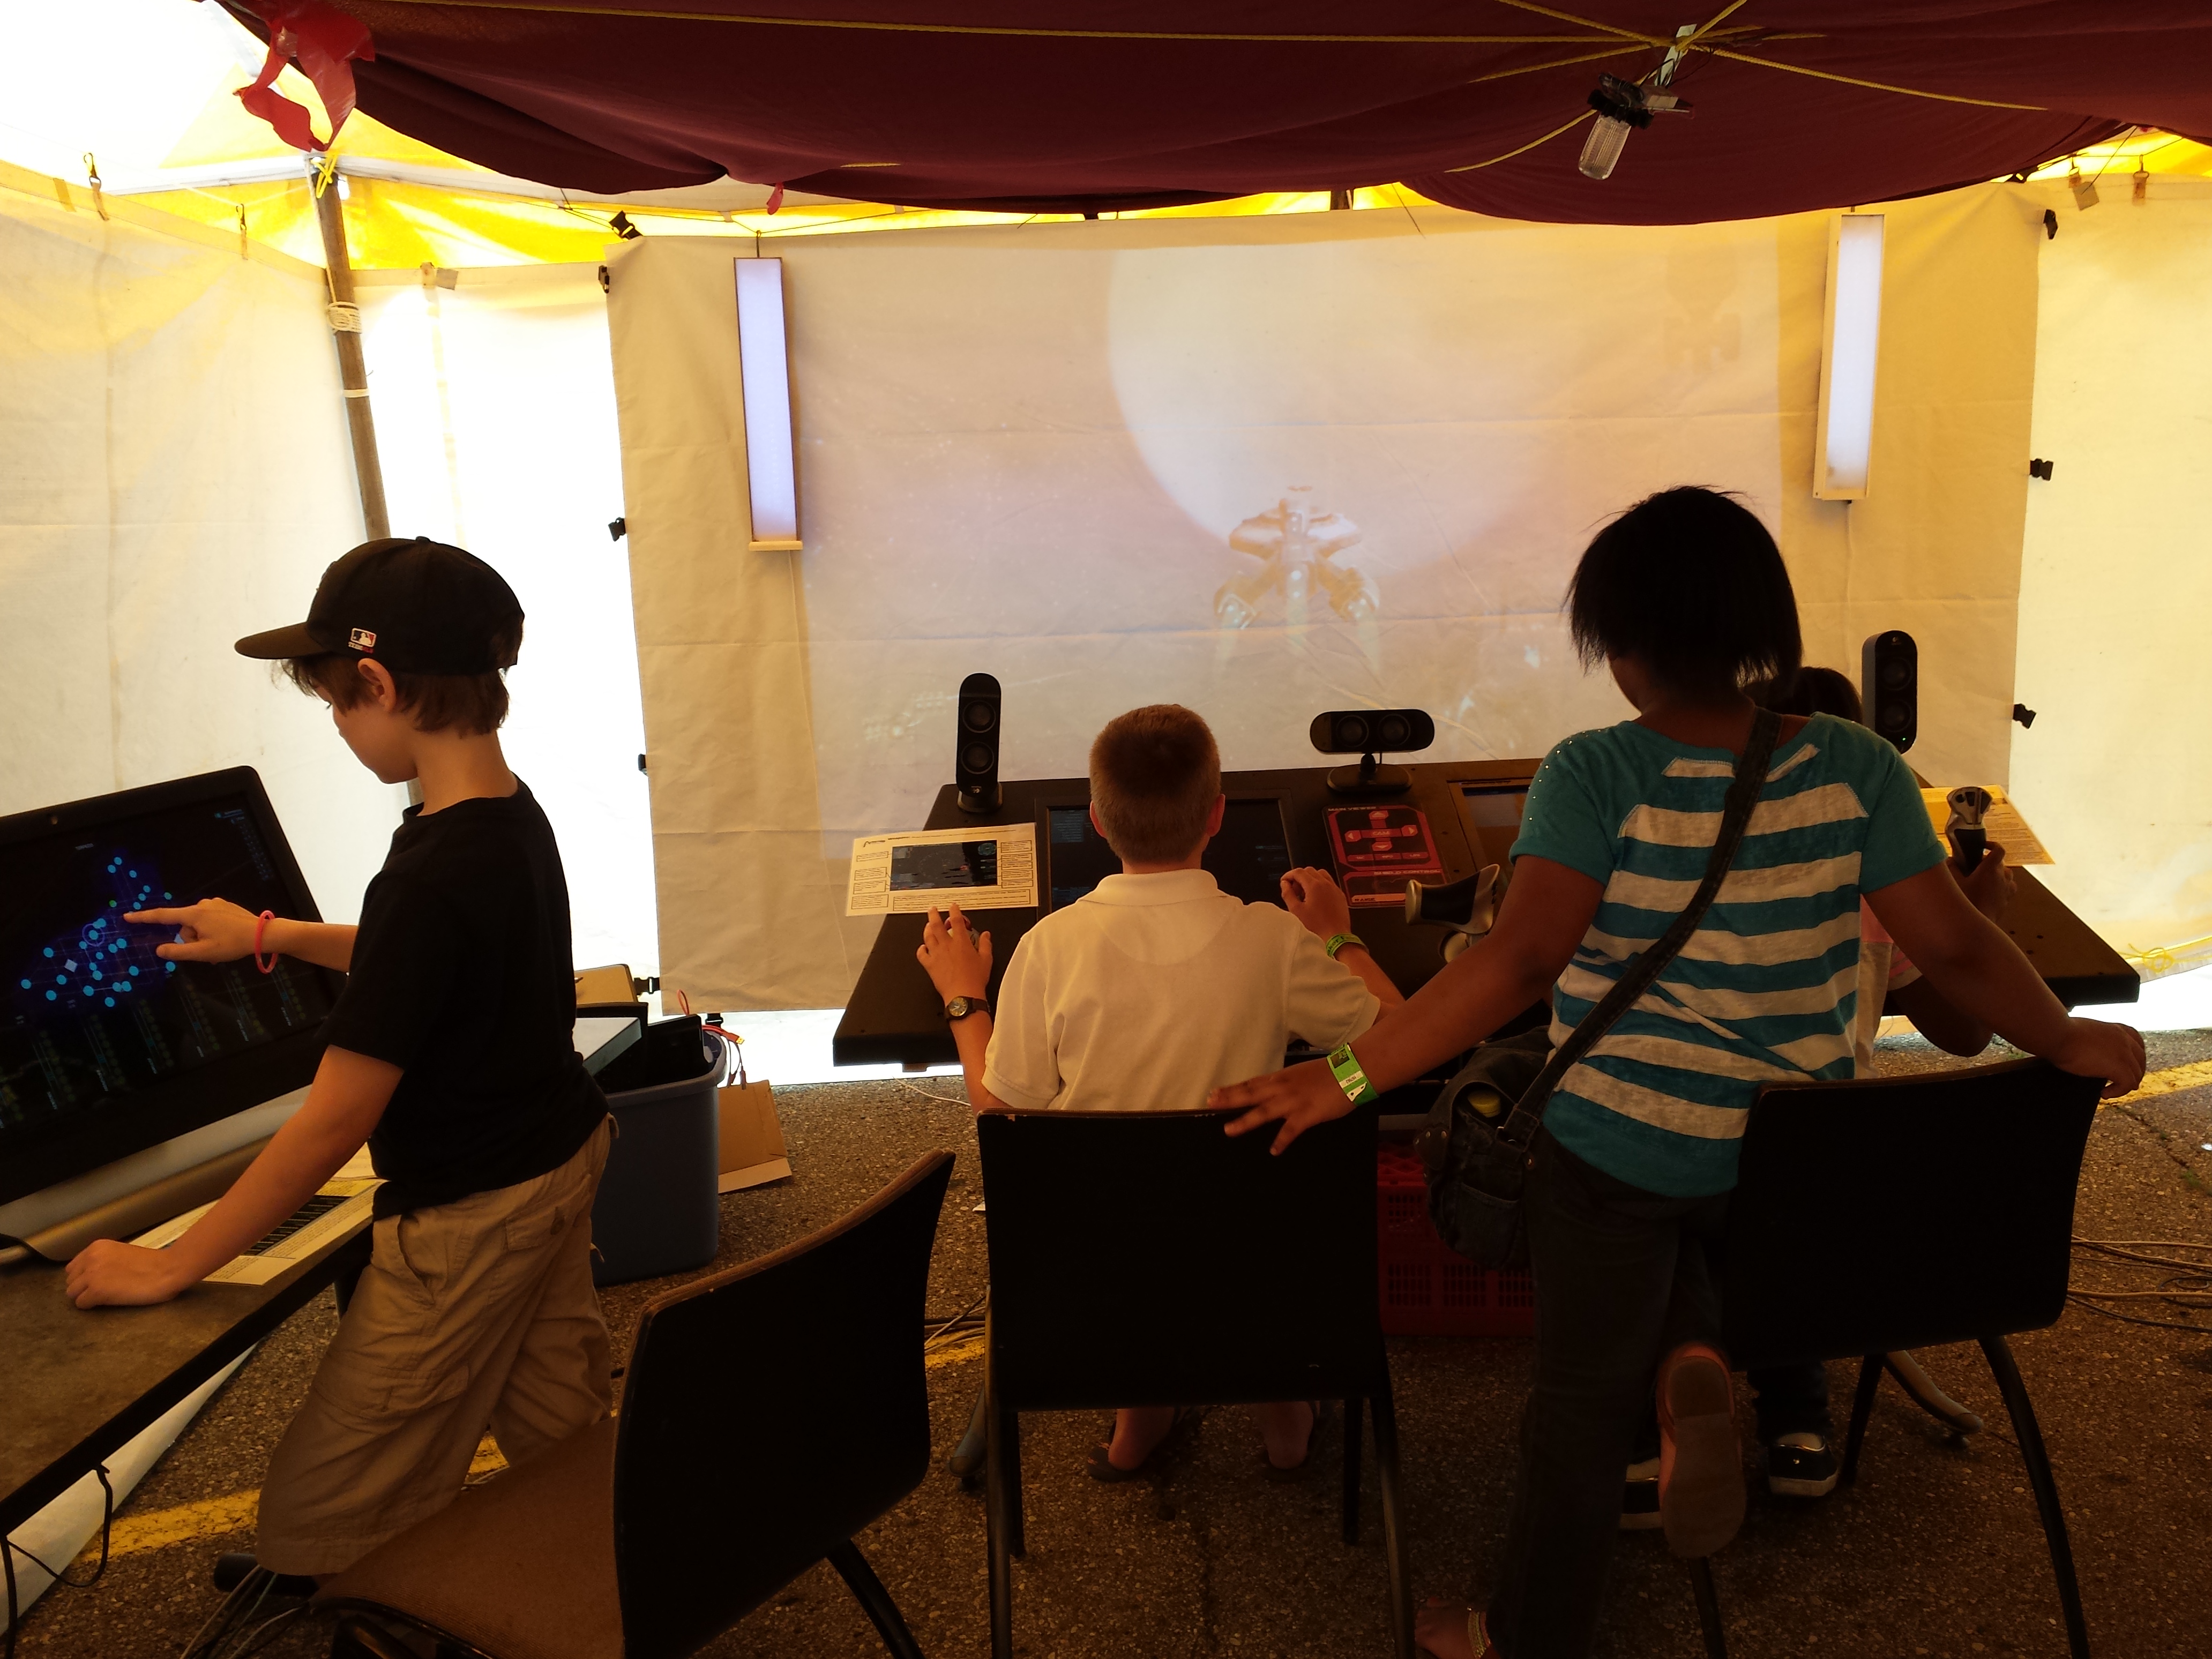
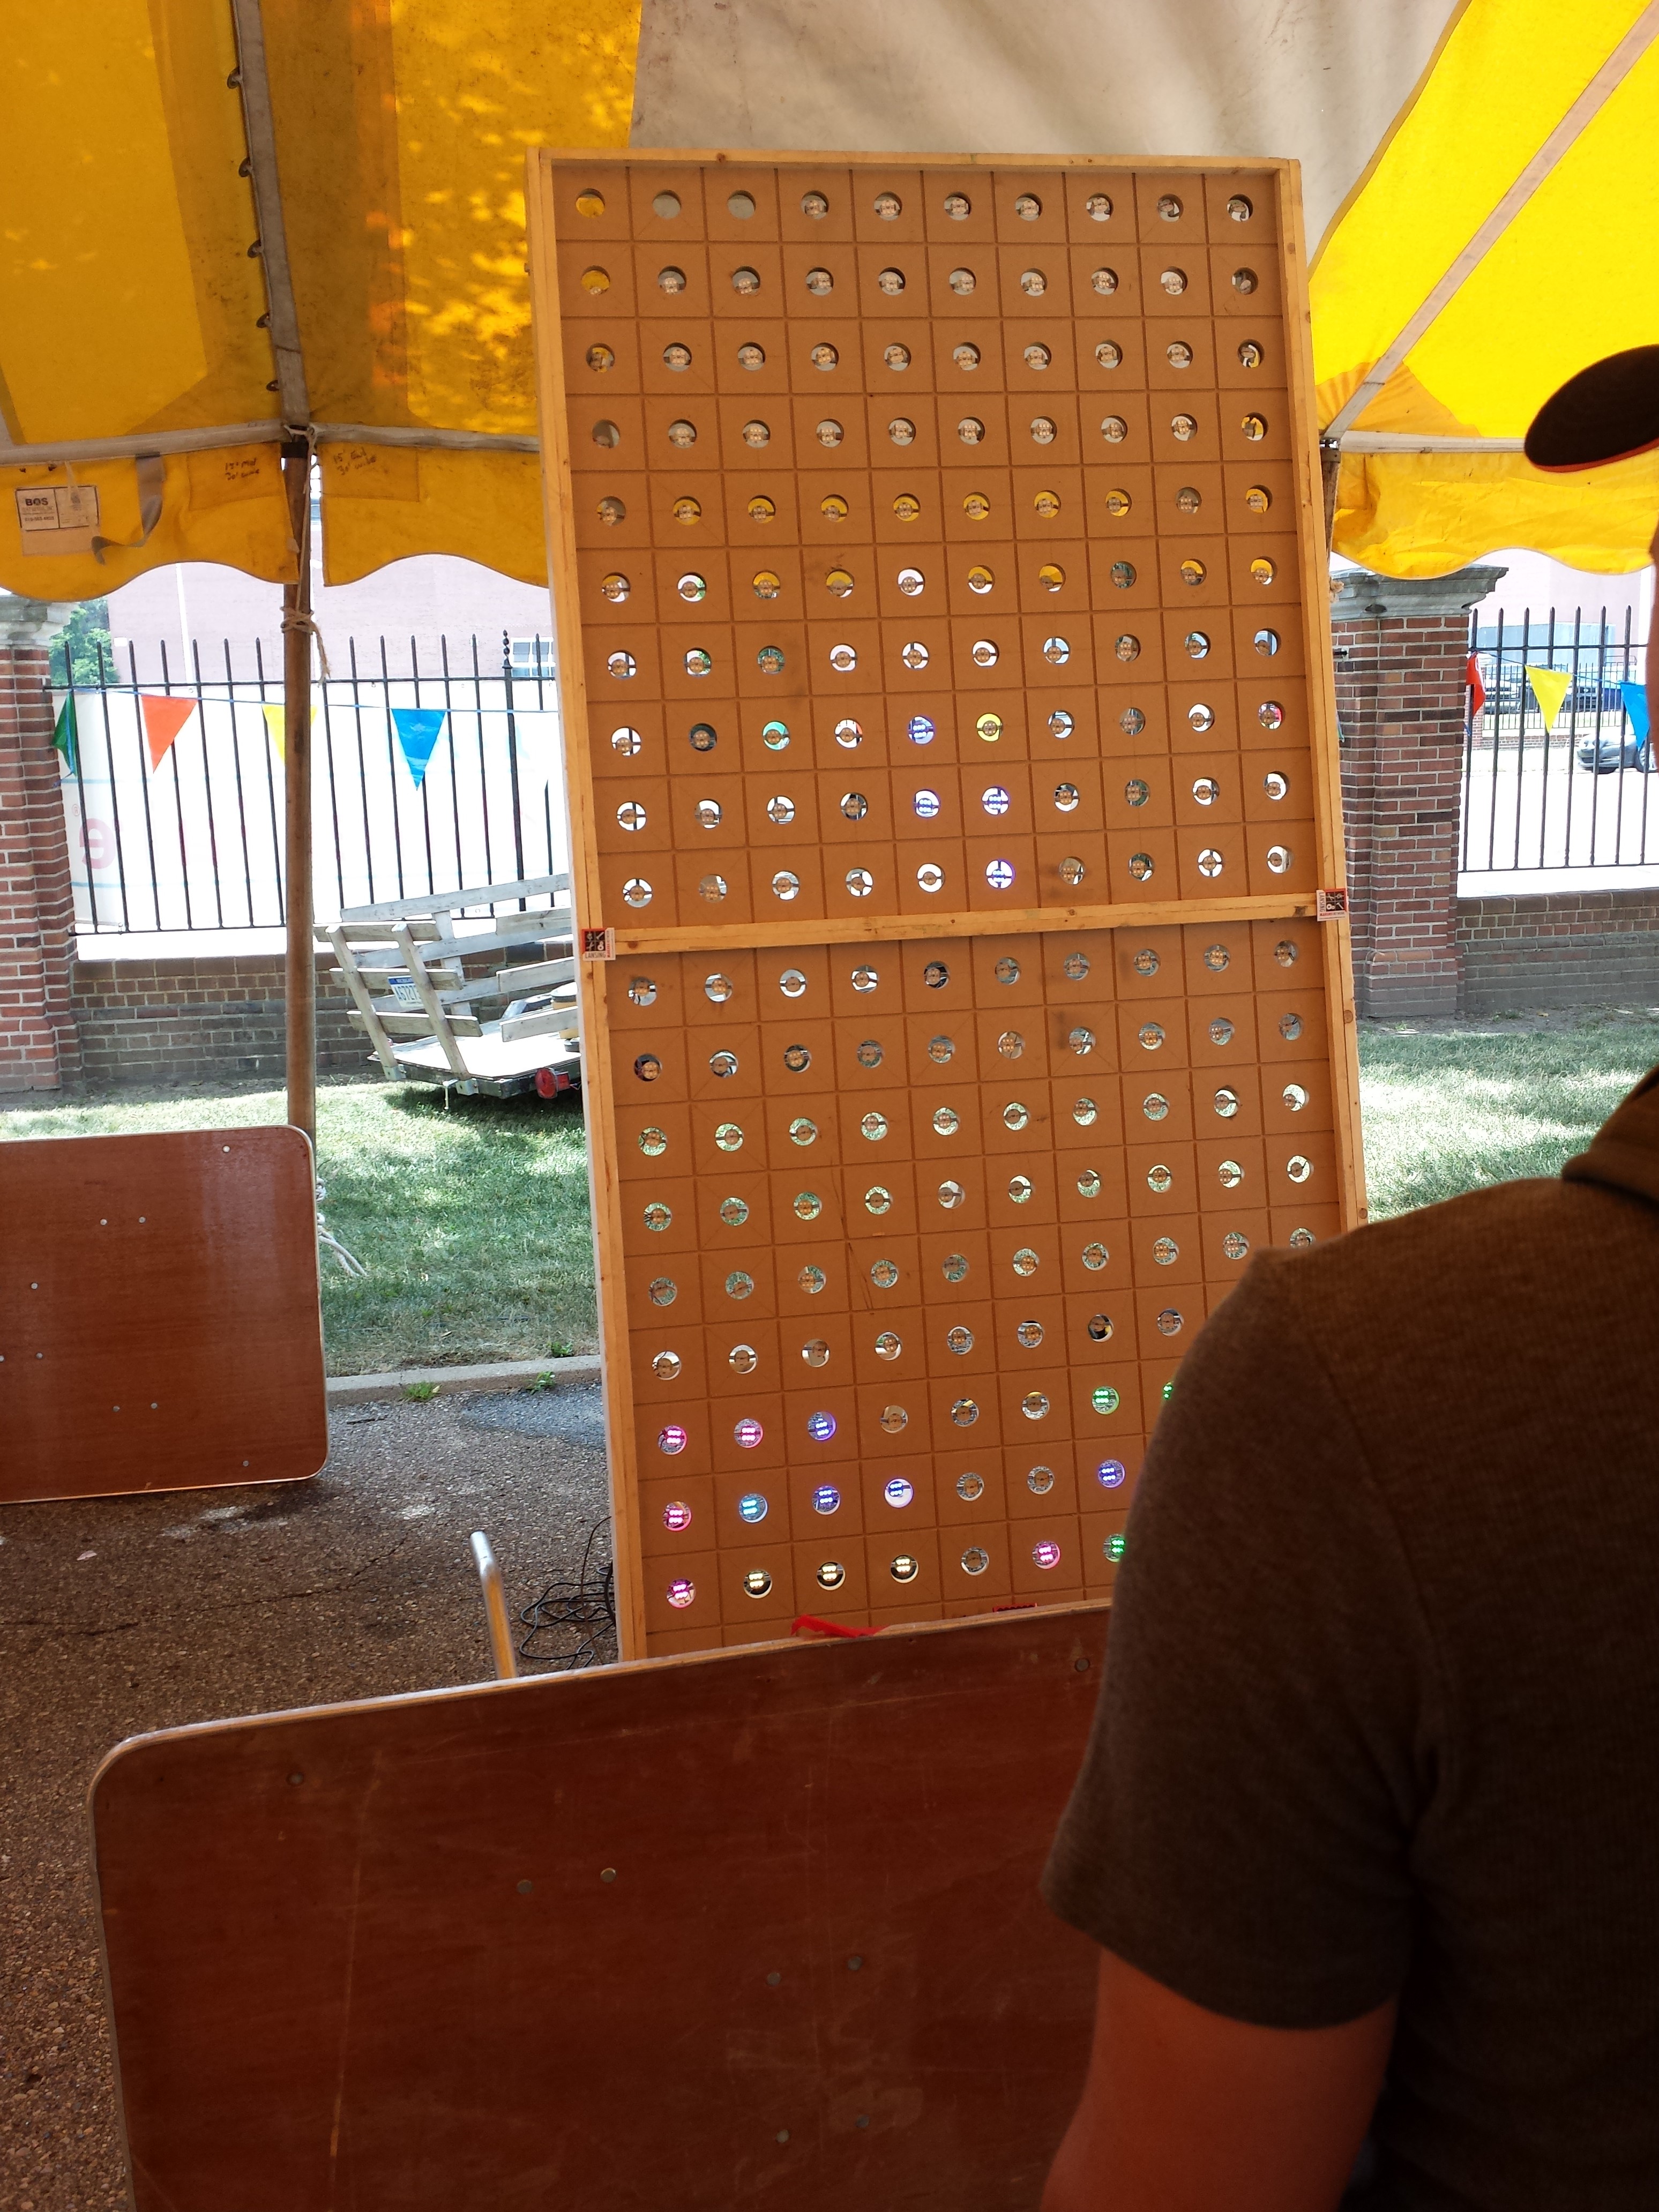
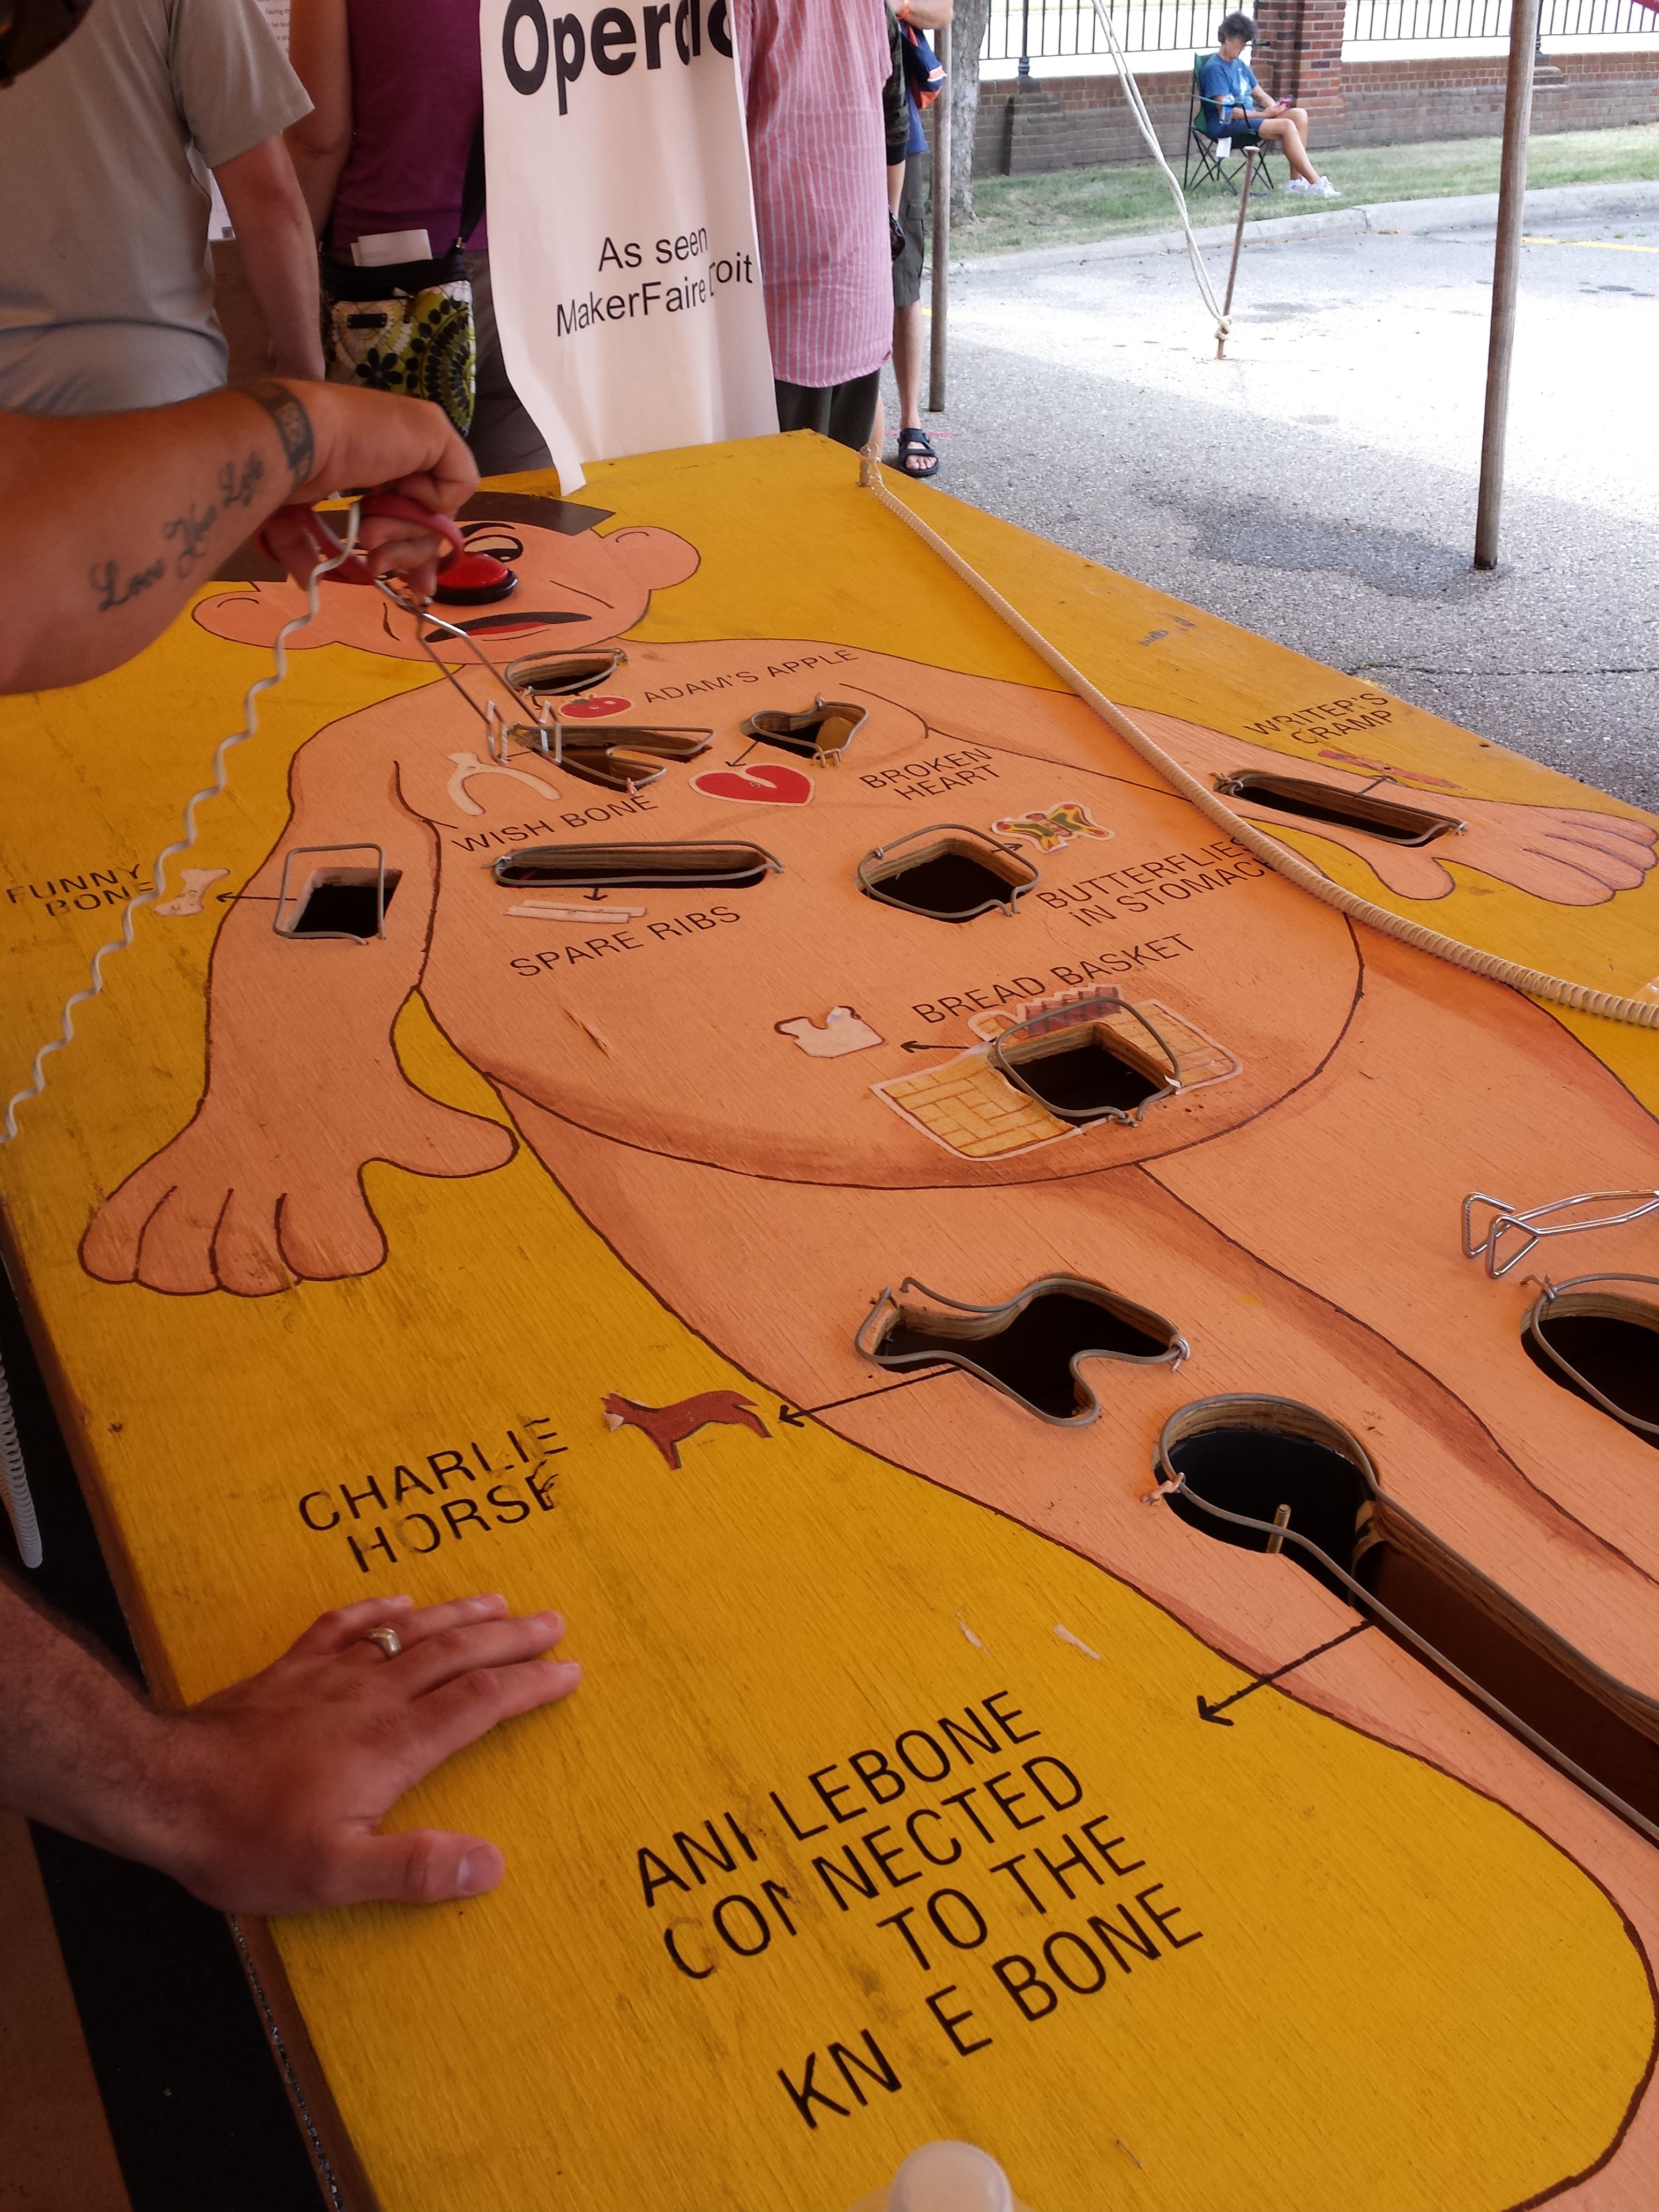
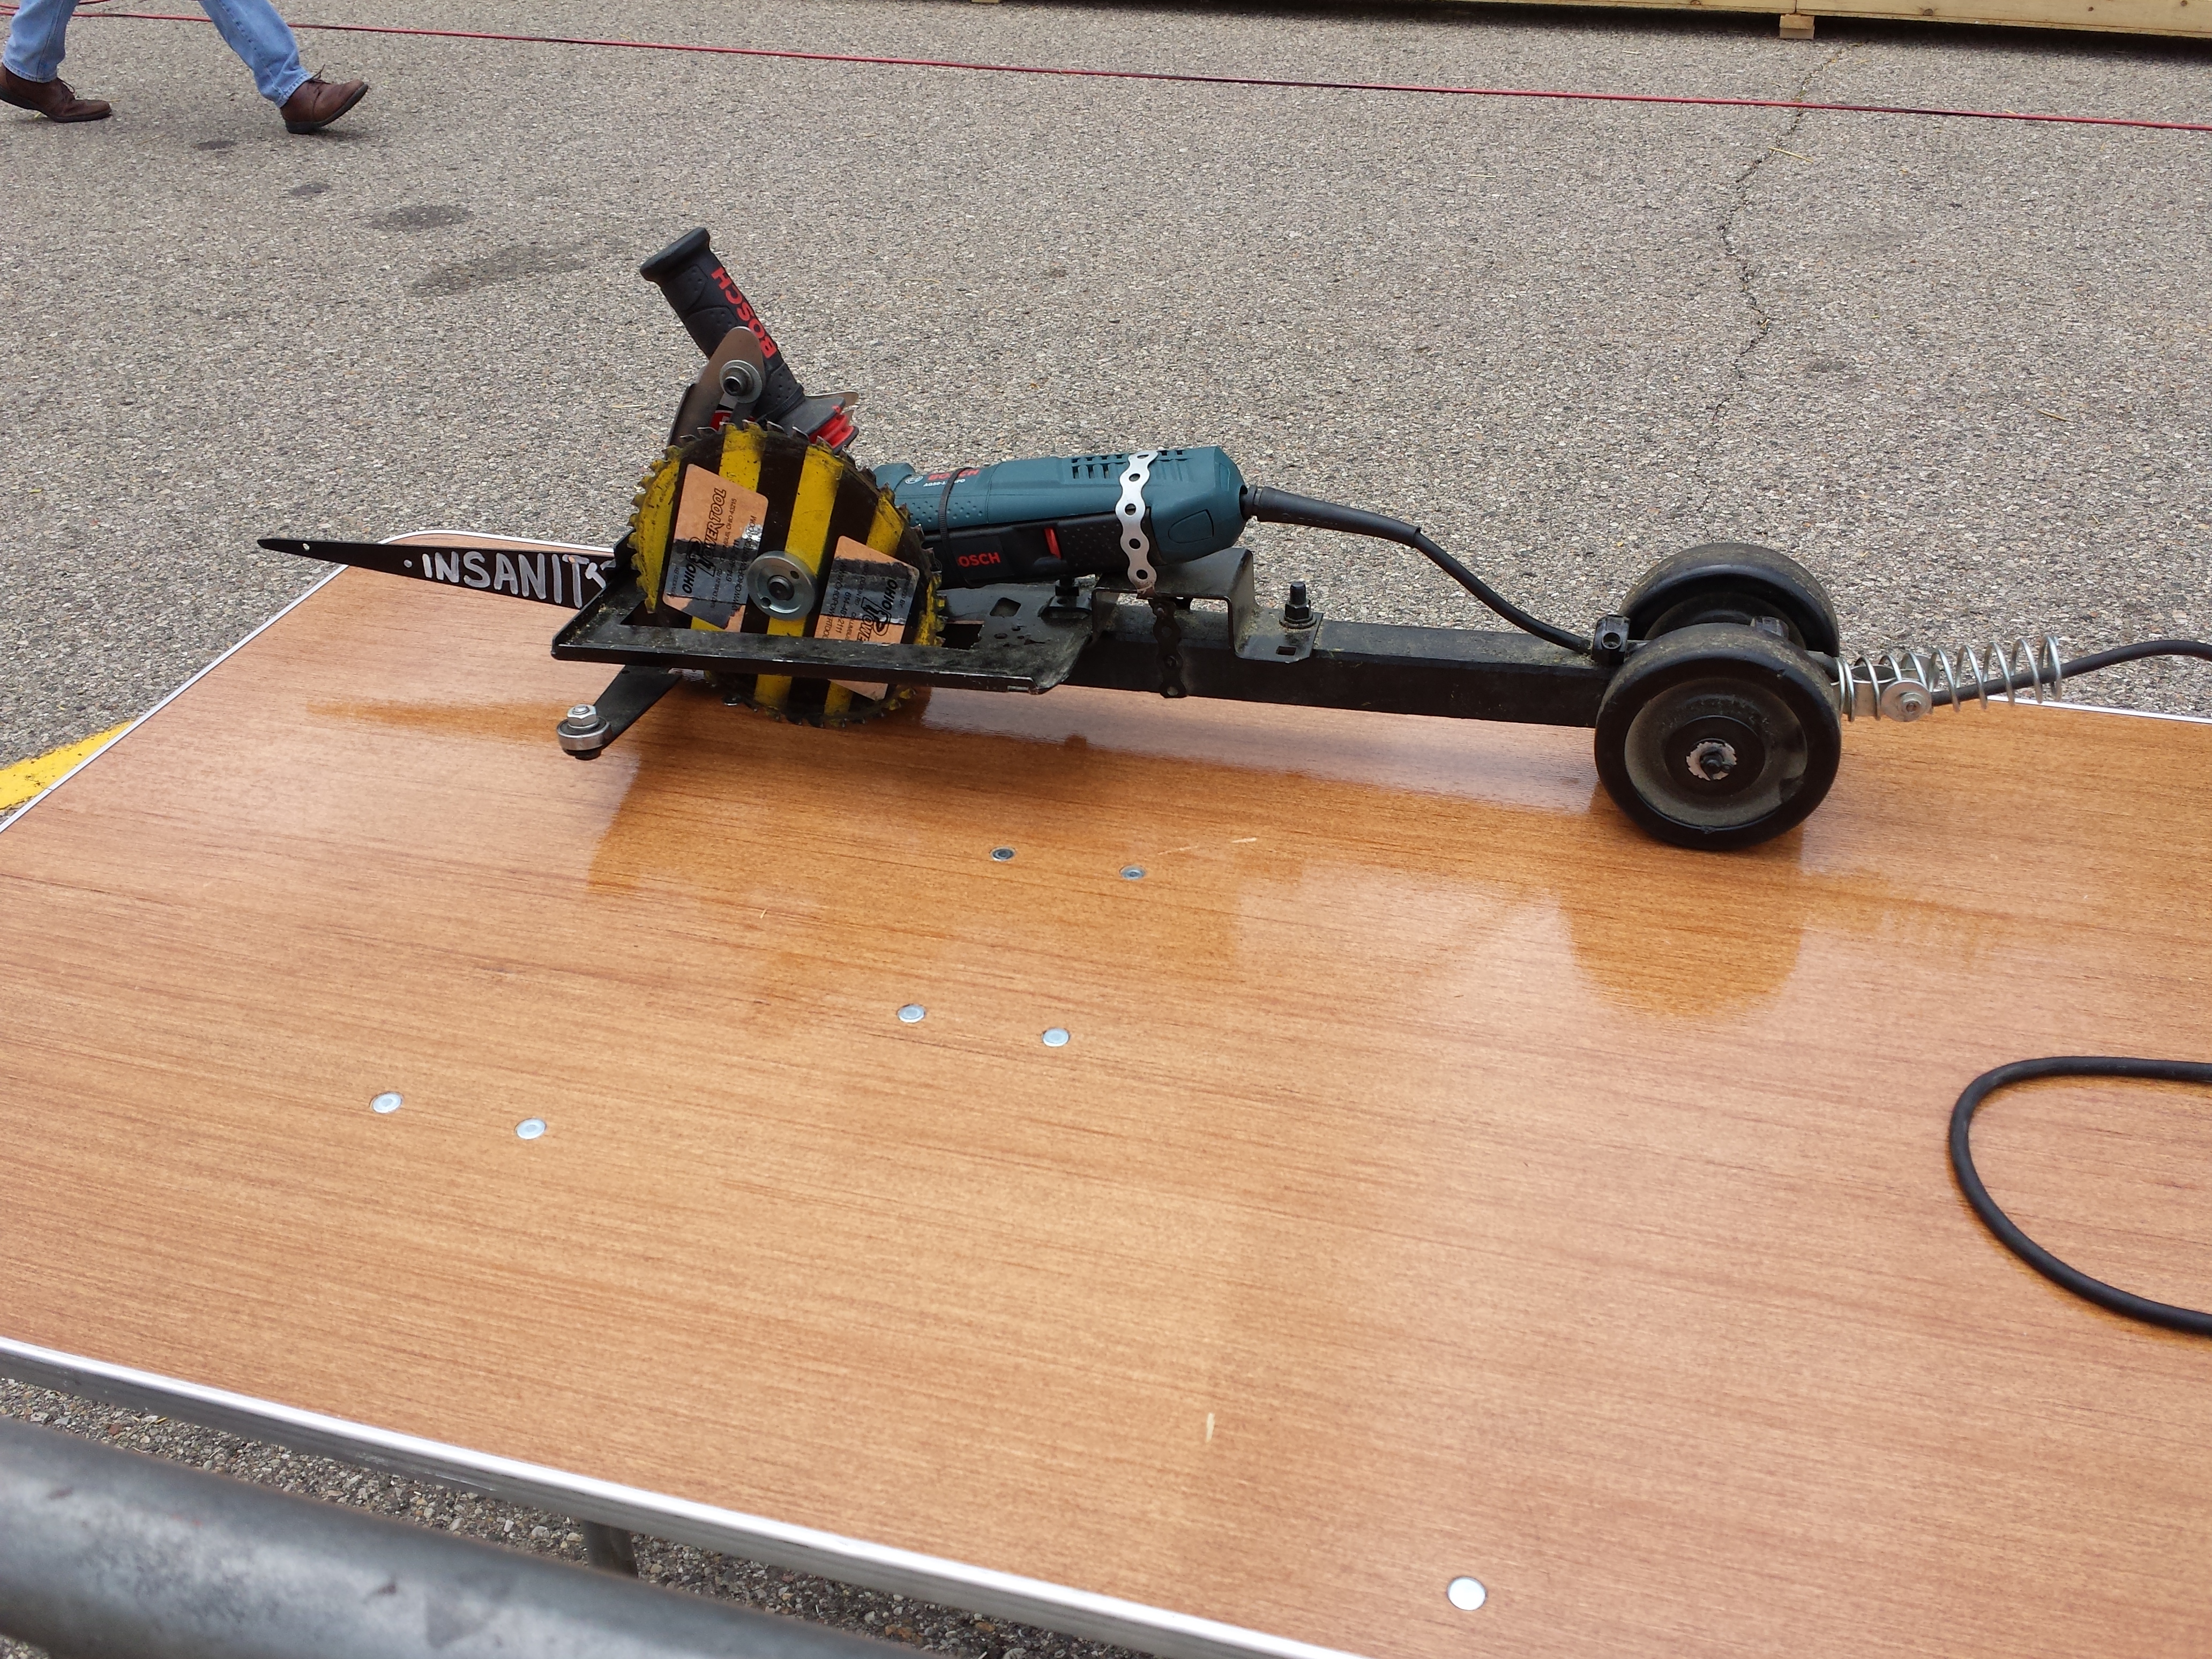
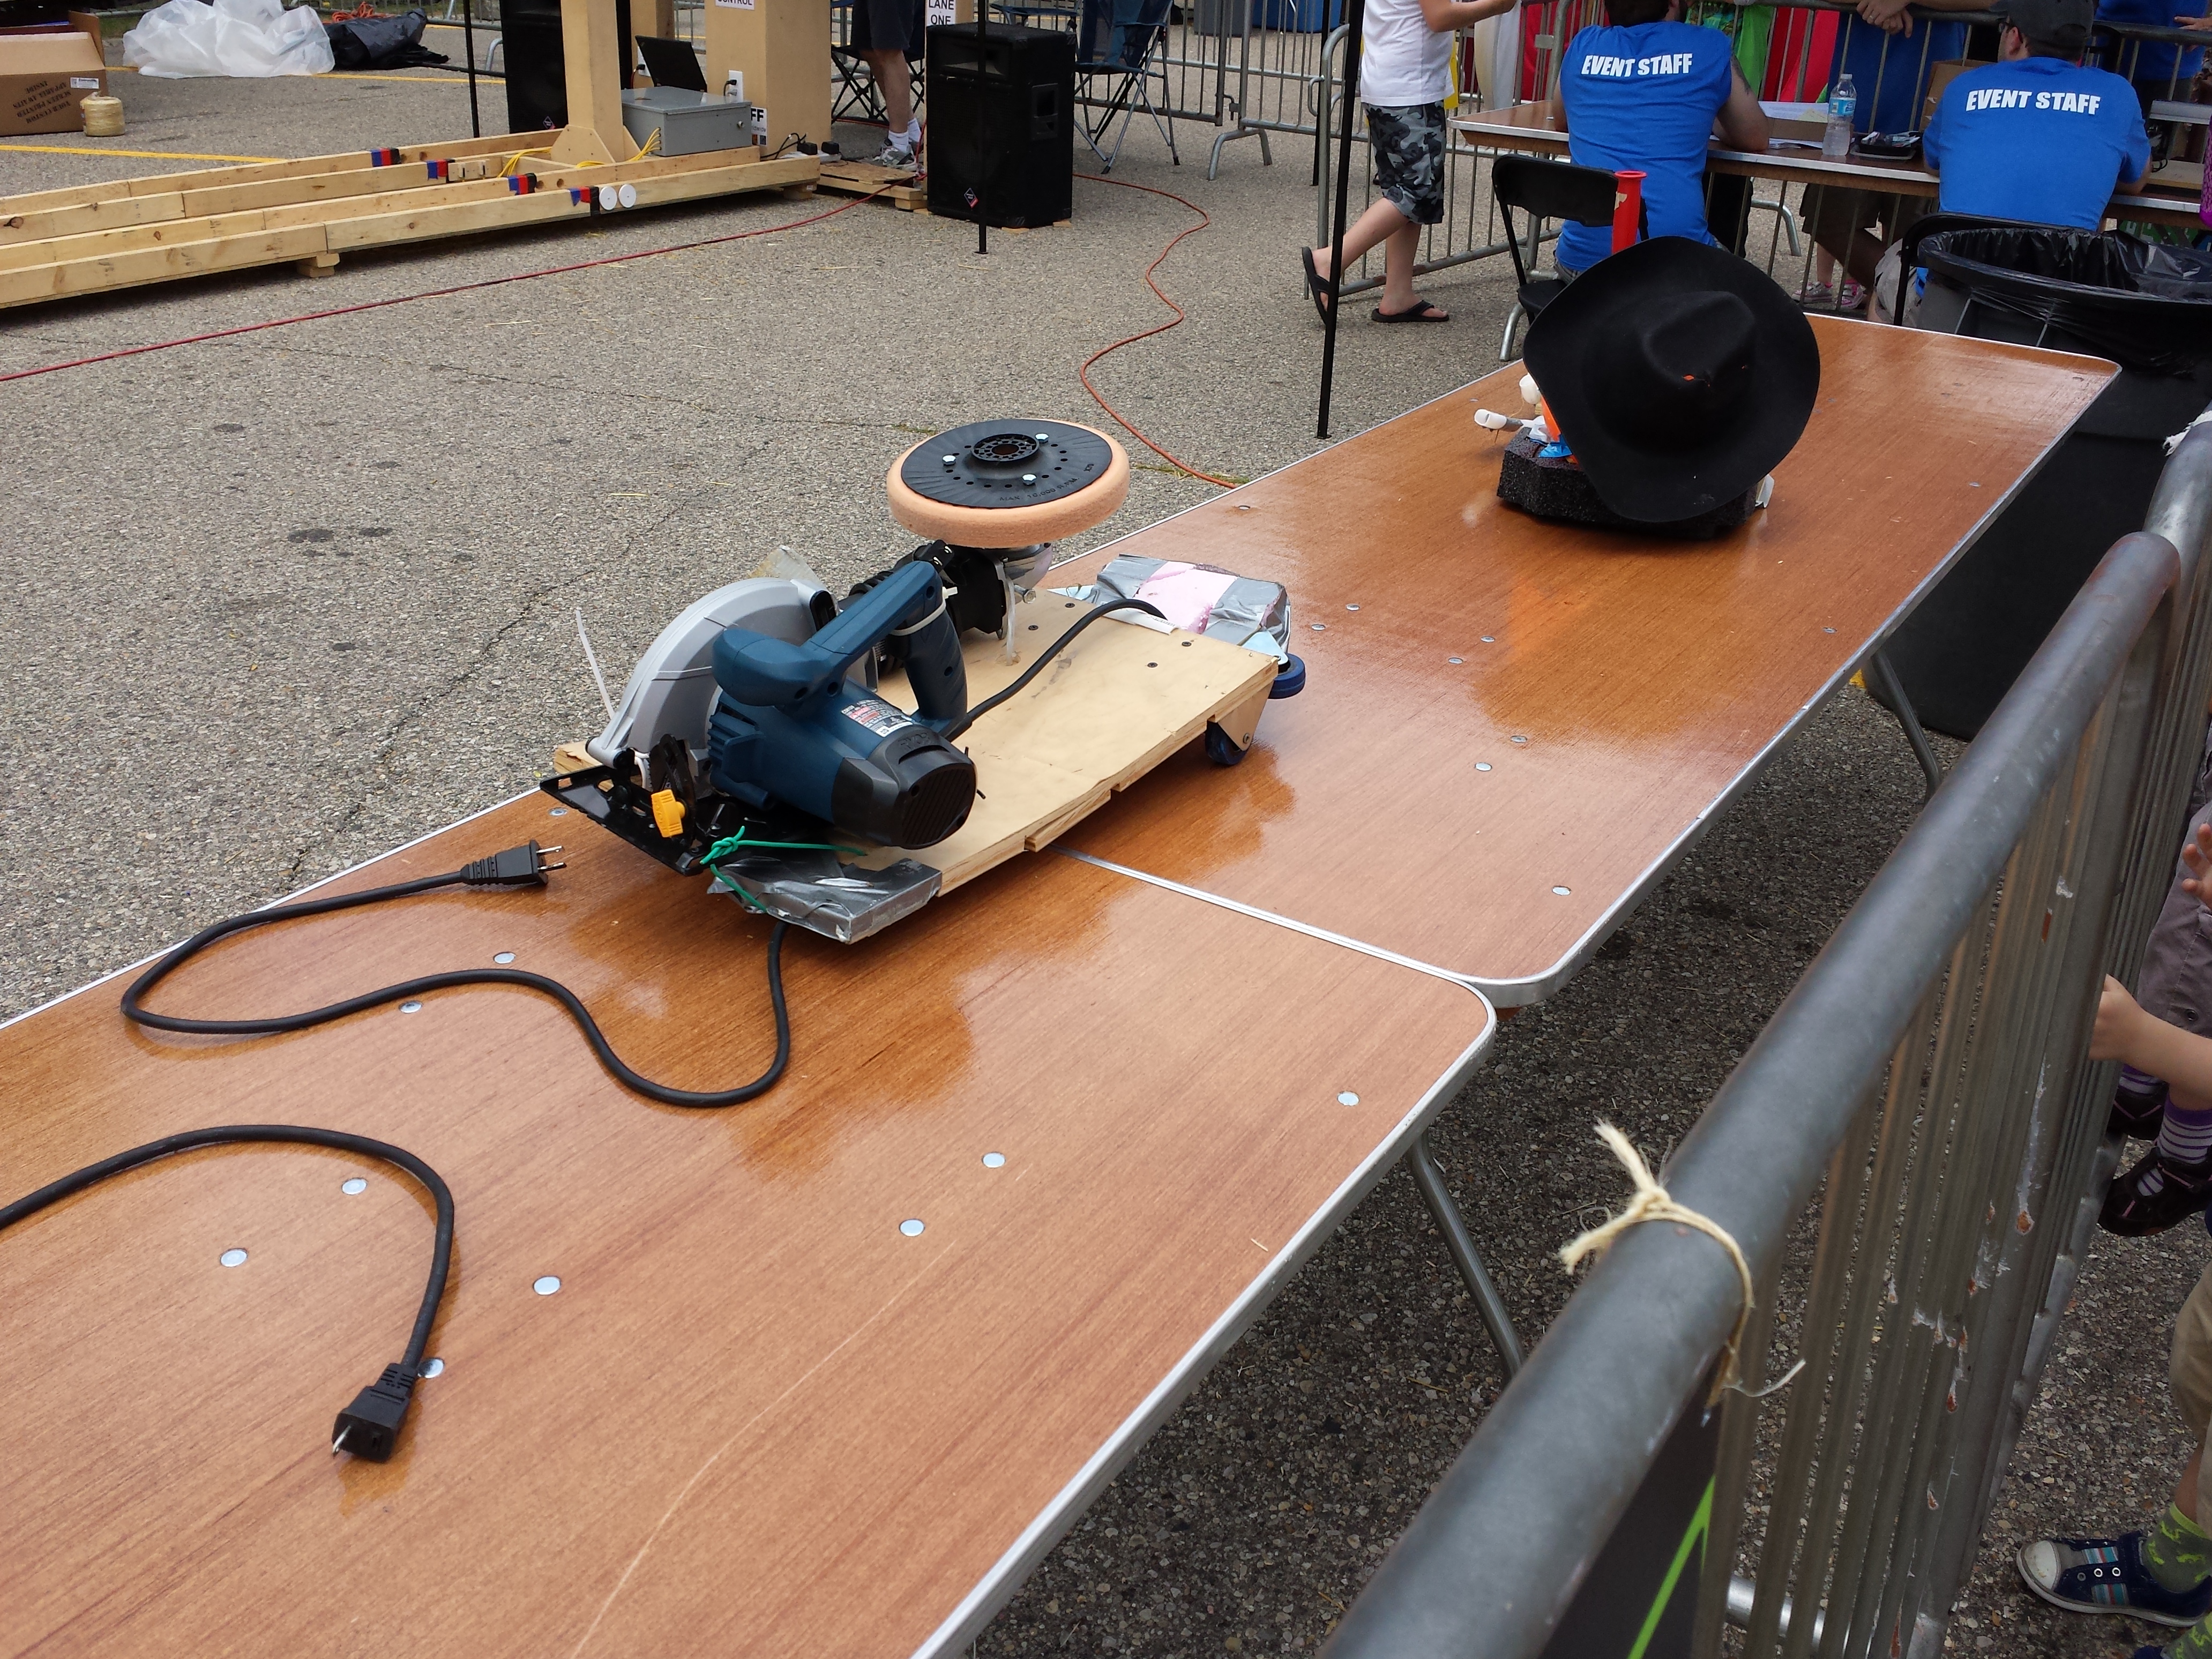
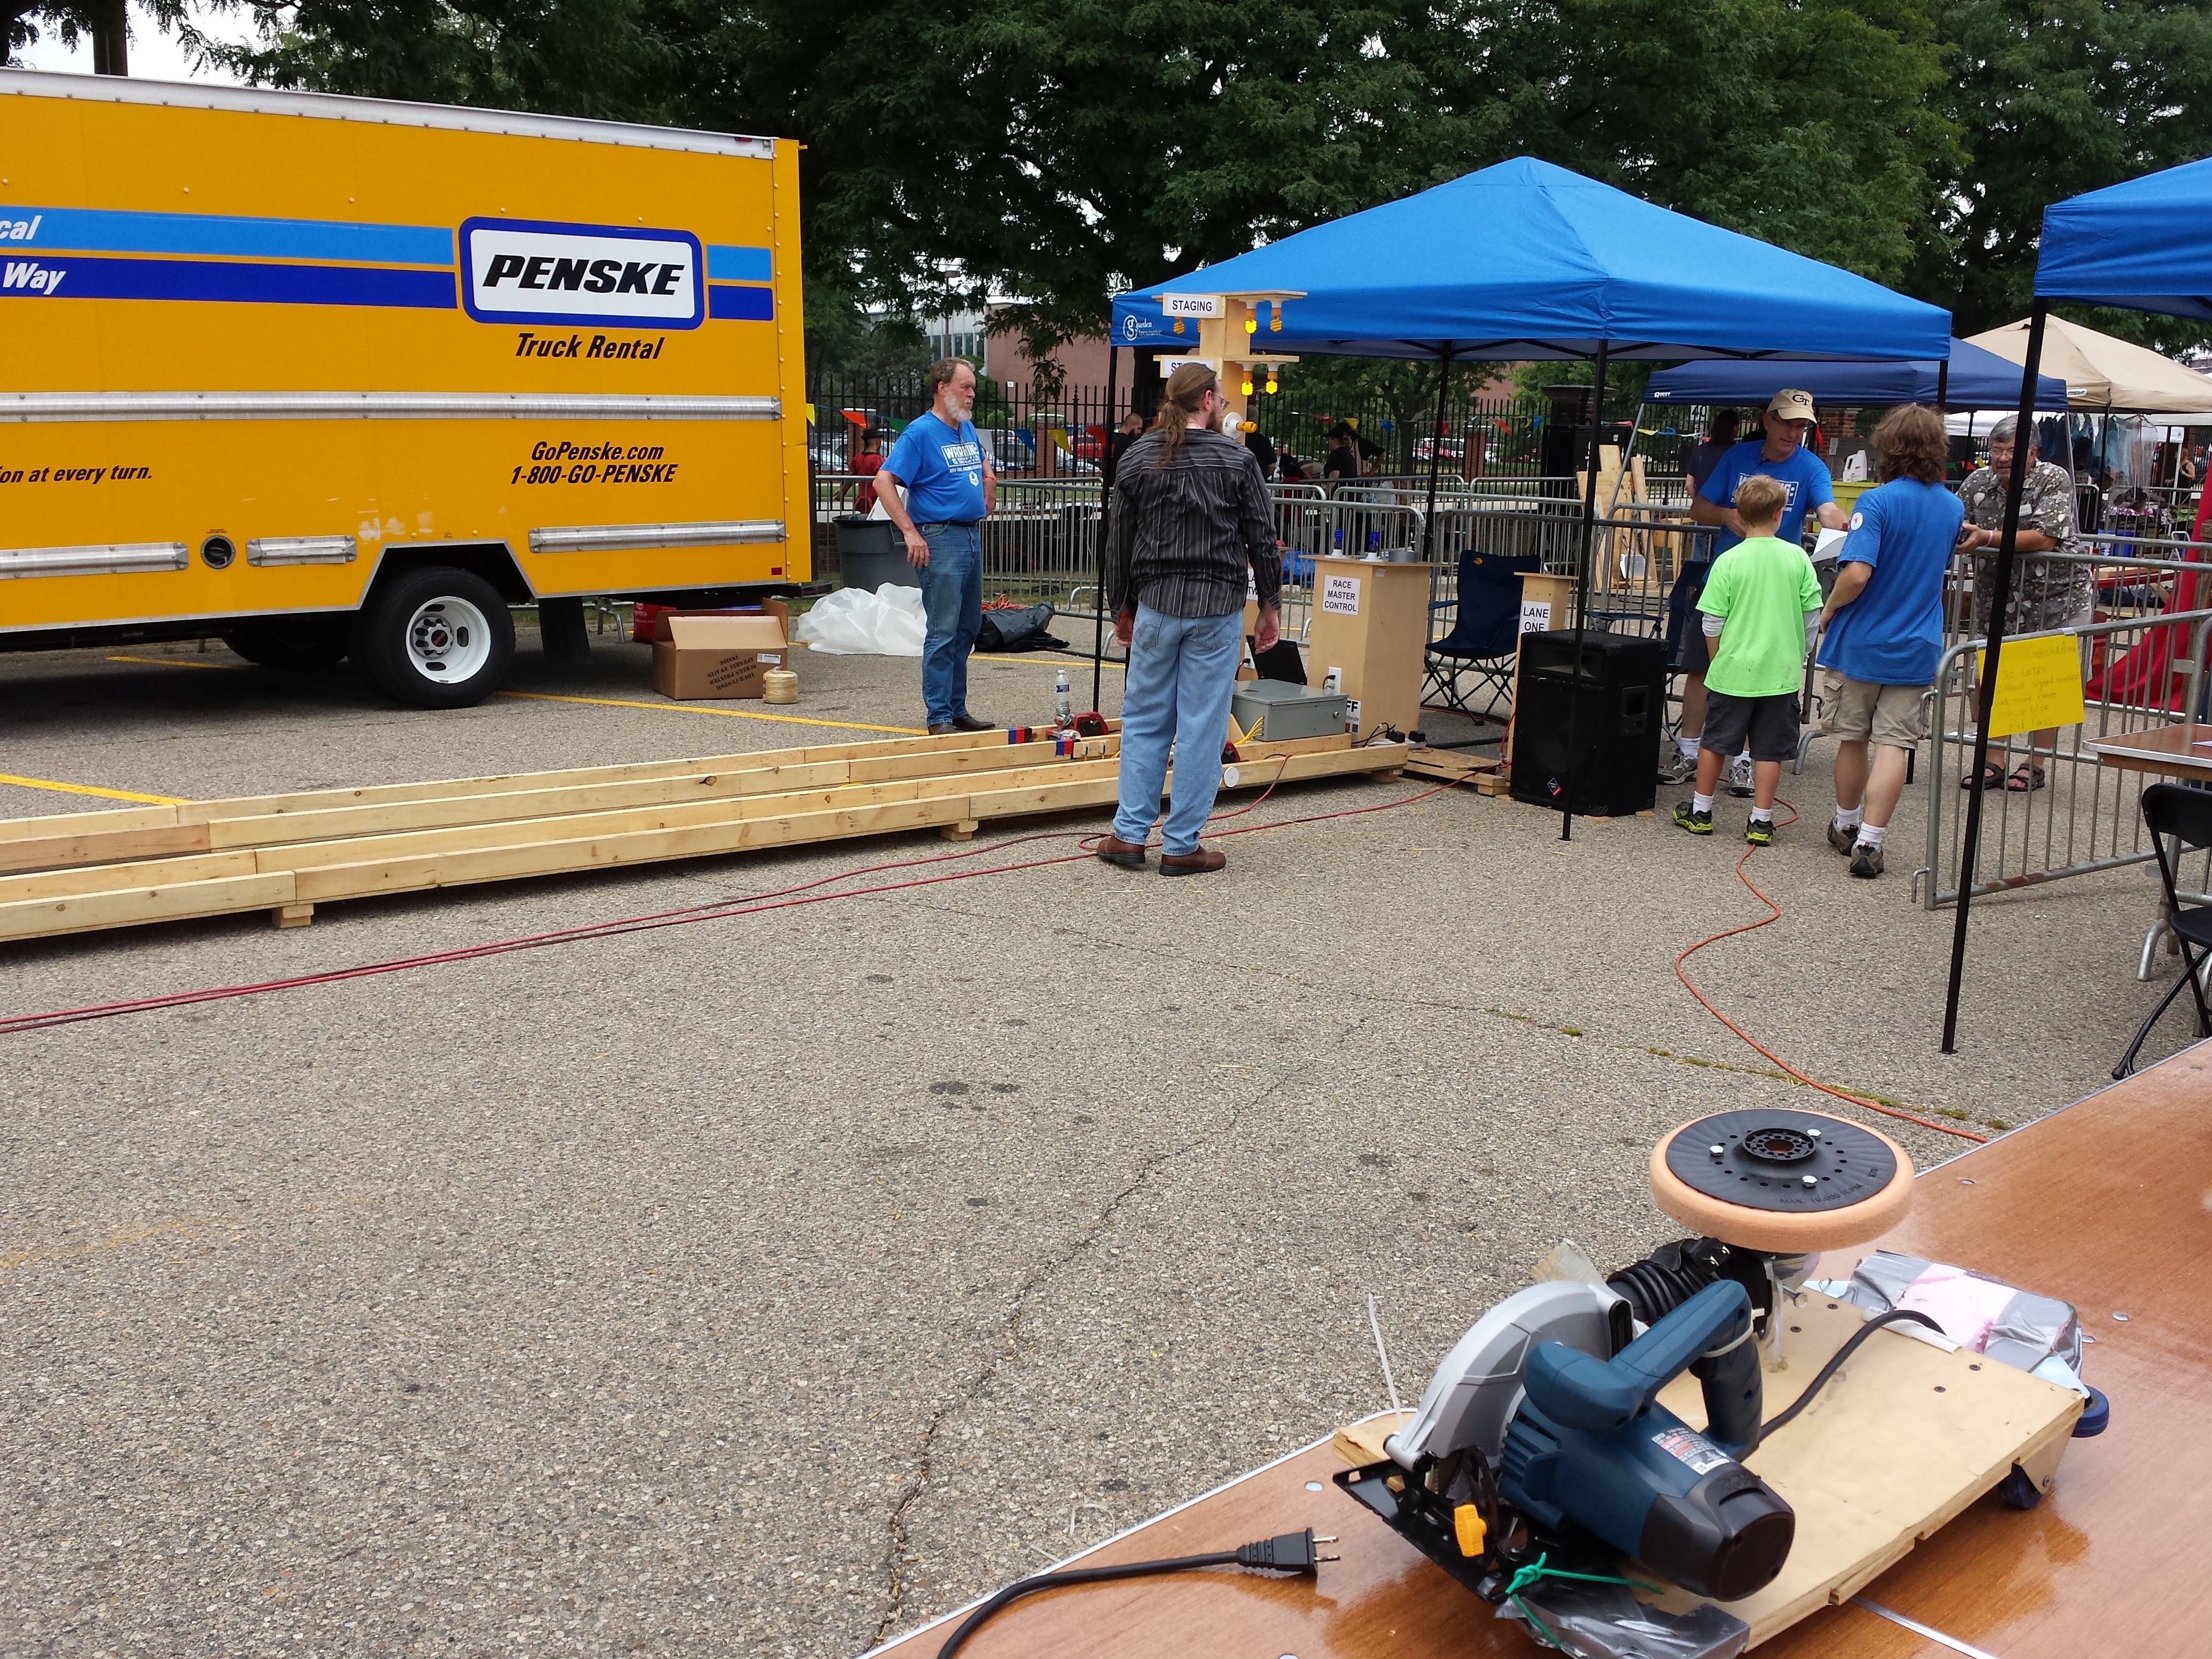
I apologize for the mismash of this post, I don’t have a good way to do a huge photodump like this. Anyways, here are the pics and video I took from Makerfaire Detroit 2014
I apologize for the mismash of this post, I don’t have a good way to do a huge photodump like this. Anyways, here are the pics and video I took from Makerfaire Detroit 2014


Been busy as of late, not much to report project-wise besides a version of my edge-lit lighted display for my Mom’s B-Day
Beyond that, I got some sweet stickers from Element14 and picked up a few things from the parent company Newark.
Here are the Element14 stickers

And the electronic components I picked up

The electronics include:
Basys 2 development board
http://www.digilentinc.com/Products/Detail.cfm?Prod=BASYS2
The Basys 2 development kit is a Spartan3 FPGA development kit. It’s been a long time since I programmed an FPGA and I’m looking forward to getting back into it.
An FPGA differs from a microcontroller as you are reprogramming hardware as opposed to just writing a program for your micro to step through and follow. An FPGA is made up of repgorammable logic cells, usually look up tables or LUTs. The code (unless otherwise specified) happens in parallel as opposed to step by step in a microcontroller, though you can specify clock edge actions. You typically code in VHDL or Verilog. Back in the day, we also used virtual gates like and, or, and nots which the compiler would churn down into those look up tables just the same as VHDL or Verilog. It looks like that functionality seems to be by the way-side now, the last time I looked at Xilinx’s software I didn’t see an option to put down gates and wire them.
Also a micro HDMI to standard for my Beaglebone Black
http://uk.farnell.com/pro-signal/cdlhd4-micro-018/cable-assy-hdmi-d-m-to-hdmi-a-m/dp/2305808
And lastly a jumper kit
http://uk.farnell.com/multicomp/mcbbj65/jumper-wire-assortment-65pcs/dp/2396146
I don’t have exact plans for what I’m going to do with the Basys 2, FPGA’s really excel at memory intensive tasks like image and video processing. Eventually it might be nice to re-do my school project of a resistive touch pad that draws on a monitor connected via VGA, but I might start a bit slower and do a simple combo lock switched in using the slide switches and buttons. I’ll post the project and code when its finished.
Now to prepare for Detroit Makerfaire with Ben Heck! I’ll make sure to post pics
http://www.makerfairedetroit.com/
Ben Heck recently visited a friend from Valve. He had promised me some cool CS Go swag as I’ve played Counterstrike off and on for many years (since 1.2). Unfortunately they didn’t have any CS Go swag and we got Portal swag instead, still pretty cool.
Well this was our typical tinker-Saturday and I had some new NeoPixels that I got from Sparkfun. Ben started playing around with them and his acrylics. He decided to do an edge lit acrylic experiment. I suggested the CS Go logo so I’d have something cool for my desk. We found a couple of suitable logos and then Ben edited the best ones into one that would work well for our acrylic.
We cut the log on two pieces of acrylic, one clear that appeared to work great for edge lit, and one frosted, which works better to diffuse a backlight. Ben then 3D printed a base to fit the NeoPixels and the acrylic. We put them together for some testing and it worked great. I then took the project home, hooked everything up to my Teensy 2.0 board and modified the code to have a little more functionality so I could switch between the different modes.
Here is a video of it in action
And here is the Arduino code
NeoPixel data line is Pin2, interrupt is Pin5
#include <Adafruit_NeoPixel.h>
#define PIN 2
// Parameter 1 = number of pixels in strip
// Parameter 2 = Arduino pin number (most are valid)
// Parameter 3 = pixel type flags, add together as needed:
// NEO_KHZ800 800 KHz bitstream (most NeoPixel products w/WS2812 LEDs)
// NEO_KHZ400 400 KHz (classic ‘v1’ (not v2) FLORA pixels, WS2811 drivers)
// NEO_GRB Pixels are wired for GRB bitstream (most NeoPixel products)
// NEO_RGB Pixels are wired for RGB bitstream (v1 FLORA pixels, not v2)
Adafruit_NeoPixel strip = Adafruit_NeoPixel(8, PIN, NEO_GRB + NEO_KHZ800);// IMPORTANT: To reduce NeoPixel burnout risk, add 1000 uF capacitor across
// pixel power leads, add 300 – 500 Ohm resistor on first pixel’s data input
// and minimize distance between Arduino and first pixel. Avoid connecting
// on a live circuit…if you must, connect GND first.volatile unsigned int mode;
volatile boolean superBreakout;void setup() {
strip.begin();
mode = 0;
superBreakout = 0;
pinMode(5, INPUT);
digitalWrite(5, HIGH);
clearWipe();
strip.show(); // Initialize all pixels to ‘off’
delay(50);
attachInterrupt(0, changeMode, FALLING);
}void loop() {
if ( digitalRead(5) == HIGH){
superBreakout = 0;
}switch (mode){
case 0:
// Some example procedures showing how to display to the pixels:
colorWipe(strip.Color(255, 0, 0), 50); // Red
colorWipe(strip.Color(0, 255, 0), 50); // Green
colorWipe(strip.Color(0, 0, 255), 50); // Blue
// Send a theater pixel chase in…
// Send a theater pixel chase in…
theaterChase(strip.Color(127, 127, 127), 50); // White
theaterChase(strip.Color(127, 0, 0), 50); // Red
theaterChase(strip.Color( 0, 127, 0), 50); // Green
theaterChase(strip.Color( 0, 0, 127), 50); // Blue
// Send rainbow code
rainbow(20);
rainbowCycle(20);
theaterChaseRainbow(50);
break;case 1:
// Some example procedures showing how to display to the pixels:
colorWipe(strip.Color(255, 0, 0), 50); // Red
colorWipe(strip.Color(0, 255, 0), 50); // Green
colorWipe(strip.Color(0, 0, 255), 50); // Blue
break;case 2:
// Send a theater pixel chase in…
theaterChase(strip.Color(127, 127, 127), 50); // White
theaterChase(strip.Color(127, 0, 0), 50); // Red
theaterChase(strip.Color( 0, 127, 0), 50); // Green
theaterChase(strip.Color( 0, 0, 127), 50); // Blue
break;case 3:
// Send rainbow code
rainbow(50);
rainbowCycle(25);
theaterChaseRainbow(50);
break;case 4:
rainbow(50);
break;case 5:
rainbowCycle(25);
break;case 6:
theaterChaseRainbow(50);
break;case 7:
clearWipe();
strip.show(); // Initialize all pixels to ‘off’
break;case 8:
mode = 0;
break;
}}
void changeMode(){
if (superBreakout == 0){
mode++;
clearWipe();
strip.show(); // Initialize all pixels to ‘off’
superBreakout = 1;
while(digitalRead(5) == LOW);
}
}void clearWipe(){
for (int i = 0; i < 8; i++){
strip.setPixelColor(i,strip.Color(0,0,0));
}
}// Fill the dots one after the other with a color
void colorWipe(uint32_t c, uint8_t wait) {
for(uint16_t i=0; i<strip.numPixels(); i++) {
strip.setPixelColor(i, c);
strip.show();
if (superBreakout)
break;
delay(wait);
}
}void rainbow(uint8_t wait) {
uint16_t i, j;for(j=0; j<256; j++) {
for(i=0; i<strip.numPixels(); i++) {
strip.setPixelColor(i, Wheel((i+j) & 255));
}
strip.show();
if (superBreakout)
break;
delay(wait);
}
}// Slightly different, this makes the rainbow equally distributed throughout
void rainbowCycle(uint8_t wait) {
uint16_t i, j;for(j=0; j<256*5; j++) { // 5 cycles of all colors on wheel
for(i=0; i< strip.numPixels(); i++) {
strip.setPixelColor(i, Wheel(((i * 256 / strip.numPixels()) + j) & 255));
}
strip.show();
if (superBreakout)
break;
delay(wait);
}
}//Theatre-style crawling lights.
void theaterChase(uint32_t c, uint8_t wait) {
for (int j=0; j<10; j++) { //do 10 cycles of chasing
for (int q=0; q < 3; q++) {
for (int i=0; i < strip.numPixels(); i=i+3) {
strip.setPixelColor(i+q, c); //turn every third pixel on
}
strip.show();
if (superBreakout)
break;
delay(wait);for (int i=0; i < strip.numPixels(); i=i+3) {
strip.setPixelColor(i+q, 0); //turn every third pixel off
}
}
}
}//Theatre-style crawling lights with rainbow effect
void theaterChaseRainbow(uint8_t wait) {
for (int j=0; j < 256; j++) { // cycle all 256 colors in the wheel
for (int q=0; q < 3; q++) {
for (int i=0; i < strip.numPixels(); i=i+3) {
strip.setPixelColor(i+q, Wheel( (i+j) % 255)); //turn every third pixel on
}
strip.show();
if (superBreakout)
break;
delay(wait);for (int i=0; i < strip.numPixels(); i=i+3) {
strip.setPixelColor(i+q, 0); //turn every third pixel off
}
}
}
}// Input a value 0 to 255 to get a color value.
// The colours are a transition r – g – b – back to r.
uint32_t Wheel(byte WheelPos) {
if(WheelPos < 85) {
return strip.Color(WheelPos * 3, 255 – WheelPos * 3, 0);
} else if(WheelPos < 170) {
WheelPos -= 85;
return strip.Color(255 – WheelPos * 3, 0, WheelPos * 3);
} else {
WheelPos -= 170;
return strip.Color(0, WheelPos * 3, 255 – WheelPos * 3);
}
}
Components
Teensy 2.0 – https://www.sparkfun.com/products/12765
NeoPixel – https://www.sparkfun.com/products/12661